

Making Tools Work for You
From Box to Bench
The work behind working tools
By Shawna Kulpa
(Originally Published by MJSA March, 2026)
Tools don’t become useful the moment they arrive. Before they earn a place at the bench, decisions are made about how they’ll be adjusted, adapted, and integrated into a working environment. Sometimes that preparation involves fine-tuning a brand-new tool. Other times it means repurposing something unexpected or establishing systems that keep shared tools accessible and accounted for. Taken together, these practices reveal a common truth: effective tools are rarely accidental. They’re the result of intention, experience, and the work that happens long before production begins.
Ready, Set, Prep
Why the most important work jewelers do with a tool happens before it ever touches metal
Pliers
Pliers are often assumed to be bench-ready, especially the ones at higher price points, but many arrive with sharp edges that mark metal with every squeeze.
“Even really nice chain-nose pliers usually have a sharp edge,” says Jeanette K. Caines, owner of Jewelry Arts Inc. in New York City, and the founder of the recently launched Dr. Goldsmith, a membership-based mentoring program. “If you don’t soften those edges, every time you squeeze you’re putting a mark in the metal. And then you’re stuck cleaning it up.”
In practice, softening plier edges can be as simple as working through successive grits of abrasive paper: coarse enough to break the sharp edge, then progressively finer to leave a smooth surface.
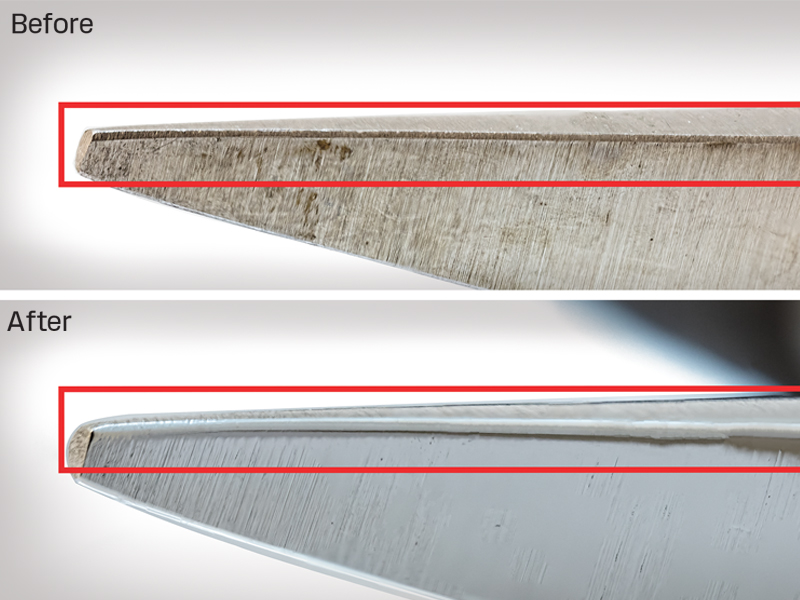
That said, how far the edges need to be softened depends on the tool’s role. Jeweler Jo Haemer keeps multiple versions of the same plier in her studio in Portland, Oregon. Some are left sharp for gripping, while others are softened for forming.
Jeweler Alex Boyd of Alex Boyd Studio in Denver takes a similar approach, using sanding sticks before polishing. “I’ll go from 180 up to 600 grit,” he says, then follows with pink Luxor polish “so I’m not digging into the surface every time.”
In production environments this kind of preparation isn’t optional. “If a tool damages the work, that’s time lost across the whole job,” says Jason Chandler, owner of the Portland Jewelry Academy in Portland, Oregon. “You either fix it once up front or you fix it over and over.”
Hammers
Like pliers, hammers are rarely ready to use straight out of the box.
“A lot of planishing hammers will have a flat face, but sharp angles on the sides,” explains Boyd. “If your strike isn’t perfect, those edges will leave marks you didn’t intend.”
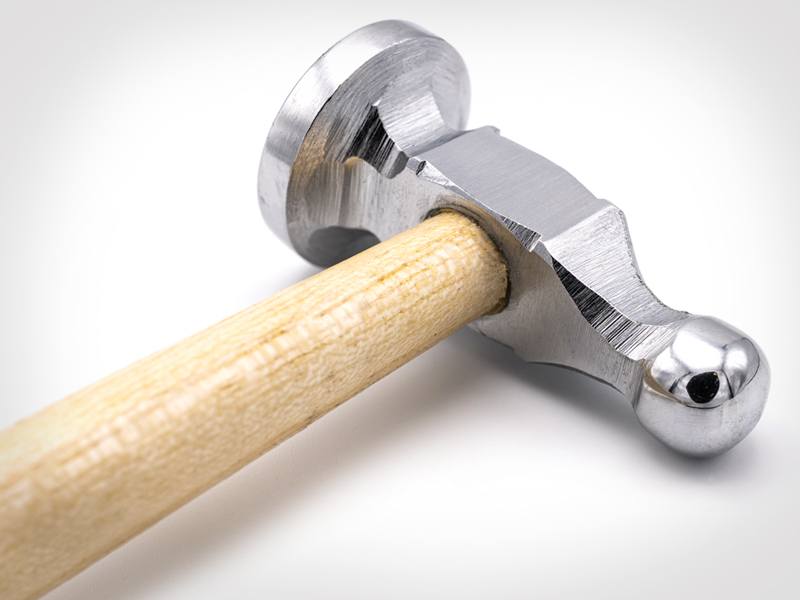
He softens those edges and refines the hammer face so that even a slightly angled strike doesn’t leave a mark. Some jewelers will lightly dome flat faces or polish them to reduce surface transfer.
“If a hammer face isn’t well finished, it’s going to tell on you,” says Caines. “You’ll see it immediately in the metal.”
Gravers
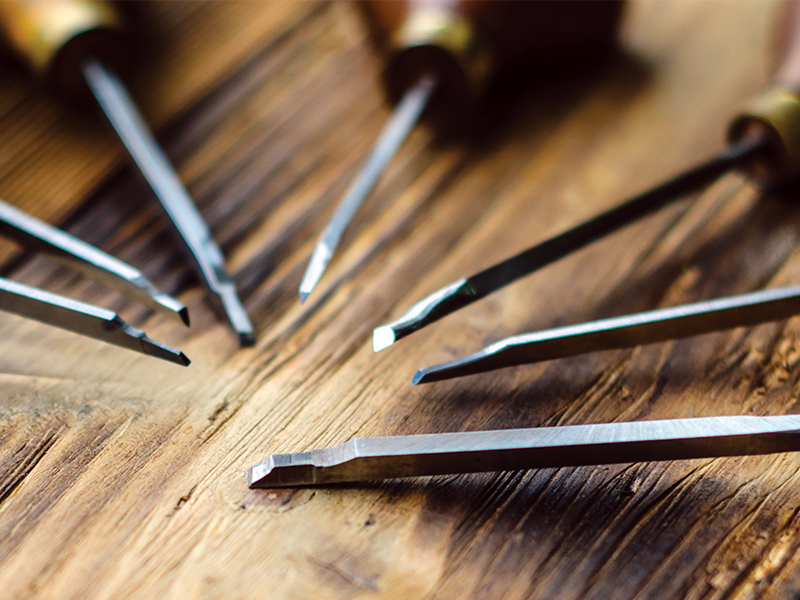
Gravers are perhaps the clearest example of a tool that demands deliberate preparation. Supplied as blanks rather than finished instruments, they must be shortened, shaped, and polished before they can do clean, controlled work.
“Gravers are at the very top of the list [of tools that need to be prepped],” says Scott Bradford, a technical sales engineer at Gesswein in Bridgeport, Connecticut. “They’re a good start when you buy them, but they require finishing to make them the best that they can be.”
“Think of gravers like brand new wooden pencils,” explains Chandler. “You have to sharpen them first.”
Rather than a single step, graver preparation is a sequence of intentional choices. Some jewelers first shorten the tool and select a handle so the graver fits correctly in their hand before any fine work begins. “If you’re doing traditional hand engraving, you have to shape [the tools] so they fit you,” says Haemer. “They’re all different sizes and shapes for a reason.”
They’re a good start when you buy them, but they require finishing to make them the best that they can be.” —Scott Bradford
Dawn Muscio, a custom jewelry designer and metalsmith with studios in Atlanta and Ithaca, New York, notes that tailoring gravers to fit the hand comes with a tradeoff.
“Once you shorten them, you have less material to work with,” she says. “They fit my hand better, but it also means I’m going to have to replace them sooner.” For Muscio, though, improved control and comfort outweigh the reduced lifespan.
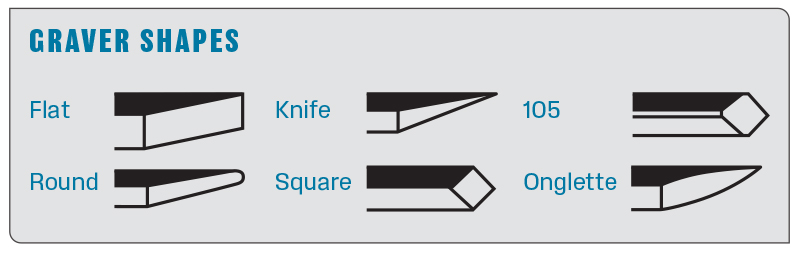
From there, attention shifts to shaping cutting geometry. Although gravers are usually offered in a range of cutting-edge styles, including flat, round, knife, square, 105, onglette, and Florentine, the gravers can be modified further to best fit the needs of a specific project.
Polishing should be the final step. A graver that’s sharpened but left with a matte finish can still drag or leave inconsistent surfaces. Bringing the cutting face to a high polish using diamond compound or fine polishing films improves the cut and reduces cleanup afterward. “The surface you leave behind is the surface you start with,” says Bradford. “A highly polished graver will leave a highly polished surface.”
Files
Files are among the most familiar tools at the bench, which is why their preparation is sometimes overlooked. Used straight from the package, they can behave aggressively—cutting too much material or leaving deep marks. Prepping files isn’t about making them cut better so much as making them cut predictably.
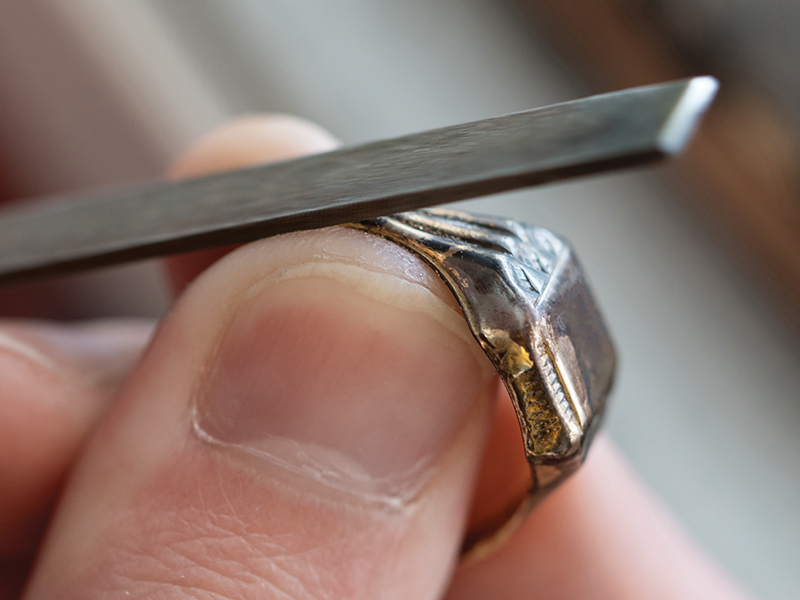
When custom jeweler James Dailing in Bend, Oregon, gets a new barrette file, he runs a diamond wheel along the left edge, polishing it to avoid damaging stones during setting.
“Putting a nice, polished edge helps in many ways,” he explains. “When you’re cleaning up prongs, you want a file with an outer edge that’s very sharp so that it goes right up against the stone and prong. Removing any aggressive bit of metal along the file where it’s touching the stone helps a great deal.”
In addition to smoothing out and polishing the edges of his knife-edge files, Boyd usually anneals one of them to soften it.
“I use it to file next to really soft stones,” he explains. “It’s much less likely to cut the stone. It also doesn’t cut metal as well, but it’s worth the compromise.”
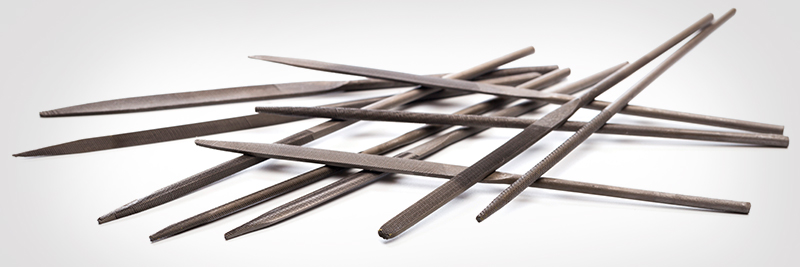
“Files should not be bumped together. They’re very hard and their function is to remove chunks of metal, so you don’t want them banging on each other.” —Charles Lewton-Brain
Once files are prepared, storage matters. “Files should not be bumped together,” advises Charles Lewton-Brain, a master goldsmith in Calgary, Alberta, Canada. “They’re very hard and their function is to remove chunks of metal, so you don’t want them banging on each other.”
To protect files, Nanz Aalund, a designer, educator, and author also based in Calgary, likes to use the floral foam that florists use for flower arrangements. “When it’s dry, stick it on your bench, and stick your files in it when you’re not using them,” she says.
Polishing Wheels
Preparation in a jeweler’s shop extends beyond hand tools. Buffing wheels, in particular, require some attention before first use.
“When you buy a buffing wheel, you’ll know right away if it hasn’t been prepared,” says Bradford. Polishing wheels often have loose strings that, if not removed before use, are likely to come flying off, leaving the polisher covered in strings.
While some jewelers have been known to take a lighter to the edge of a new buffing wheel to burn off any loose strings, Bradford prefers to avoid the risk of flames near high-RPM equipment. Instead, he runs a rake around the edge of the wheel, which not only pulls out the loose strings but also helps soften the wheel. He follows that with polishing compound, which also helps further solidify the wheel.
“The compound is waxy and will seal the surface a little bit so the wheel isn’t so flimsy on the end,” he says. “Generally, going back and forth between raking and adding compound does the trick.”
Setting Tools
Setting tools such as burnishers, prong pushers, and bezel rollers are among the most commonly under-prepared tools at the bench. They’re also some of the most unforgiving.
“Whatever surface is on that tool is going to be transferred to your metal,” says Bradford. “So why not have it be a shiny polish?”
Preparation often involves a combination of edge refinement and handle adjustment. Jewelers can break sharp edges with abrasive papers or stones, then polish working surfaces so they slide rather than scrape. In some cases, tools can be re-profiled entirely, narrowing a prong pusher or reshaping a bezel roller to better match the scale of the work.
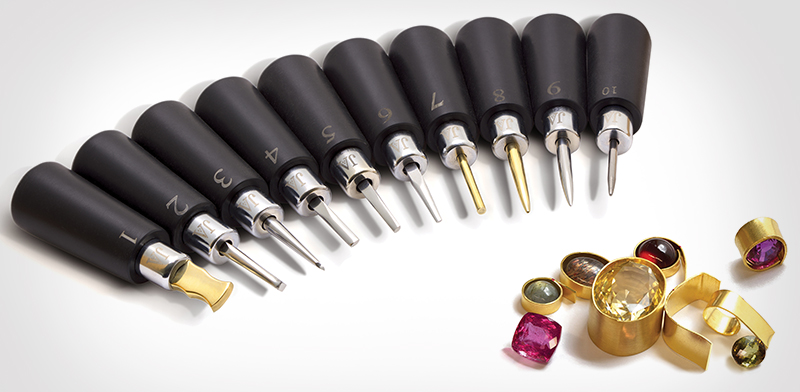
“If a tool drags instead of gliding, you see it immediately in the metal,” says Cynthia Eid, a jeweler in Lexington, Massachusetts. “That’s not a technique problem—that’s a tool problem.”
On the other hand, Boyd prefers enough tooth to keep the tool from skating across the metal. “Bezel rollers will come from the factory with a high polish,” he says, “but I prefer a matte finish that has a little grip to it. I’ll scuff up the face with 180 grit to make it less prone to slipping.” His goal isn’t roughness, but control.
And as with other hand tools, handle length also matters. “A lot of these setting tools come with ridiculously long handles,” says Caines. “They’re supposed to fit everyone, which means they don’t really fit anyone. Those tools should fit in the palm of your hand. If they don’t, you don’t have leverage.”
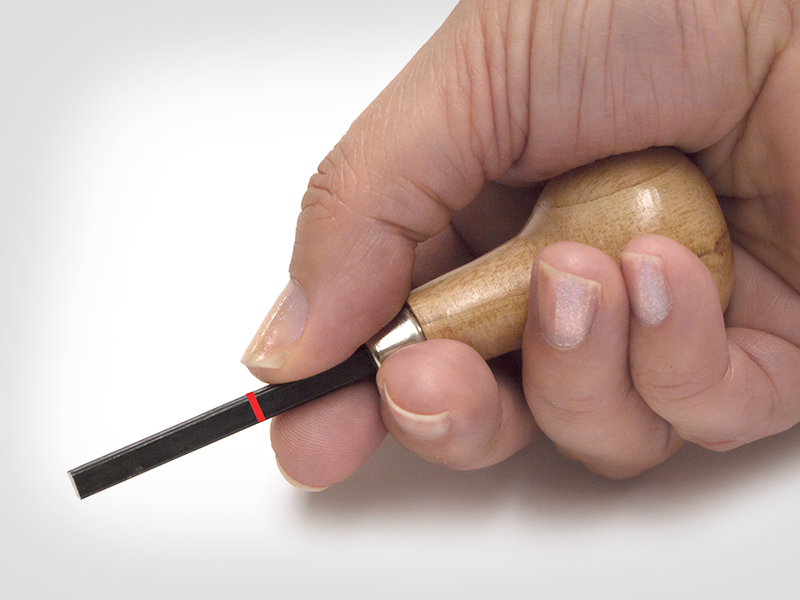
Close your eyes and run your fingers over it. If it feels sharp to your hand, it’s going to leave a mark, and I don’t ever want to clean up marks.” —Jeanette K. Caines
When preparing tools for use, Caines recommends evaluating them by feel rather than appearance. “Close your eyes and run your fingers over it,” she says. “If it feels sharp to your hand, it’s going to leave a mark, and I don’t ever want to clean up marks.”
Flex Shafts
Many jewelers view flex-shafts as tools that arrive ready to use right out of the box, but Dailing has found that they sometimes arrive in need of a little maintenance.
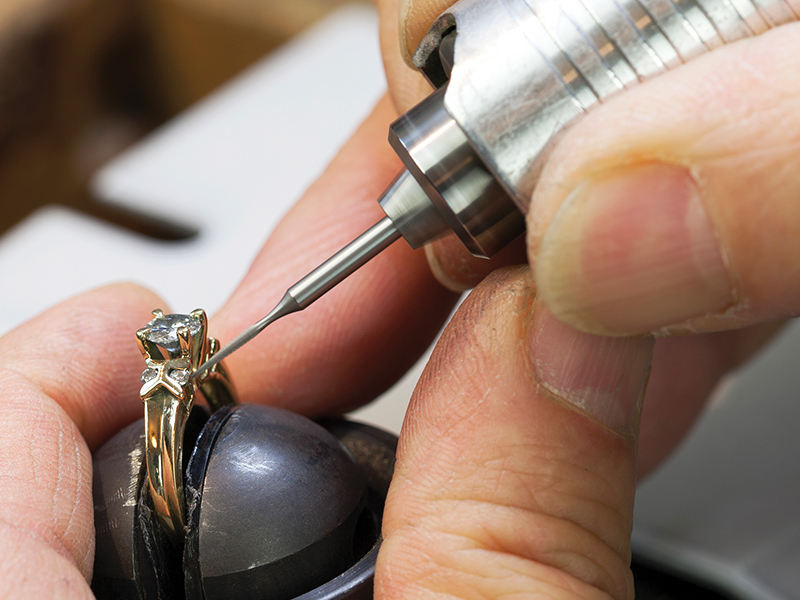
“Many times, the inner shaft hasn’t been greased,” he says. “And that’s so critical. If it’s not lubricated, it can overheat, which can cause the inner shaft to overheat and wear out prematurely.”
Luckily, it’s an easy fix. Dailing recommends unthreading the flex-shaft’s outer shaft and pulling it down a few inches so you can get a good view of the inside shaft and see if it’s been lubricated. If not, he recommends applying a grease to the shaft. “But not an oil, because it can seep out and get very messy as the tool is running,” he says.
3-D Printers
Many 3-D printers used by jewelers are marketed as plug-and-play. While they can be fired up shortly after unboxing, most need to be calibrated before you can begin sending files for it to print.
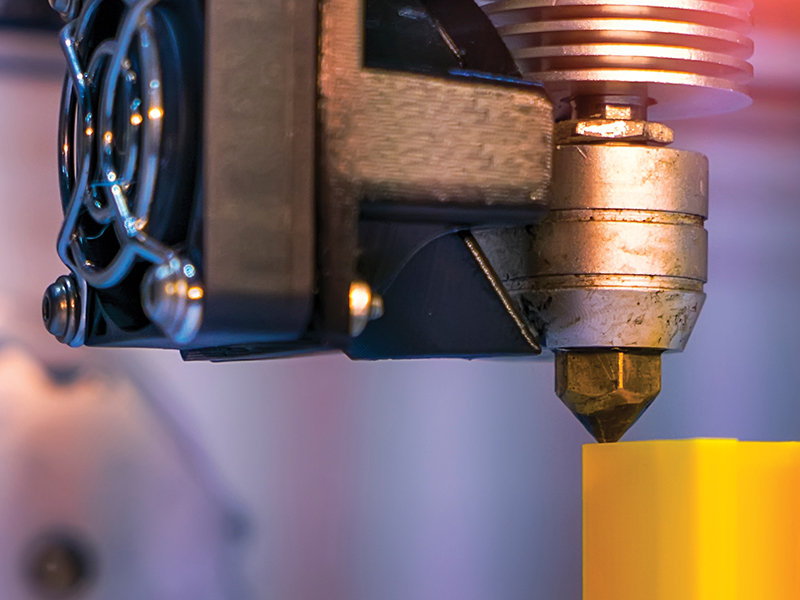
When Minneapolis-based jeweler Andrew Bugher sets up a new 3-D printer in his studio, he begins by loosely installing the build plate, so it’s floating free, and placing a few sheets of paper under it to cover and protect the LCD screen. He notes that printers usually have a calibration sequence that can be run at this point to lower the build plate so it’s pressing against the screen. He then tightens the plate’s screws to ensure its level with the glass. This way, everything will print the way it’s supposed to.
Once the printer is calibrated, he simply pours in the resin and presses “go.” “They’ve made these things pretty easy these days,” he says.
Bench Pins
Few tools are as personal (or as heavily modified) as the bench pin. While they’re sold in a standard shape, most jewelers alter them almost immediately.
Some carve V-shaped notches or narrow slots to stabilize wire and small components during filing and sawing. Others widen the working surface or add stepped cutouts to support flat stock at different angles. Jewelers who do a lot of piercing may thin one edge of the pin for better blade access, while those focused on fabrication may reinforce high-wear areas to extend the pin’s life.
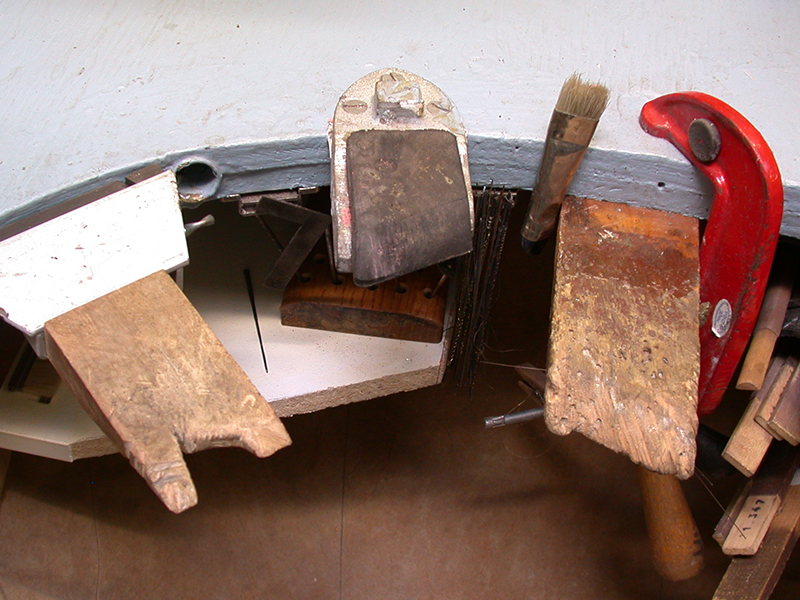
“The bench pin is like an old pair of boots,” says Chandler. “They’re broken in for you. Sitting at someone else’s bench pin is like wearing someone else’s shoes.”
Many jewelers also keep multiple bench pins on hand, each modified for different types of work, rather than relying on a single all-purpose pin. In that sense, the bench pin becomes less of a tool and more of a record—shaped over time by the kinds of work done at the bench.