

How to Create Custom Textures for the Rolling Mill
Easy Embossing Plates
A step-by-step guide to creating your own custom printing plates
By Helen I. Driggs
(Originally Published by MJSA September 2023)
I love to make my own tools, and creating custom positive/negative sheet metal for my rolling mill takes my work beyond what’s commercially available, giving my jewelry a unique look. All you need to create your own printing plates are some sheets of 18 gauge yellow (cartridge) brass; some stamps, punches, hammers, or other texture sources; a steel block and chasing hammer; some painters tape; marking and measuring tools; and lots of patience.
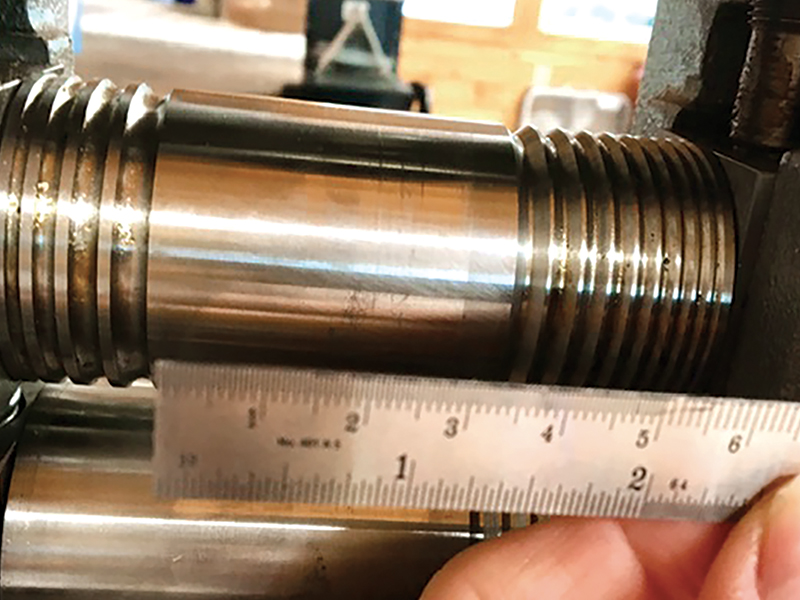
1. Start with a realistic measurement of the “live” area of your mill. For this particular combo mill, the sheet area of the rollers is only about 35 mm, so the maximum width of the printing plate is about 30 mm to allow enough clearance on both sides for a good impression.
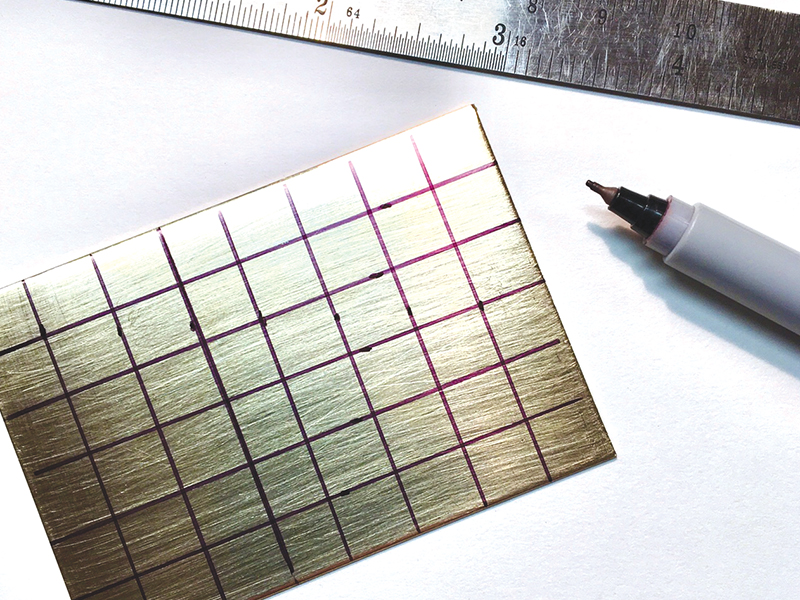
2. After cutting the brass sheet to size, clean it very well to remove any scratches, grease, tarnish, or other potential marks that will also unintentionally print along with your carefully stamped pattern. Mark layout lines for the printing plate in a grid or other pattern to create the stamped pattern. I use a permanent marker to mark the grid.
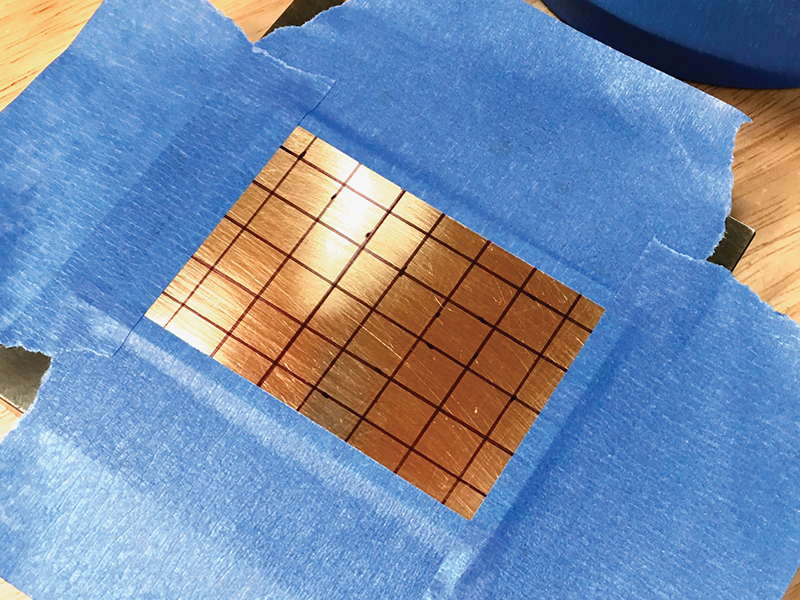
3. Securely tape the clean brass to a pristine steel bench block using painters tape or artists drafting tape that won’t leave a sticky residue on the metal.

4. Get comfortable, use strong lighting, and start stamping. Strive for impressions of an even depth for the best results in the mill.
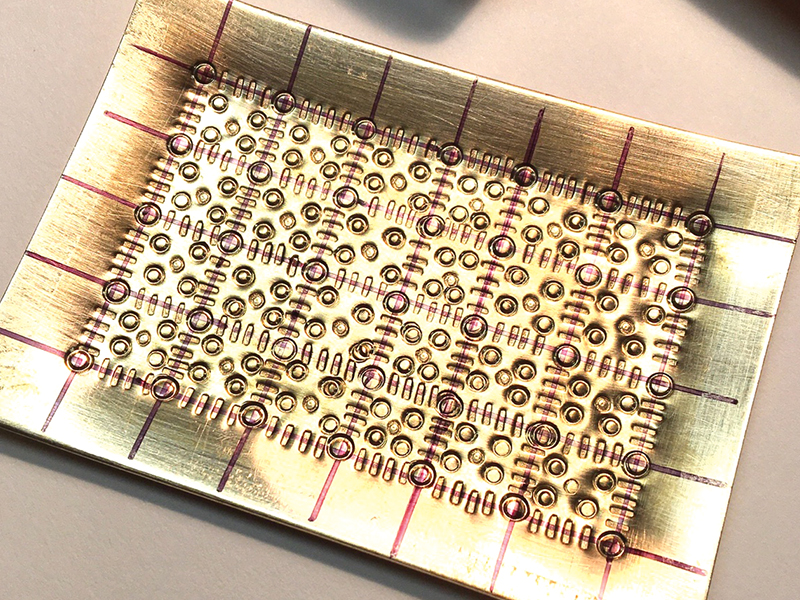
5. Once you have stamped the entire pattern, remove the tape, and examine the plate. It will most likely need to be flattened against the steel block to remove the warping caused by a dense allover design. I use a plastic, nylon, or rawhide mallet to gently flatten the back of the stamped plate, taking care not to create any dents.
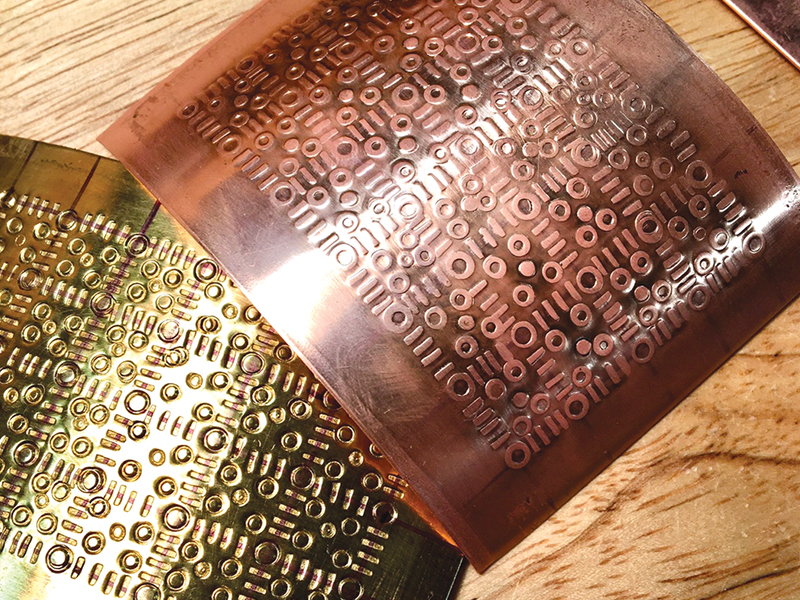
6. Test the printing plate by sandwiching it between clean, annealed, dry metal and another backing sheet of plain metal to protect the rollers. (You can also wrap the plate and the metal you are printing in a folder of plain paper.) In this case, I used copper because I intend to patinate the metal using a green patina to highlight the complexity of the pattern. The brass printing plate may also be used as-is for a jewelry metal and the juxtaposition of the positive/negative design of the original stamped pattern against the printed one is a fun way to add one-of-a-kind texture to your work.