

An Easy-to-Make Wire Jig
Catch a Wave
Creating thin-gauge wire bracelets, earrings, and links
by Helen I. Driggs
(Originally Published by MJSA August, 2025)
Thin-gauge wire jewelry is hotter than ever—likely due to rising metal costs—and I’ve noticed my students gravitating toward retro-style, petite, and delicate designs that can be stacked or layered for a more versatile and substantial fashion statement. Back in high school, my fellow art pals and I spent many happy hours twisting, coiling, and inventing thin-wire jewelry forms during those long, lazy summers at the beach, and a dad-made wire jig, similar to this one, was always in my bead bag. I guess what’s old is new again!
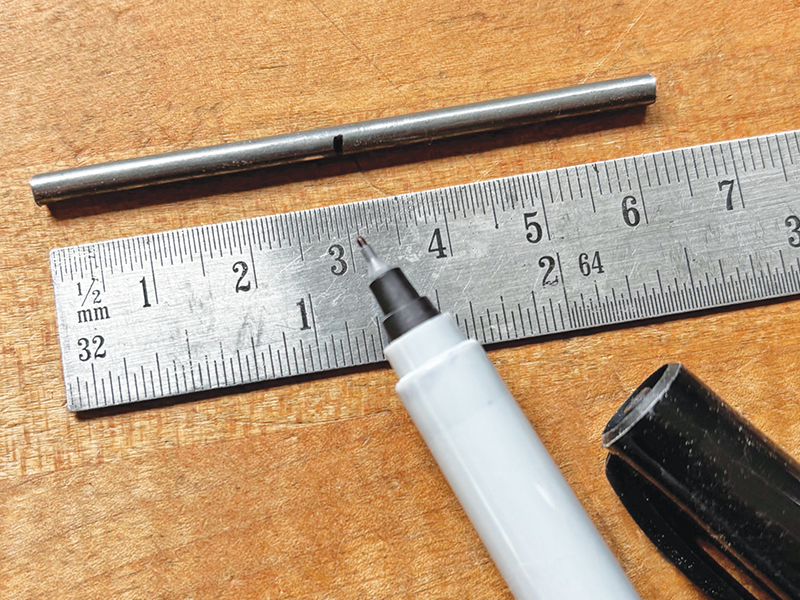
1. To create a wire jig, you’ll need some steel rod (or a fat finishing nail) and a block of hardwood. If you use a finishing nail, saw off the head and point to get a consistent-diameter rod. This one measured about 2.5 inches long by about 5/32 inch in diameter.
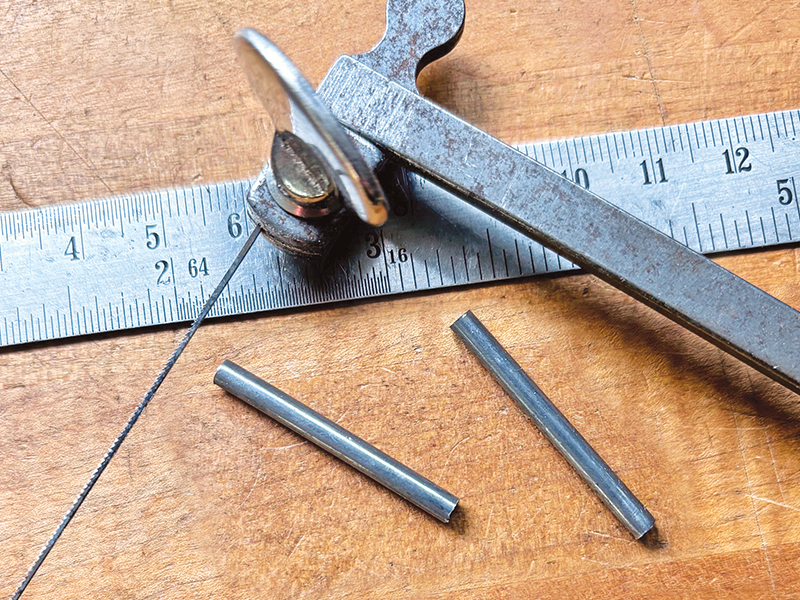
2. Cut the rod into two equal lengths.
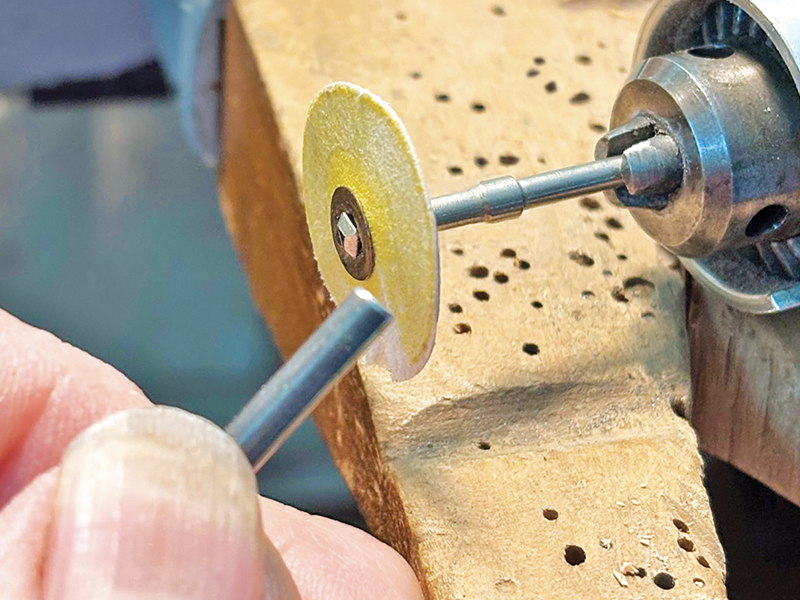
3. Sand the cut ends of the rod sections to remove the burrs and smooth their surfaces for a clean finish
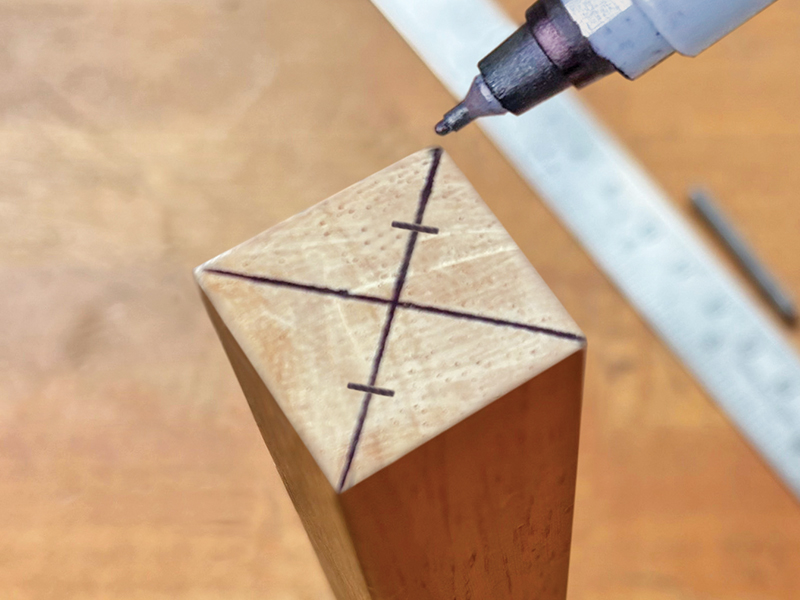
4. Mark an X on a piece of scrap wood. This can be a dowel, a cutoff, or, in this case, a section of 1 inch by 1 inch birch trim leftover from a home improvement project. Consider both the diameter of your steel rod and the final desired width of the waved wire, then mark the positions for holes along one line. Closer holes or thinner rods will create a tight wave; holes set farther apart or thicker rods will produce a looser wave.
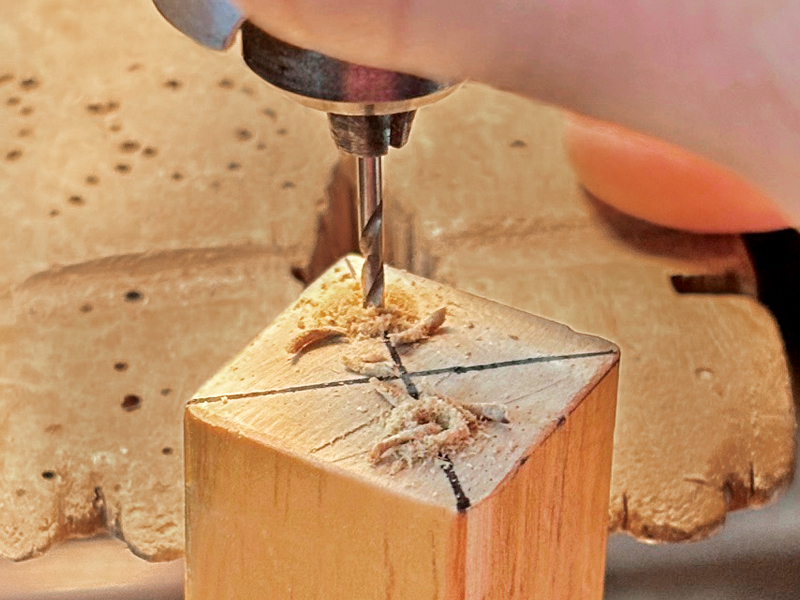
5. Drill a pilot hole at each of the marks. I started with a 1/16 inch (#52) drill bit. It’s important to drill a perfectly vertical hole so the rod will stay straight.
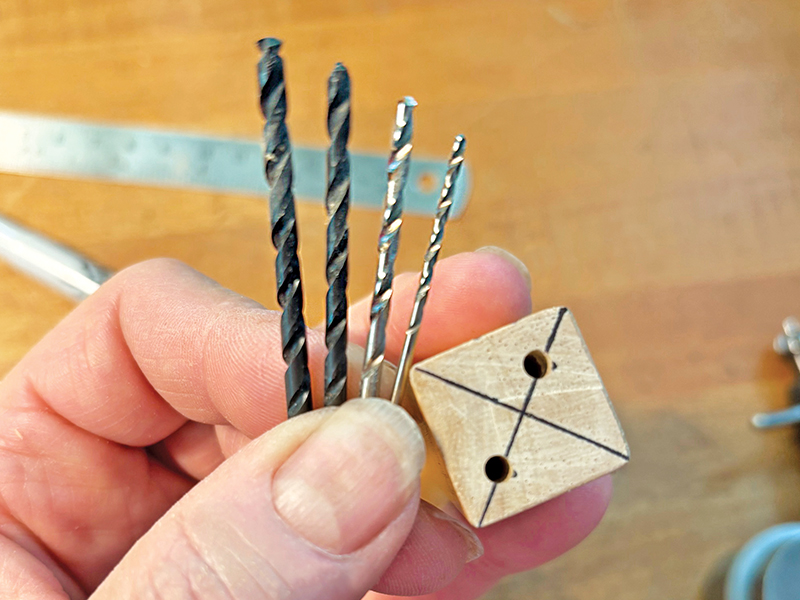
6. To prevent the wood from cracking, progress through a series of gradually larger drill bits until the holes are the same diameter as the rod.
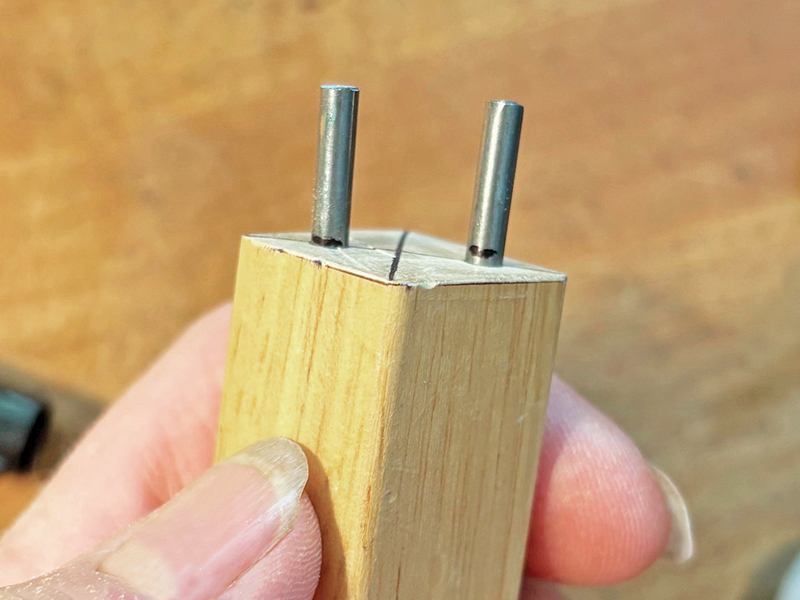
7. Test the fit and position of the rods before gluing.
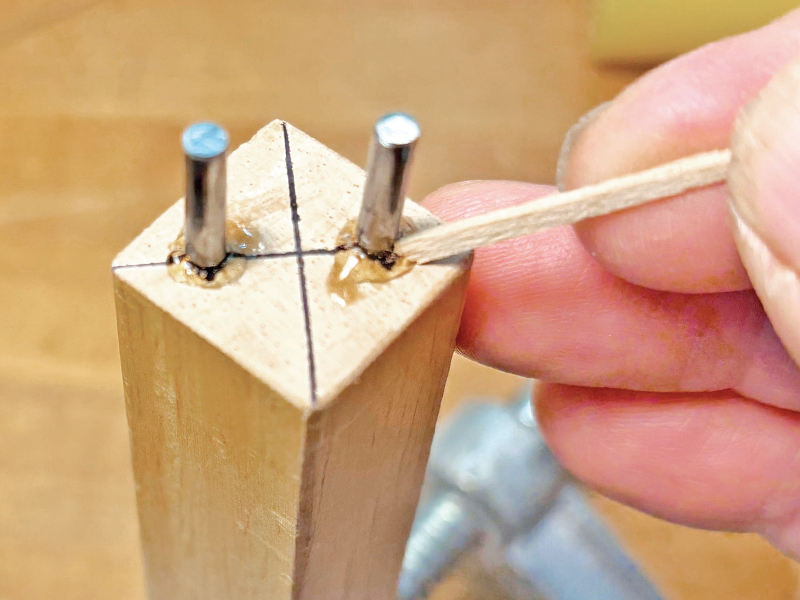
8. Use plenty of strong glue, such as Gorilla brand or a two-part epoxy, in the holes. Clean up any excess ooze with a toothpick or cotton swab. Let the glue cure for several hours. You can use a C-clamp to hold the wood vertical while it dries.
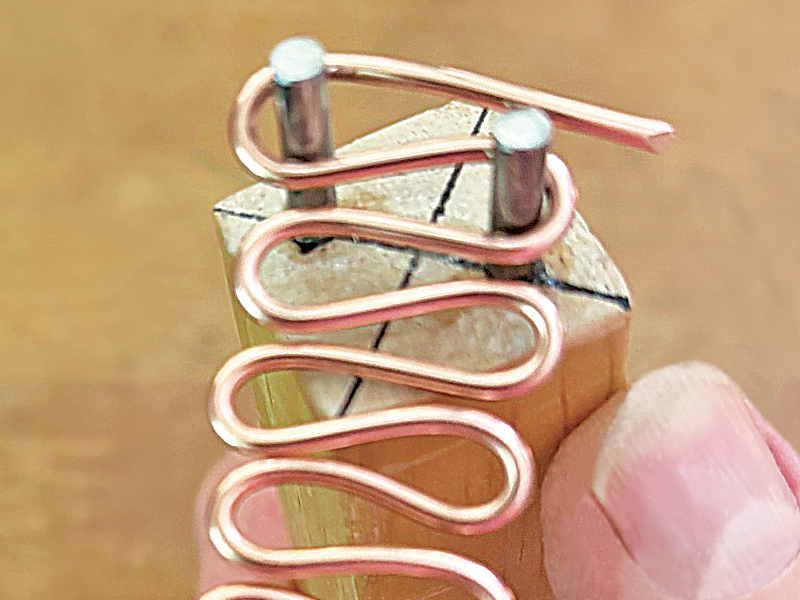
9. To use the jig, feed the wire around the upper rod, bring it down and around the lower rod, and then move the completed loop off the jig. Repeat for as many waves as you wish. The wire can be hammer-textured on a steel bracelet mandrel as is or stretched into gentler waveforms first. Short sections can become earrings, finger rings, or chain links. Solder it or not, but endless possibilities await!