

How to Sketch a Three-Stone Ring
A Gemstone Trio
A step-by-step guide to sketching a three-stone ring
By Rémy Rotenier
(Originally Published by MJSA June 2024)
Three-stone rings are having a moment and it’s easy to understand why: They lay beautifully on the hand and have a strong presence. In this type of design, the center stone is accompanied by a gem on each side.
For an eye-pleasing symmetry, the side stones have to match as well as possible. Remember that measurements are not the only criteria when matching stones. A large, visible inclusion in one of the side stones, or a different size table, would be enough to throw off the balance of the ring.
The usual rule of thumb is that the side stones should be approximately half of the size of the center stone.
For this project, you will need a 0.5 mm and a 0.9 mm HB mechanical pencil, a Tombow Mono 2.3 mm round eraser, a kneaded eraser, 32lb recycled ink jet copy paper, a transparent plastic ruler with centimeters on one side, and #1 and #3 paper stumps.
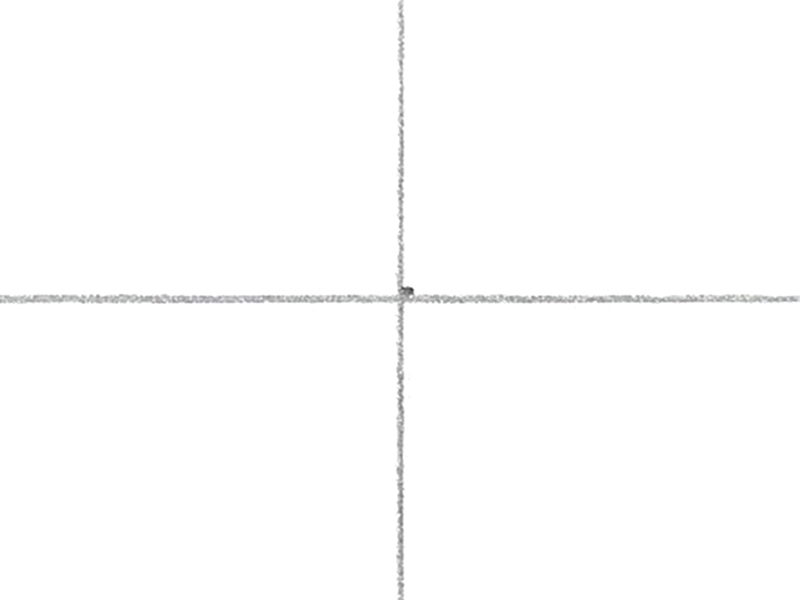
1. For the layout, we will draw the ring as seen from above as this is the best way to check the proportions of the stones together and the overall balance of the design. Using a 0.5 mm pencil, draw a vertical line down the center of the paper. Measure 8 cm down from the top of the page and draw a horizontal line.
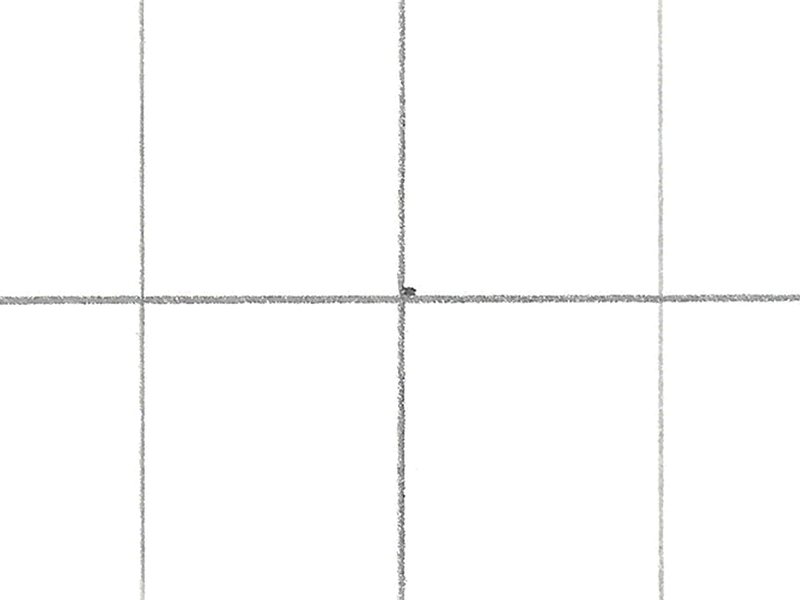
2. Now let’s draw the “tube” that represents the finger. We will make it larger than reality by about 30 percent. It will be represented by two lines, drawn at 12 mm out from each side of the center line.
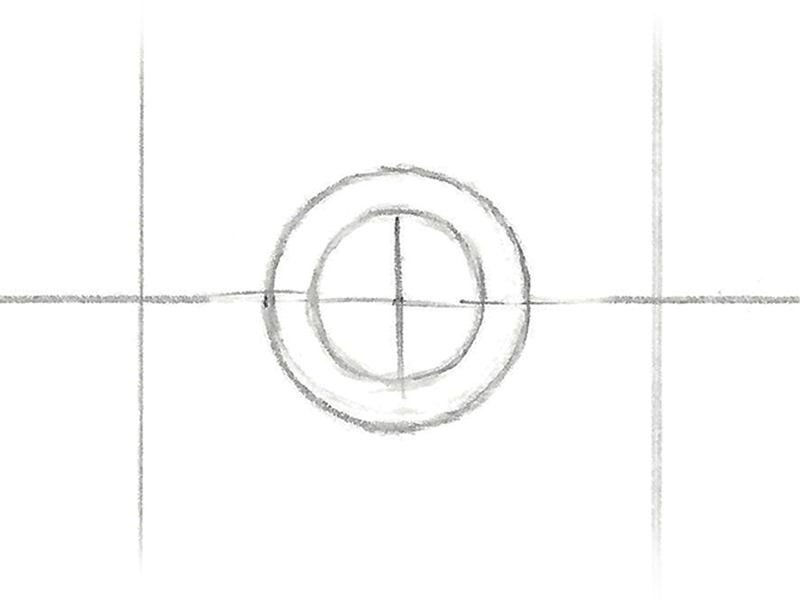
3. For the center stone, draw a 12 mm circle in the center of the first intersection of the lines. Add a circle in the center to represent the table. It should be about two-thirds of the diameter of the center stone, making it 8 mm around. Placement of the table is very important because, as the largest facet of the stone, it will be a good guide of the direction the stone is headed.
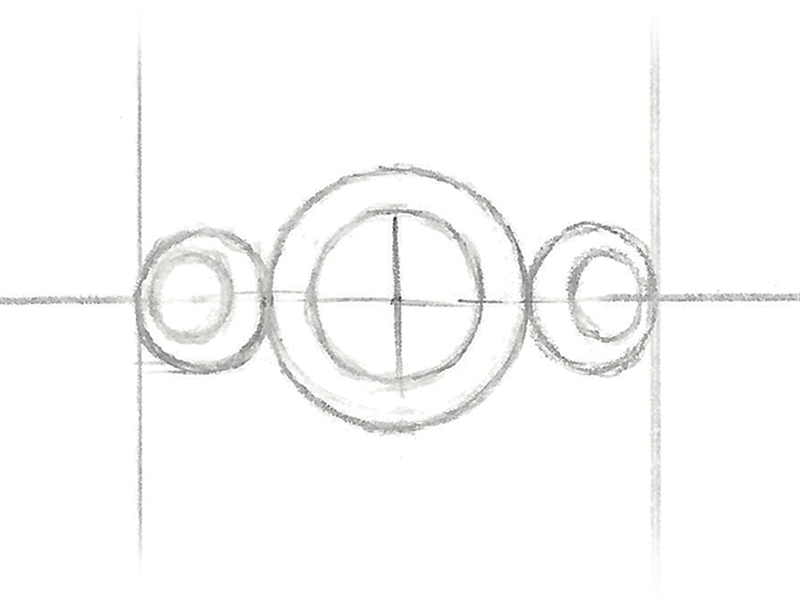
4. When a circle is in perspective, it becomes an ellipse. The slight angle of the side round stones will be enough to make the side stones a bit elliptical. Since the center stone is 12 mm, we will use two 6 mm round side stones. They should measure 6 mm north/south, but only 4.5 mm in the east/west direction. Add smaller ellipses inside the first ones. Note that they are slightly pushed away from the center (toward the right for the stone on the right side and toward the left on the left side).
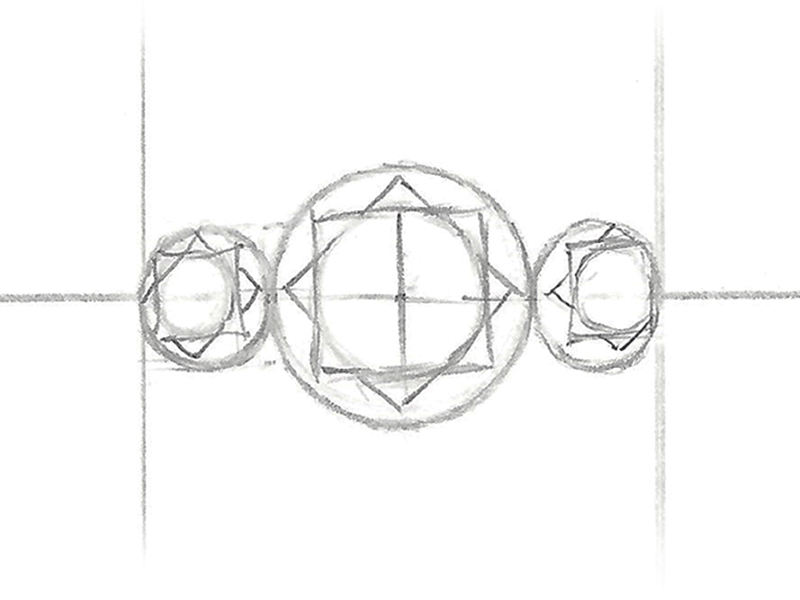
5. Draw a square with a bit of a curve in each stone, using the internal ellipse for the table as a guide. Now draw another set of squares on top of the first ones but at an angle. This creates the star facets.
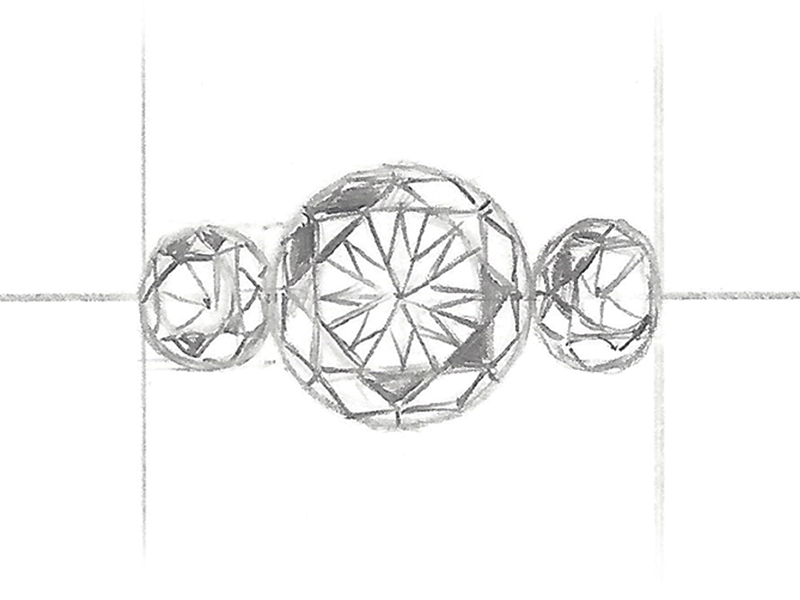
6. Add the triangles and the arrows of the pavilion, as seen through the table. Create a highlight by selecting the upper left star facet and darkening around it. Keep dark values around that highlight, as well as on the opposite side of the table, on the lower-right side.
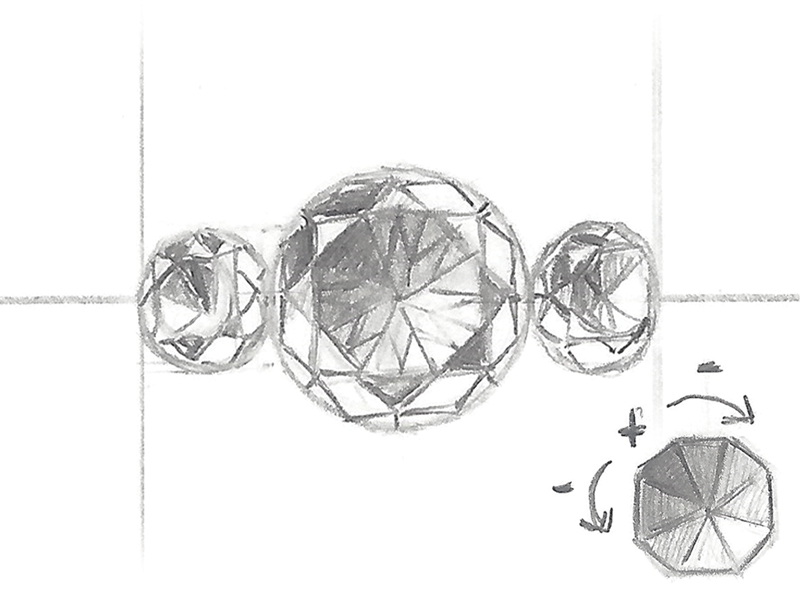
7. To give depth and the illusion of transparency, shade the facets of the pavilion from dark to lighter grays, with the darkest one being on the top left corner, and lightening on either side from there. Following the convention that the light source comes from the left at 45 degrees, use the #1 paper stump to smooth out the gray values.
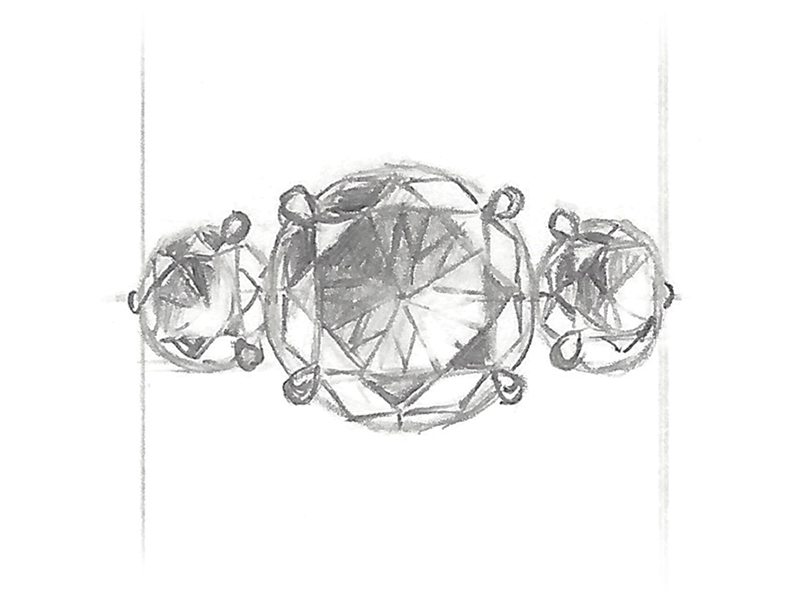
8. Next, add four claw-shaped prongs at the four corners of the center stone. For a bit of a twist from the classic four prongs, draw three prongs for the side stones as shown. It can help to first use a thin eraser to erase a tiny bit of the stones where the prongs will be.
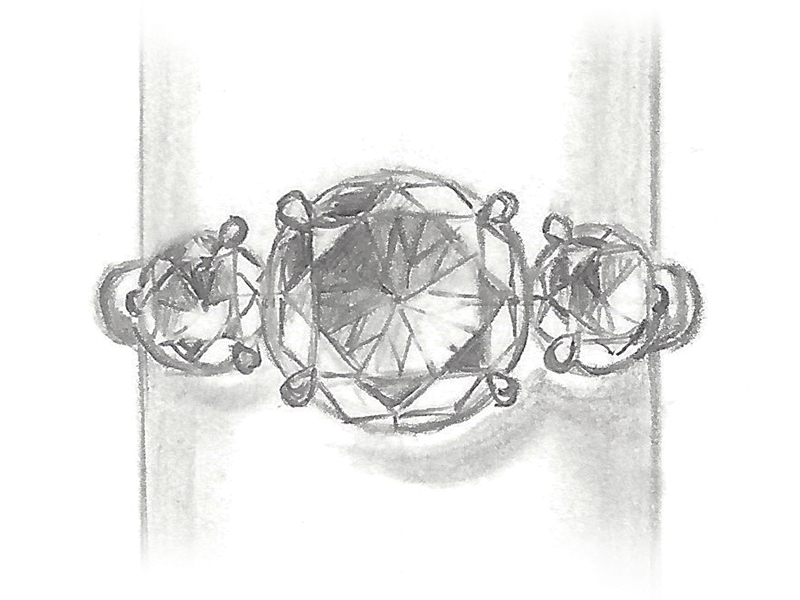
9. Add a little bit of the shank showing from the top on each side of the ring. Think of it as the metal thickness showing on the sides. Add subtle shadows under the ring and on the tube itself for a little staging and drama.
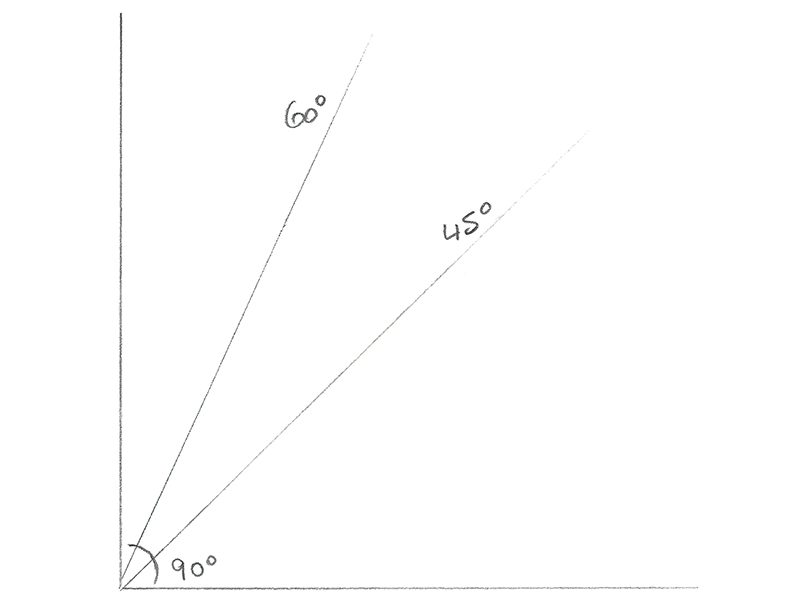
10. Designing the ring from the top gives us a better idea on how the proportions and the design in general will work. Now let’s design the same ring but in perspective. We will go with 60 degrees instead of 45 degrees, as it will be a bit easier. Begin by drawing a vertical and a horizontal line to create a 90-degree angle. Lightly draw a diagonal line to split the space. That is your 45 degrees. Split that again in half to have a line at approximately 60 degrees. We will build the ring on that line.
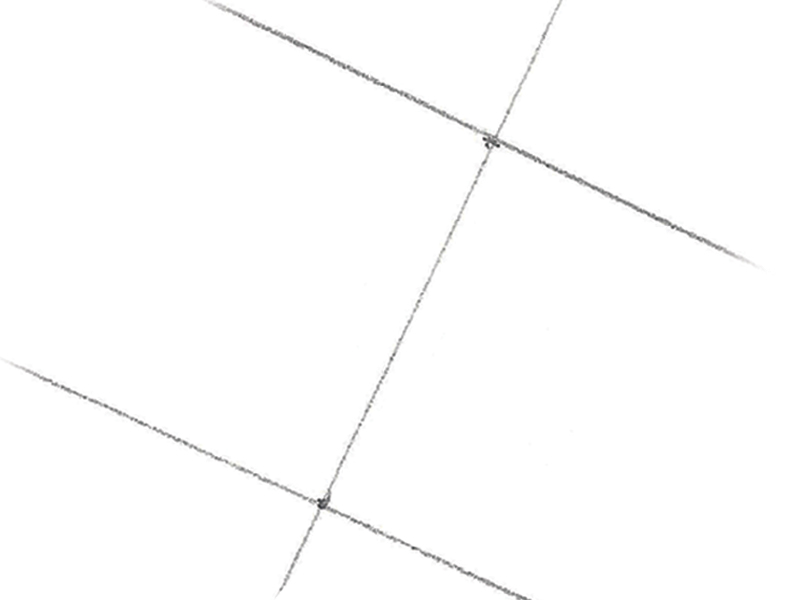
11. Erase all the lines except the diagonal one at 60 degrees. Draw two points on that line 24 mm apart. Draw two perpendicular lines through those dots to represent the opening of the ring. We will keep an eye on these construction lines as they are important guide
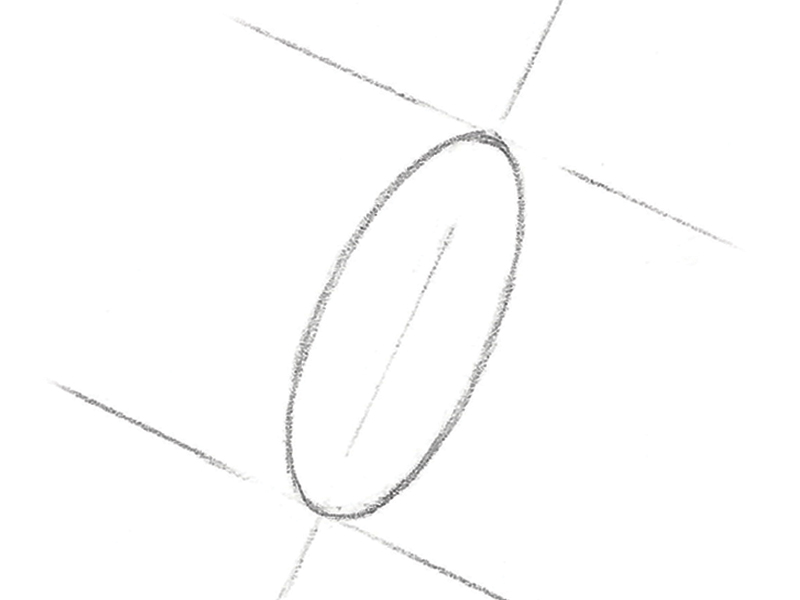
12. Draw a 24 mm ellipse within those guidelines. Make the ellipse 10 mm wide.
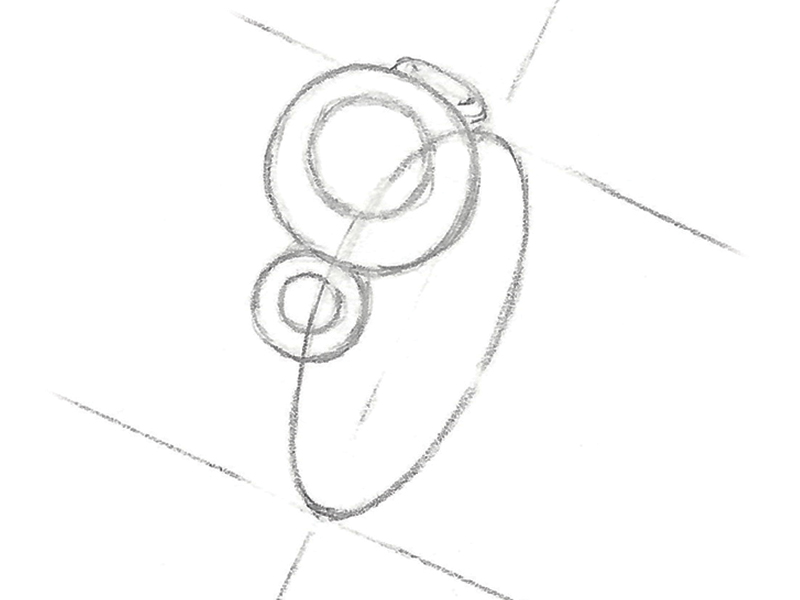
13. For the center stone, draw a wide ellipse three quarters of the way up the original ellipse. Note how it is moved up from the center. We do this to lift the stone. Add another ellipse for the table. Watch the orientation of that table. To understand the placement, see the inset illustration. It is a great little tool to keep in mind when designing rings in perspective. Add the left side stone, which, because of the angle, is facing us. Therefore, the stone is a regular 6 mm circle with its table centered. The side stone on the right is barely visible at this angle, as it is a sliver of an ellipse.
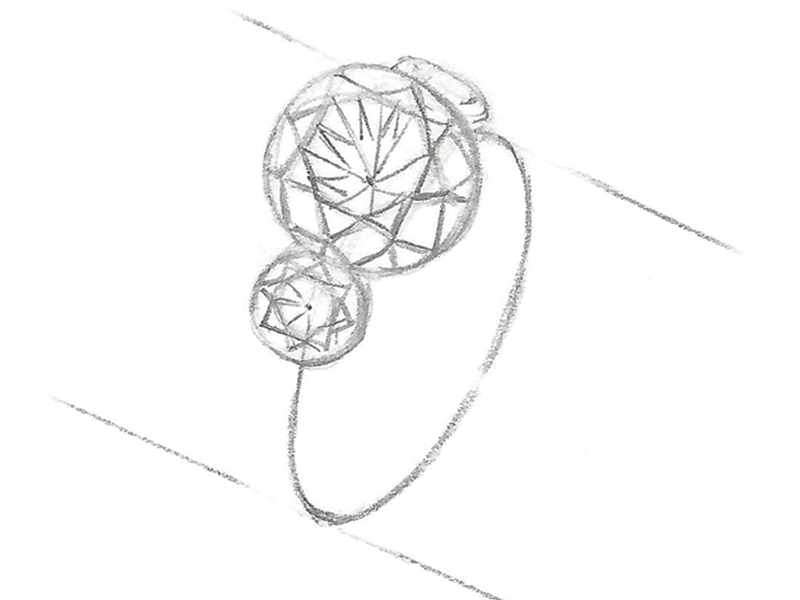
14. Draw the two curved squares for the facets following the table facet ellipses. Add the other facets that are visible from this angle. The ones on the right side disappear behind the ring, as they are not visible from this angle.
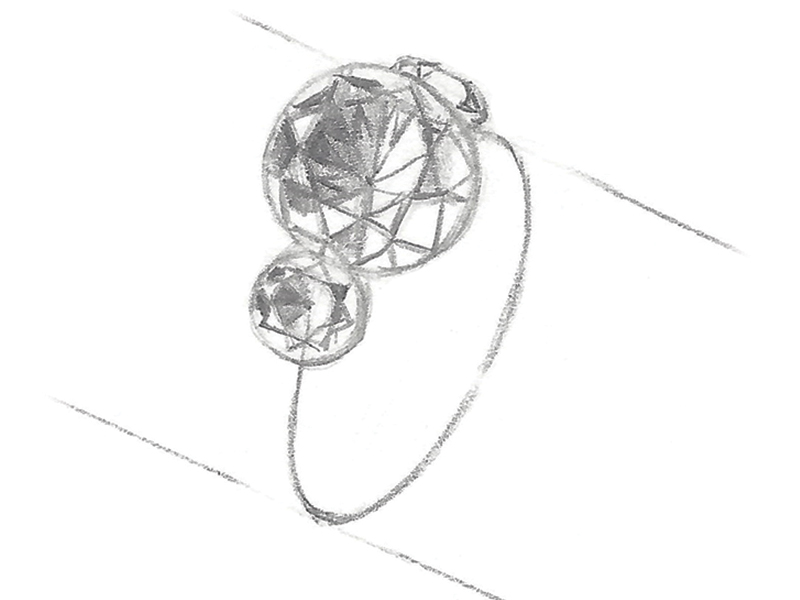
15. Shade the stones as we did in Step 8.
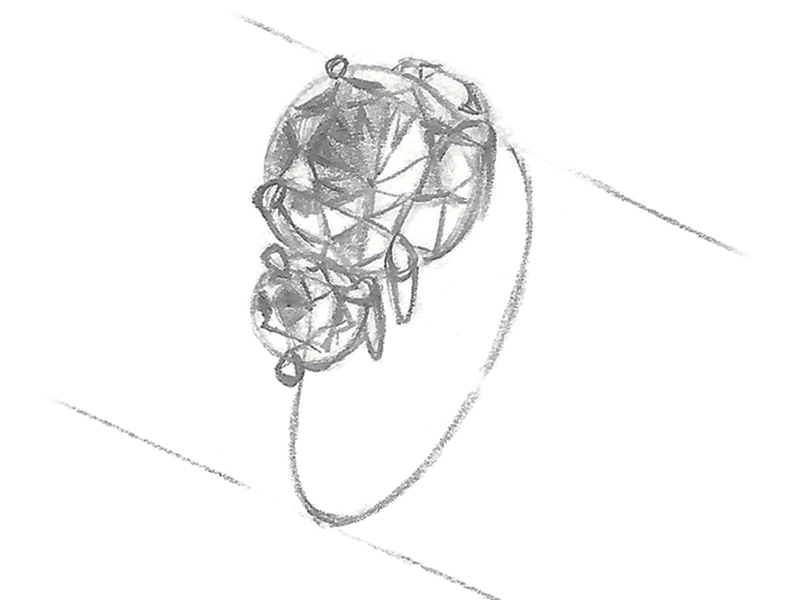
16. Now add the claw-shaped prongs. Notice how the ones closer to us are larger and how the ones on the right are vanishing. Bring the prongs down. Keep the single prong at the bottom of the left side stone without a stem as it will be attached to the shoulders of the ring.
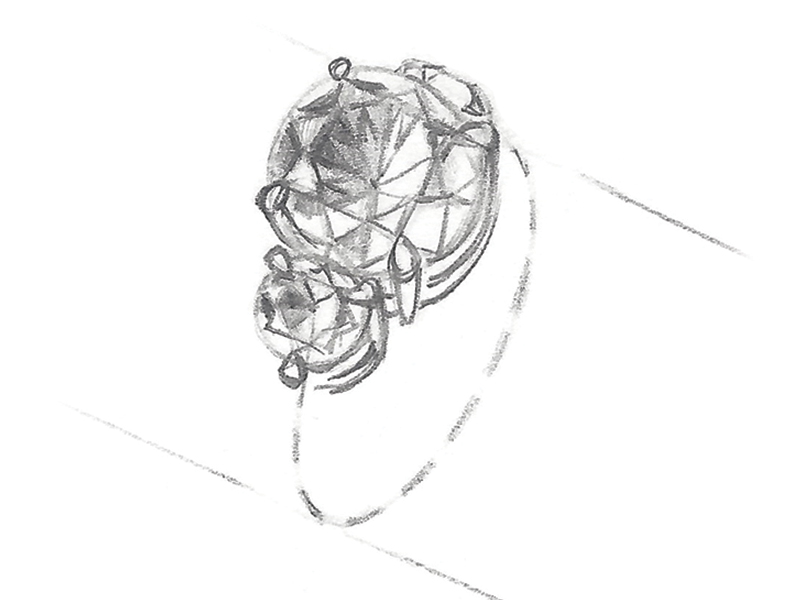
17. Add some curved lines along the sides of the stone to create the setting. Keep the first ellipse as a dotted line and use it as a guide for the center of the shank.
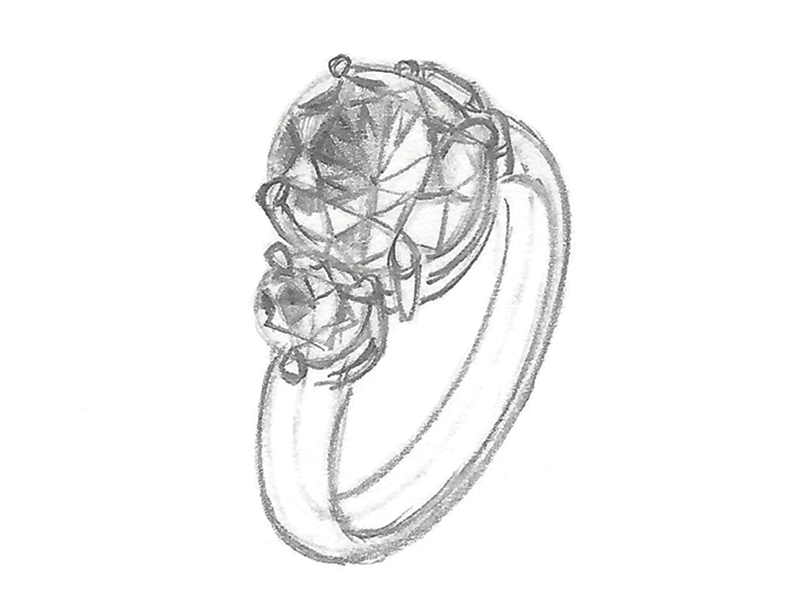
18. Build the shank from there, adding both sides of the shank and keeping the lines parallel.
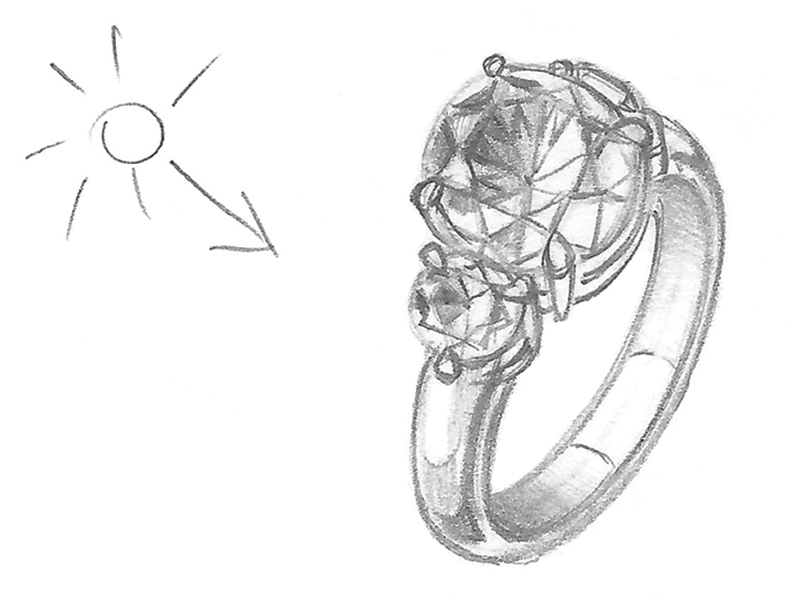
19. Erase the center dotted line and any other construction lines you may still have on the design. Remembering that the light shines from the left at 45 degrees, add dimension to the ring’s shank. For metal, use three shading values: a highlight (the white of the paper), a base color (light gray), and a dark value (dark gray). To make an object look metallic, keep a bit of light on the edges instead of letting the shadow touch the outside edges.
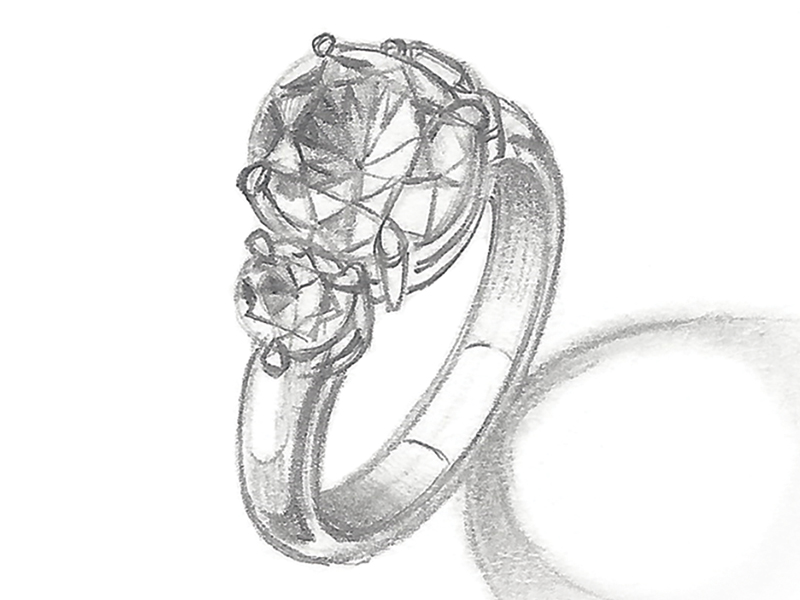
20. Create a shadow that will sit the ring on an imaginary floor and add dimension. Use a #3 paper stump to smooth it out. Voilà!