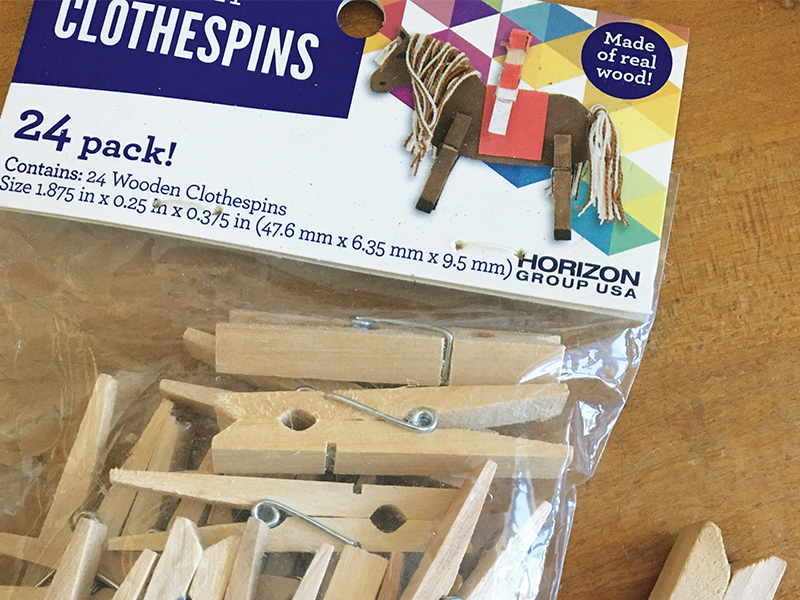
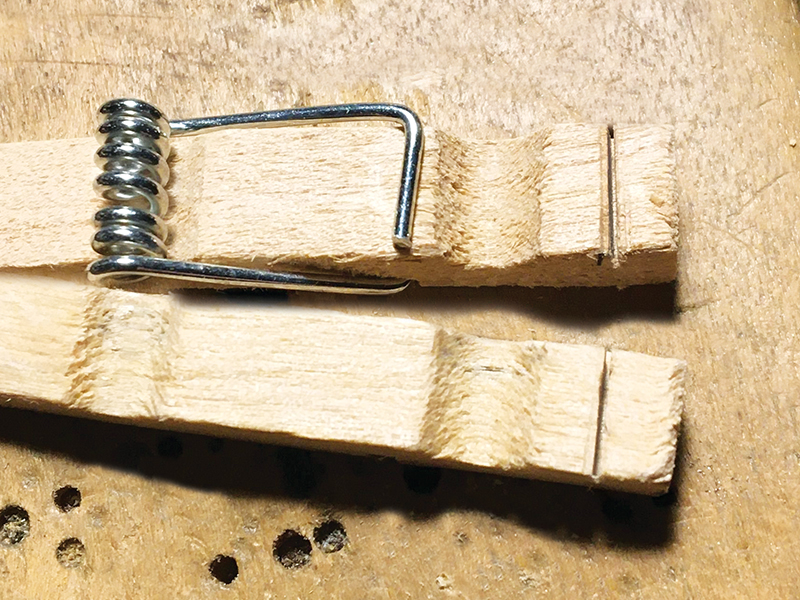
I’ve written in the past about using clothespins at the bench, but when I discovered these inexpensive mini clothespins at the craft store, I brought a bag home to revisit clothespin tool making. Clothespins are great to have on hand in the shop for holding things you’ve glued or, even better, for gripping tiny things at the bench. With a quick modification or two, you’ll come up with ideas of your own, but here are two more ways to use them.
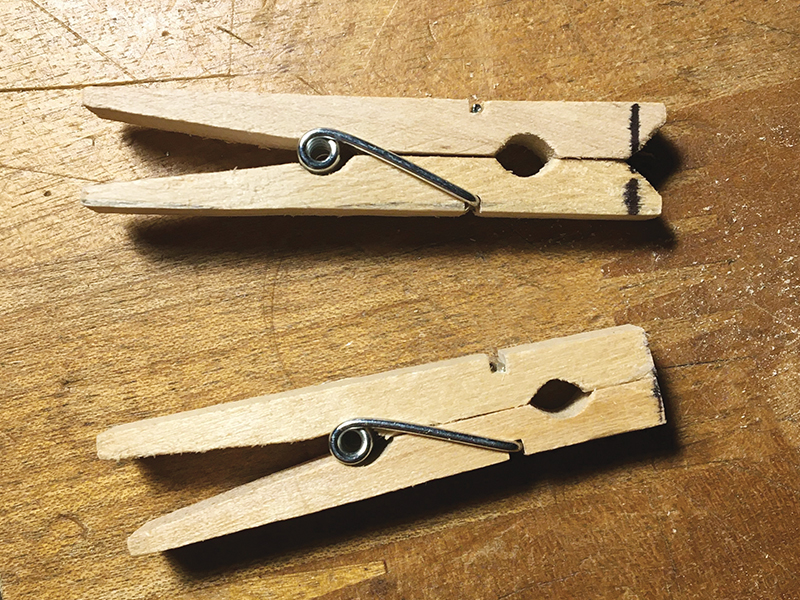
1. To give you a sense of their diminutive size, here are the mini clothespins next to a regular full-size one. The store had even smaller ones available, but I thought they would break too easily, so I passed on them.
2. The first modification will transform a mini clothespin into a tube-rivet holding clamp. To begin, saw off the pointed tips of the clothespin.
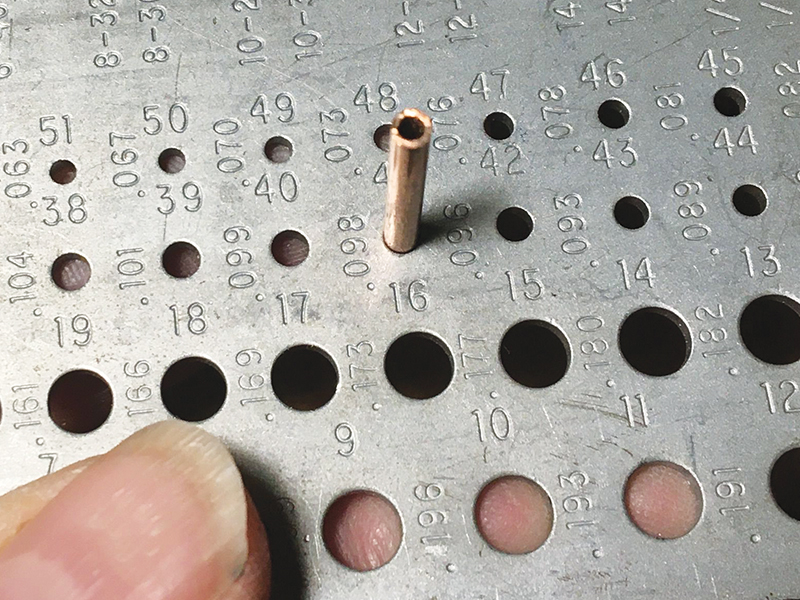
3. Measure your most-used tubing stock with a drill gauge to determine what size drill bit to use to create the hole. In this case, a #41 drill bit is compatible with the 3/32 stock tubing I use the most.
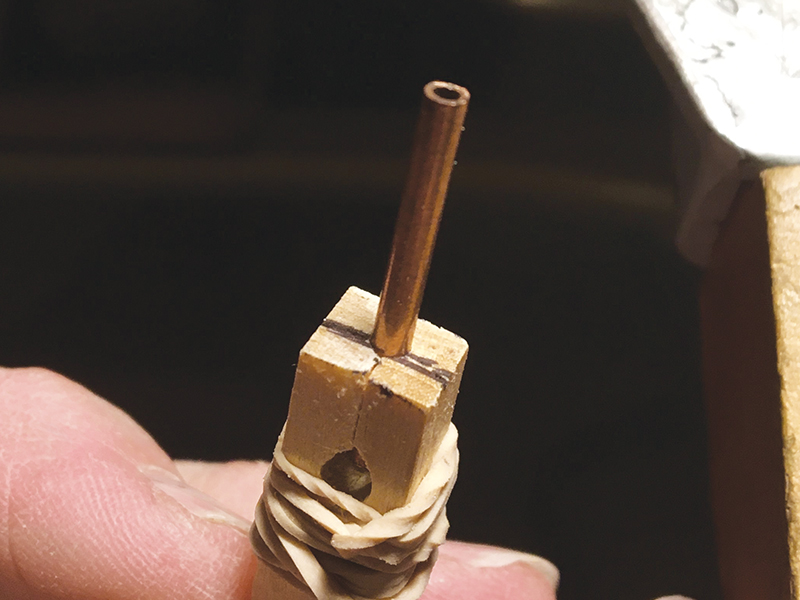
4. Draw a perpendicular line at the halfway point on the flat clothespin end that was created when we sawed off the tips. Where the line meets the pin jaws, drill a hole into the wood using the drill bit selected in Step #3.
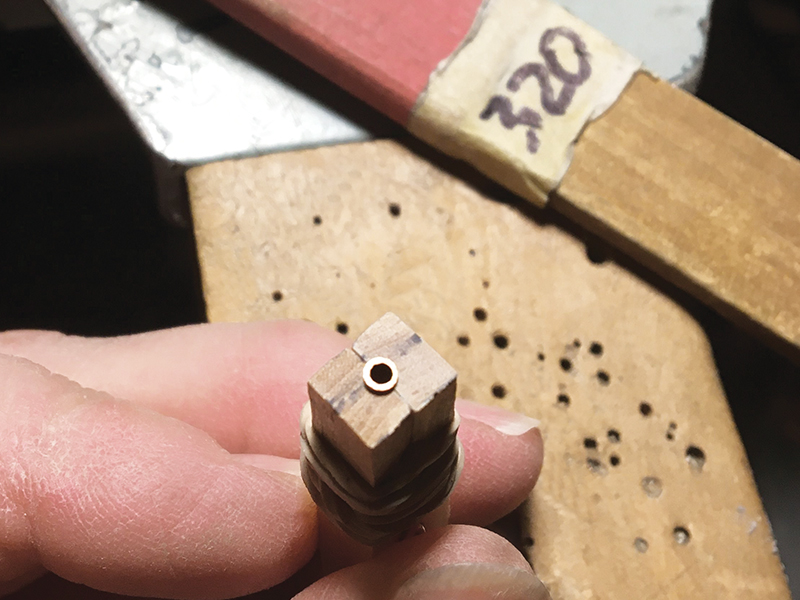
5. The tubing fits perfectly, and you can secure it using a rubber band around the jaws. This makes it easy to hold/mark/saw/file tiny lengths of tubing for hollow rivets, hinge knuckles, tube settings—you name it.
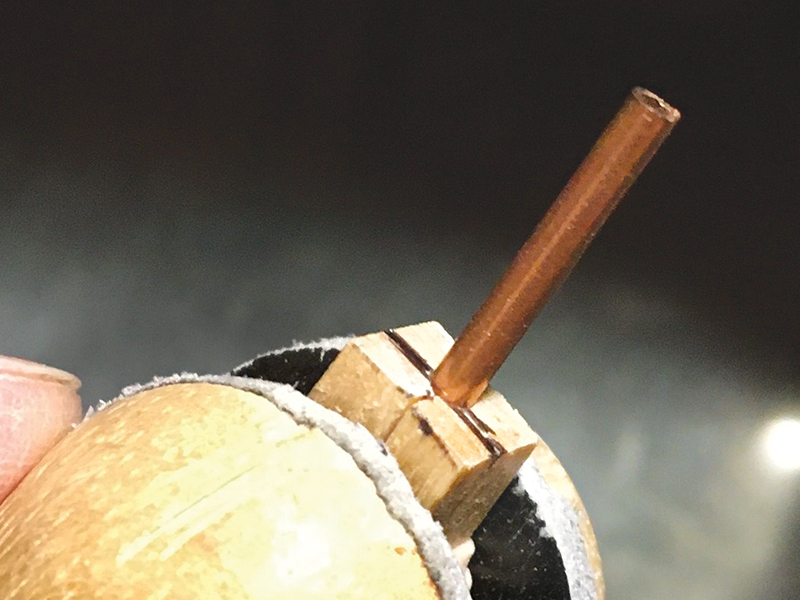
6. Best of all, unlike the full-size ones, the mini clothespins fit within the standard jaws of a ring clamp.
7. Filing and sanding is a snap when tubing is held in these little clothespins.
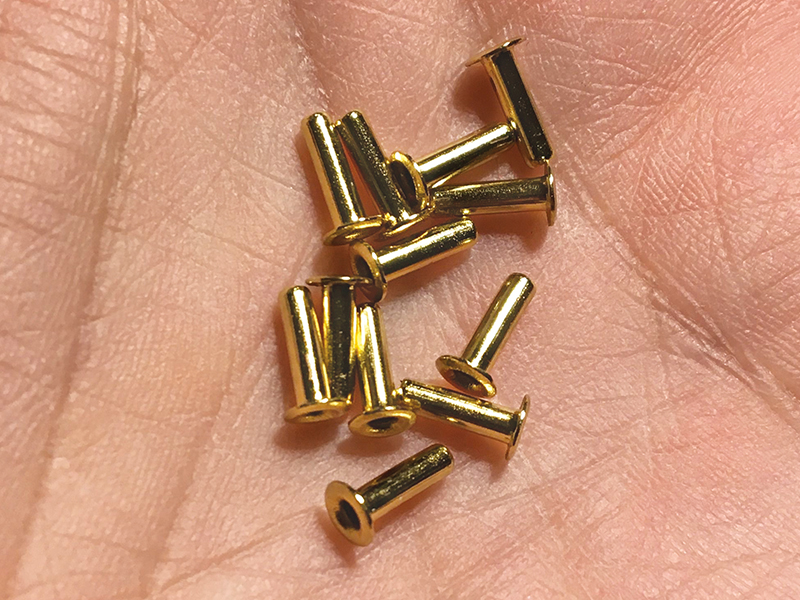
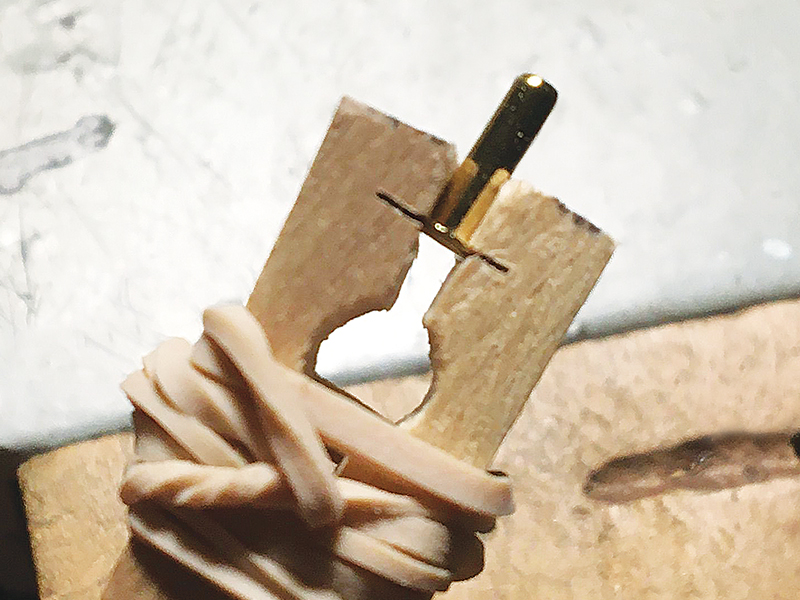
8. The second modification we’ll make lets you securely hold commercially made hollow rivets while adjusting the length of the shaft for installation.
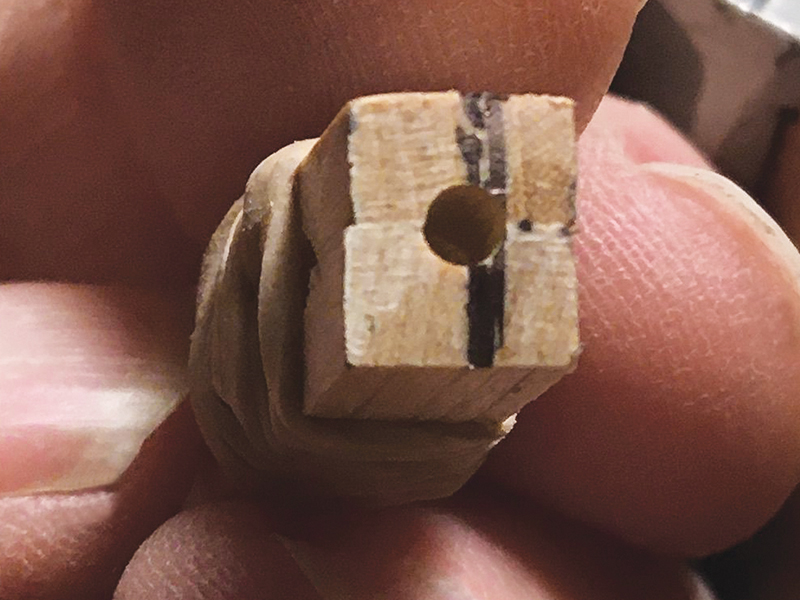
9. To modify the clothespin, disassemble the pin and saw a slot in the inner surfaces that the rivet head flange can slide into during sawing. The placement of the slot depends on the length of the rivets and how short you need to saw them for the jewelry piece.
10. Reassemble the clothespin and voilà! You now have a securely held and ready to saw/file/sand rivet at the ready. For extra security, you can wrap a rubber band around the clothespin to hold it tightly closed. Now, to come up with 22 more applications for the rest of those clothespins…
Manage Consent
To provide the best experiences, we use technologies like cookies to store and/or access device information. Consenting to these technologies will allow us to process data such as browsing behavior or unique IDs on this site. Not consenting or withdrawing consent, may adversely affect certain features and functions.
Functional
Always active
The technical storage or access is strictly necessary for the legitimate purpose of enabling the use of a specific service explicitly requested by the subscriber or user, or for the sole purpose of carrying out the transmission of a communication over an electronic communications network.
Preferences
The technical storage or access is necessary for the legitimate purpose of storing preferences that are not requested by the subscriber or user.
Statistics
The technical storage or access that is used exclusively for statistical purposes.The technical storage or access that is used exclusively for anonymous statistical purposes. Without a subpoena, voluntary compliance on the part of your Internet Service Provider, or additional records from a third party, information stored or retrieved for this purpose alone cannot usually be used to identify you.
Marketing
The technical storage or access is required to create user profiles to send advertising, or to track the user on a website or across several websites for similar marketing purposes.
A Fresh Look. A New Website. A Stronger Membership.
We’re excited to unveil Jewelers of America’s refreshed brand and redesigned website, reflecting our growing community and continued commitment to the jewelry industry.
With JA and MJSA now united under one membership, we’re bringing together more resources, expertise and connections to support every facet of the jewelry industry.
Take a look around to see all that JA offers — members can login to access member-only content like benefits, the Knowledge Vault and Advocacy resources.
Questions? Contact us at members@jewelers.org or call/text (800) 223-0673.