

Creating Stronger Joins
Easy Bound
How to combine joining techniques to achieve maximum holds
By Fabio Penuela
Soldering is an important part of what we do as bench jewelers. There are different degrees of difficulty when it comes to soldering, which is why some jewelers turn to laser welders. However, I’ve always found a laser weld to be a bit brittle and not as strong as I would like it to be, often requiring too much metal to make a strong join. Instead, I prefer solder joins, which I find to be strong, clean, and seamless.
That said, I do like to use a laser welder to tack pieces together before soldering them the traditional way. This is especially helpful when a piece needs to be soldered in many different spots since you can risk melting the piece with repeated heating. This technique allows me to combine the two joining techniques to maximize my odds of a successful project.
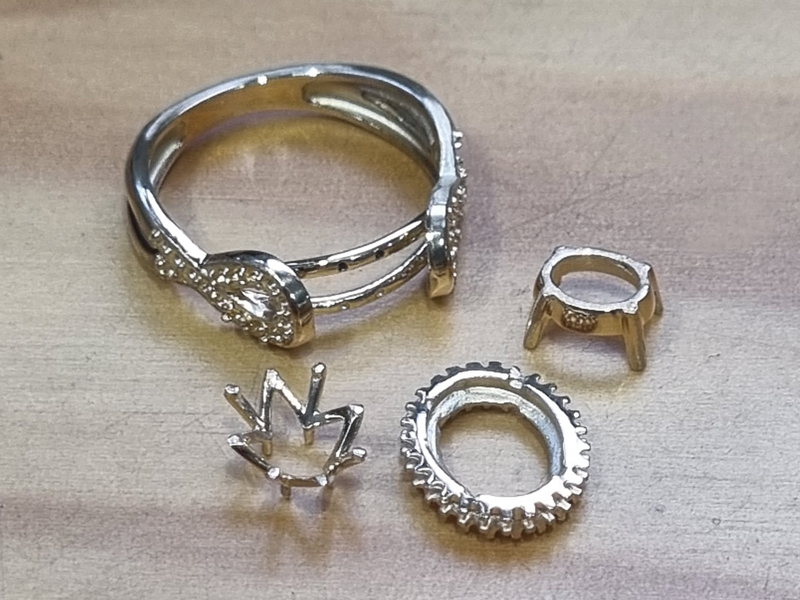
1. To start, polish and clean all the components that you are going to join. For this project, I’m assembling an 18k white gold ring. This ring will be made from four pieces: the shank, gallery, halo, and crown.
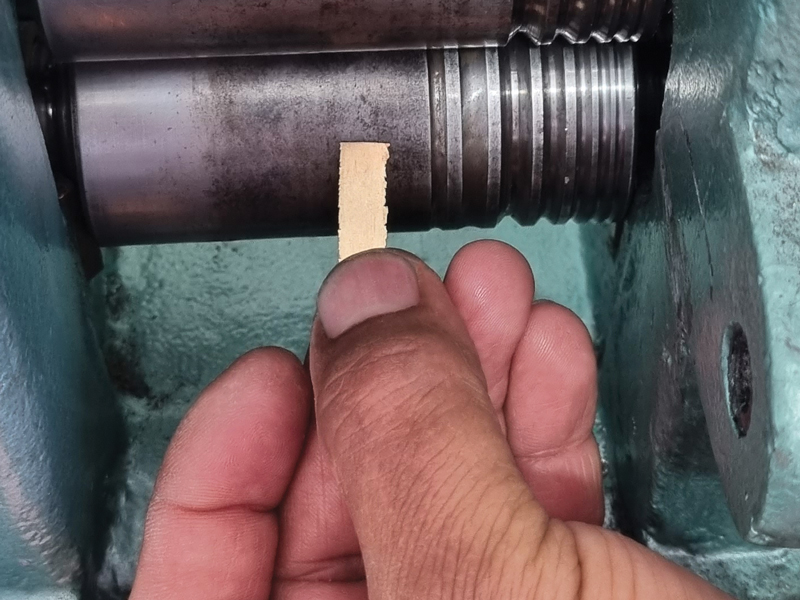
2. Roll down a piece of hard solder so it’s 0.5 mm thin.
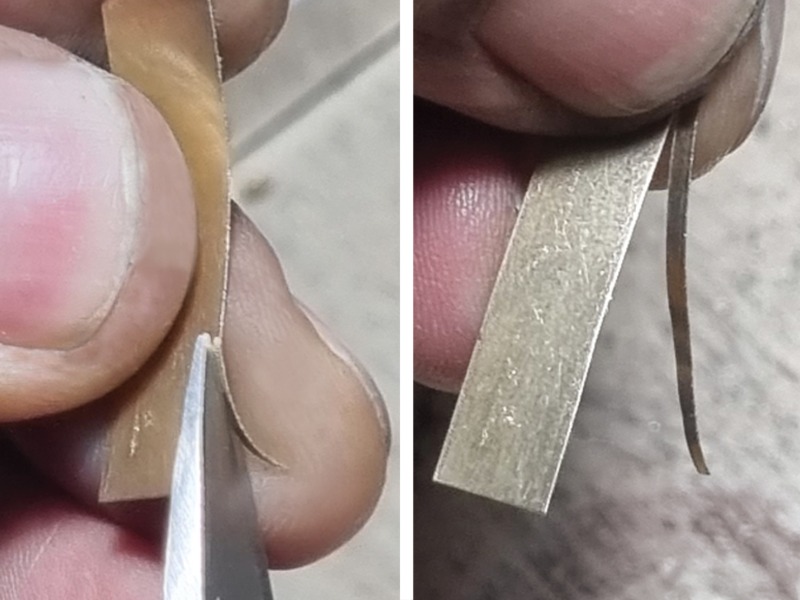
3. Use scissors to cut a thin strip from the solder. For this project, I’m cutting a 1 mm strip. This project will require several rounds of joins, so you’ll need to create strips in hard, medium, and easy solders.
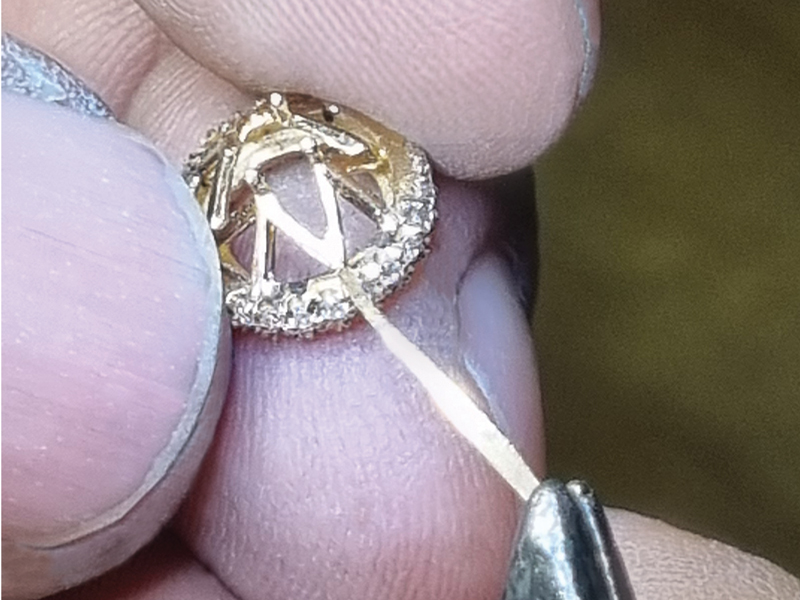
4. I’m going to begin by attaching the gallery to the halo. Treat the hard solder strip like it is laser wire and hold it against one of the areas that will be joined. Using a low power setting on the laser welder, tack the piece together. For this project, I used six joins on the gallery assembly.
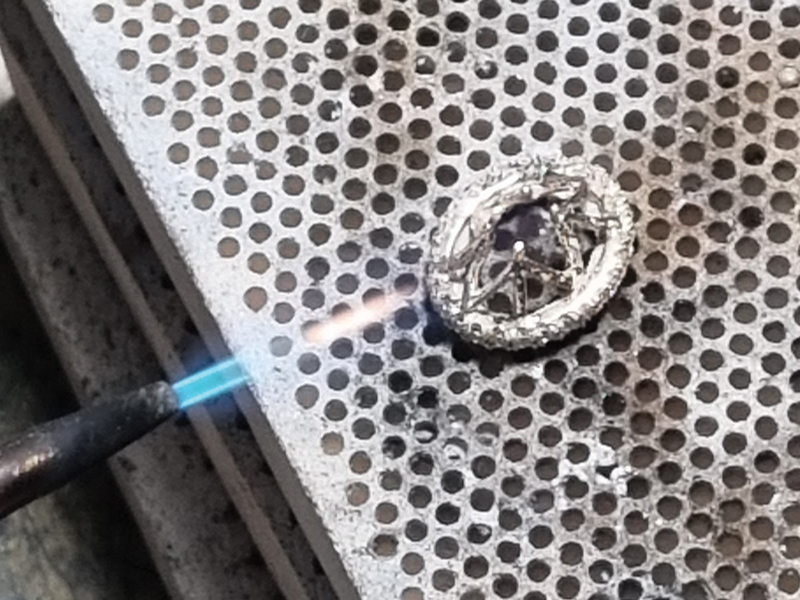
5. After tacking the components, clean the assembly well in pickle and an ultrasonic. Once it’s clean, use a torch to heat up the piece evenly, making sure all the areas with solder are melted down.
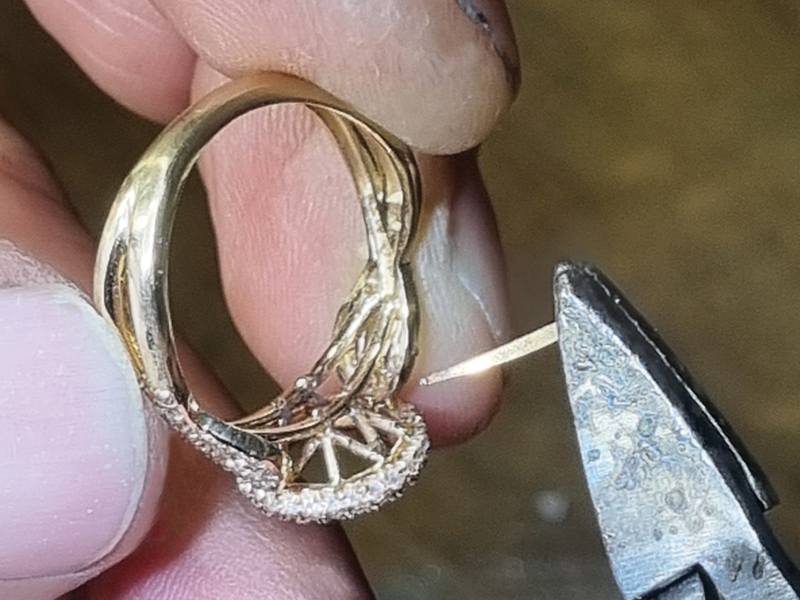
6. Now it’s time to join the gallery assembly to the shank. For this step, we will use medium solder. Following the same steps as earlier, tack weld a strip of medium solder on the areas where the gallery and shank will be joined.
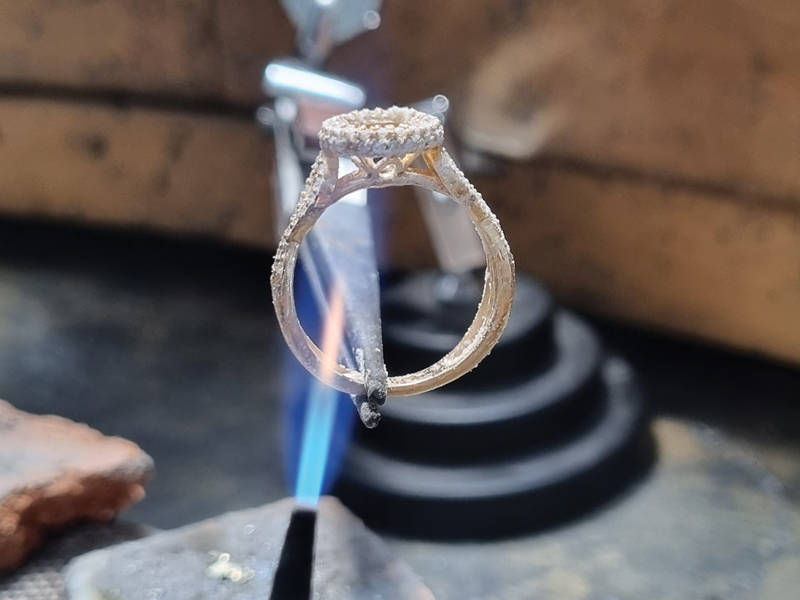
7. Once all the joins have been made to attach the gallery and shank, clean the assembly in pickle and an ultrasonic and then heat it with the torch, making sure all the new solder areas are melted down.
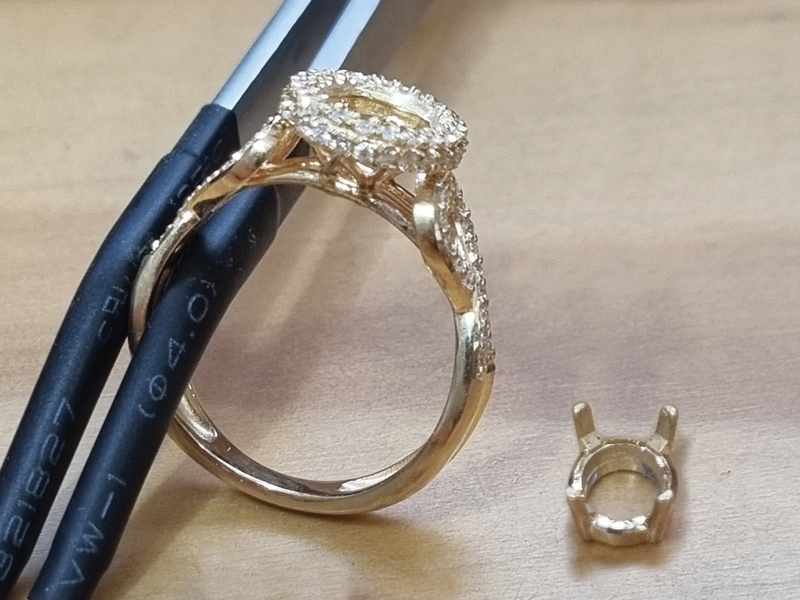
8a. The last step will be to add the crown setting. Using the laser, tack weld a strip of easy solder to the areas to join the setting to the rest of the ring assembly. Clean the piece and then heat it with the torch.
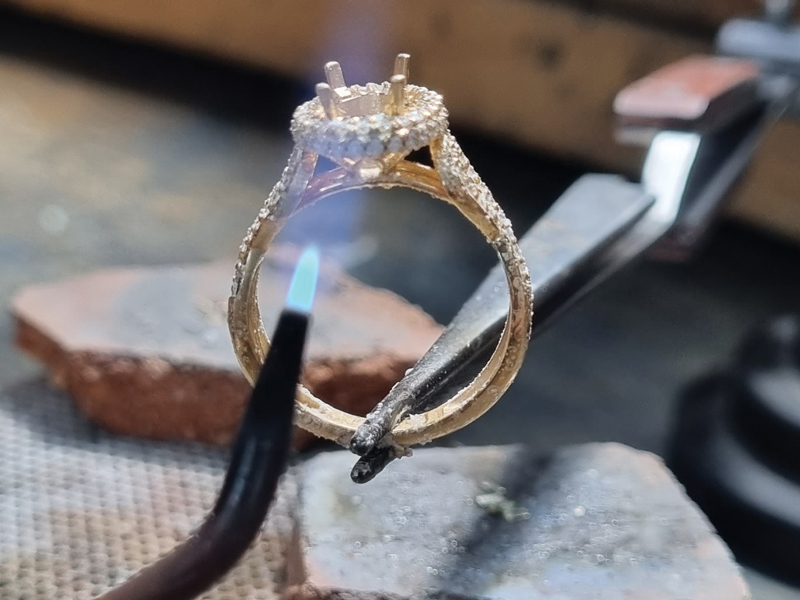
8b. Clean the piece and then heat it with the torch.
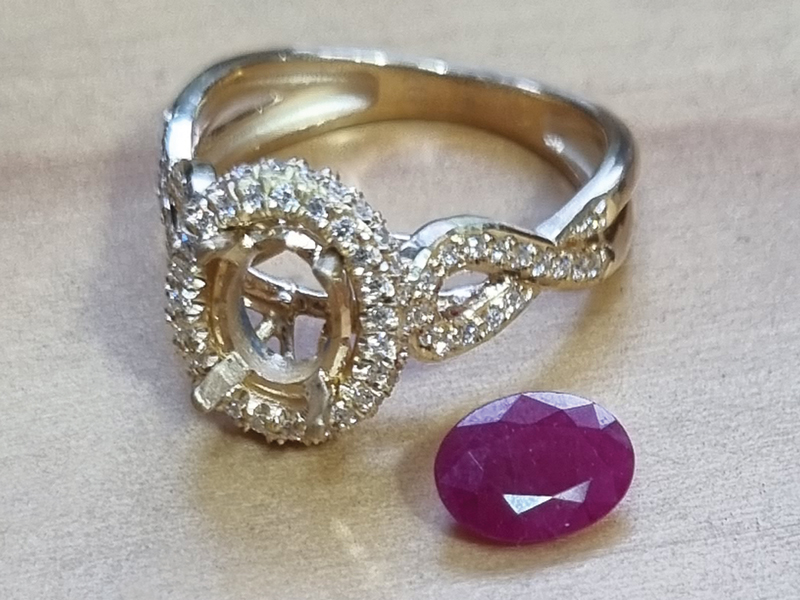
9. The combination of laser welding and soldering saved me a lot of time and effort when making this beautiful ring.