

How to Repair a Prong
Good As New
A step-by-step guide to repairing a worn out prong
By Joel McFadden
Most often seen on rings, prong wear is probably one of the most common repairs bench jewelers will face. Bed sheets and other abrasives contact these high points on jewelry and wear the points until the gemstones become loose or fall out. There are several ways to repair a prong—some methods are quick and easy but the results may not last long.
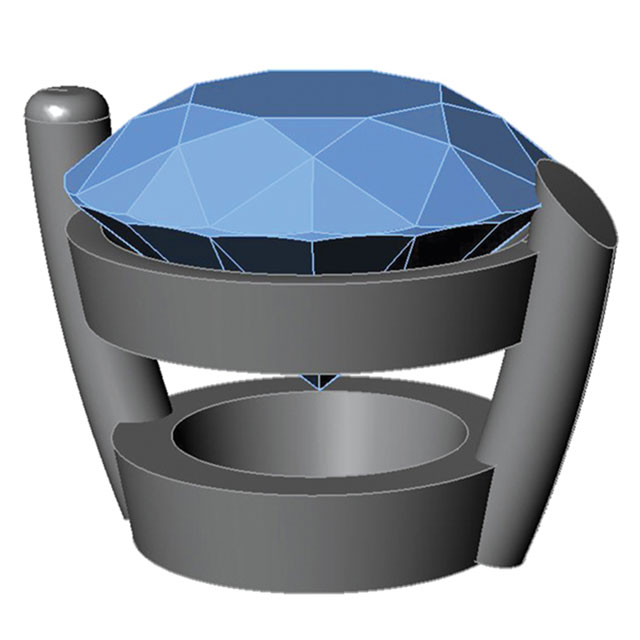
Here I’ll demonstrate a really secure and durable method that has worked well for me. I think the results look better than using other methods and believe that the results will last much longer.
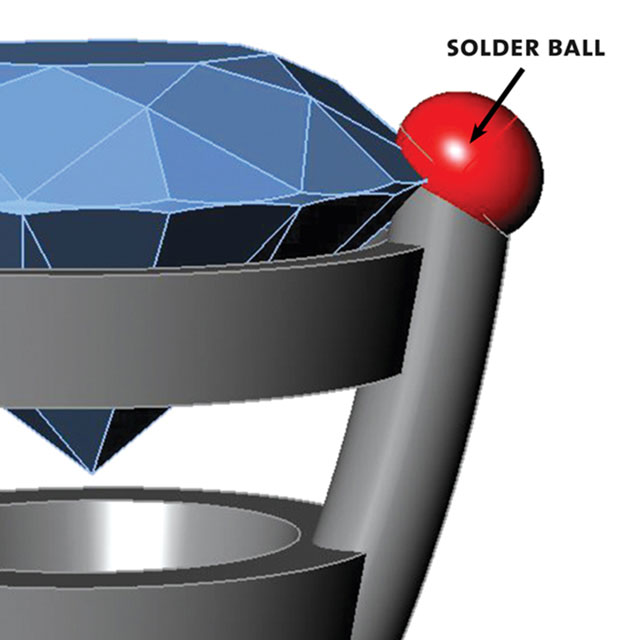
1. The most common way to repair a worn or damaged prong is by adding a ball of solder to the top of the existing prong. However, this is not the best way. That’s because solder wears out much faster than precious metal alloys, which means that the new prong is likely to wear away even faster than the original. In addition, because the solder often sits on top of the worn remains of the original prong, it doesn’t add much strength to the prong and is likely to flake off. Perhaps the only time this repair method might be appropriate is when working on a piece where the original prong can’t be cut away.
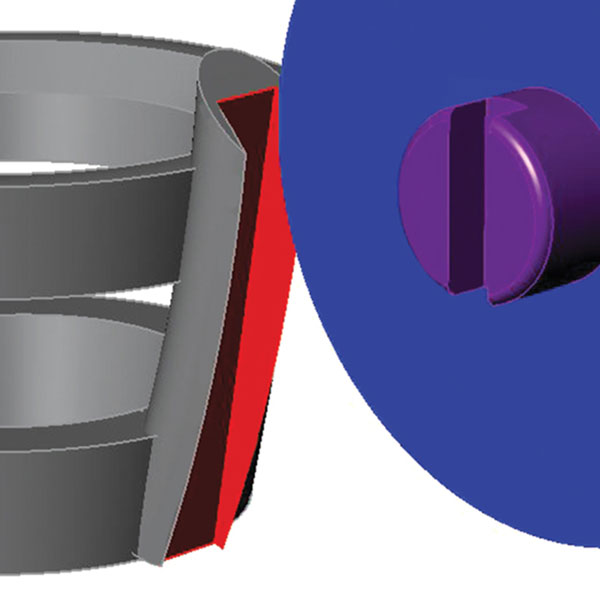
2. Here’s a better way to repair a worn prong. If the prong can be easily accessed, replace it with wire. This will be as strong as the original prong. First, use a separating disc mounted in a small mandrel placed in a flex-shaft to cut a groove in what is left of the remaining prong. If possible, remove the stone first, especially if it is a heat-sensitive stone. If removal is not possible, cut a shallower groove into the prong. Ideally, aim to cut about two-thirds of the way into the prong.
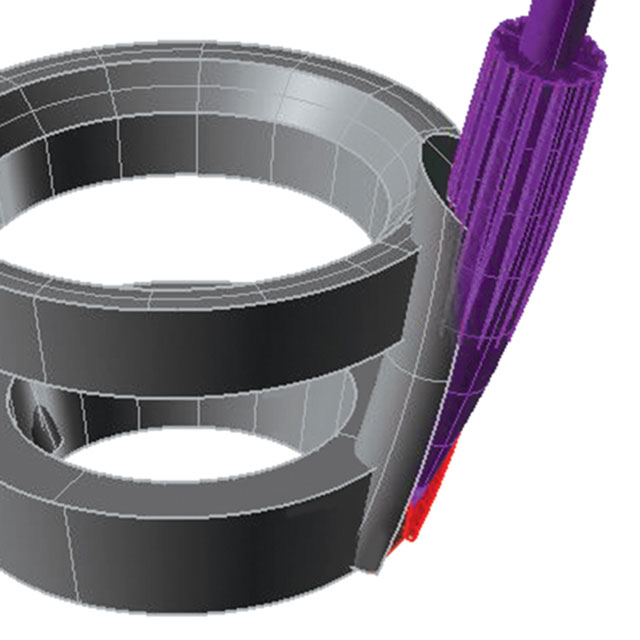
3. Once the groove is cut, shape and round the notch with a krause bur. If the stone couldn’t be removed, be careful to avoiding cutting into or nicking it.
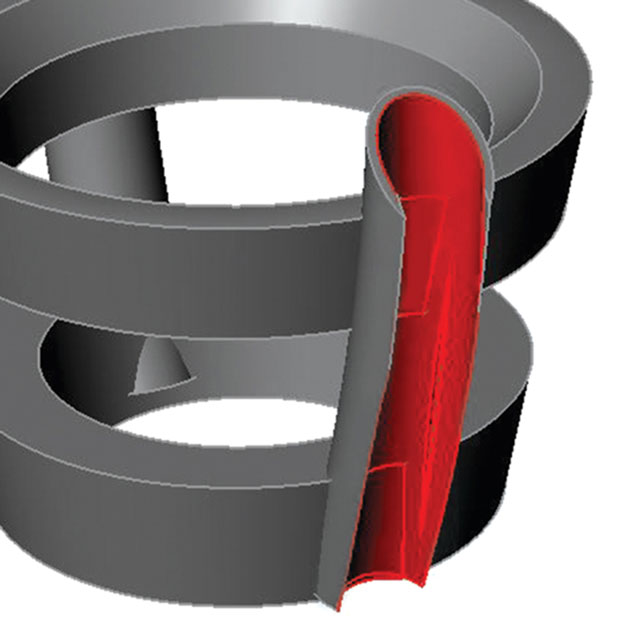
4. Rounding the notch with the krause bur will open it up to fit the wire. It will also make the groove rounder to better accommodate the wire.
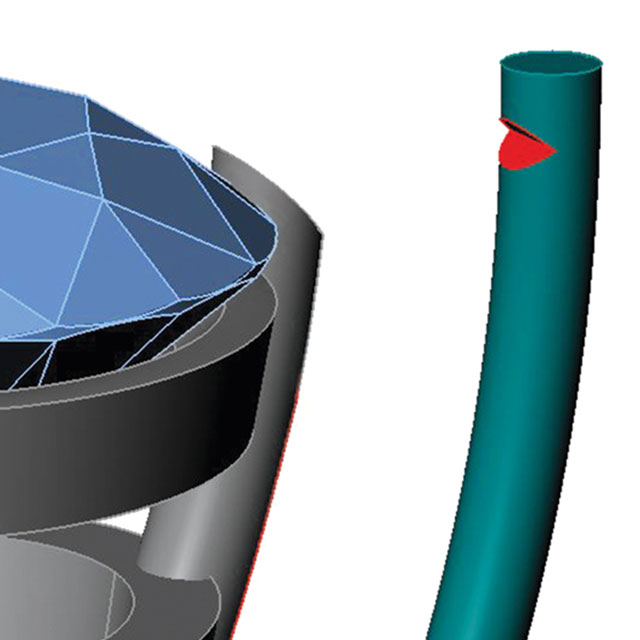
5. To fill in the notch, use a wire that is the same metal and diameter as the original prong. Using a square file, file a perpendicular notch toward the top of the wire; this will serve as the seat for the stone.
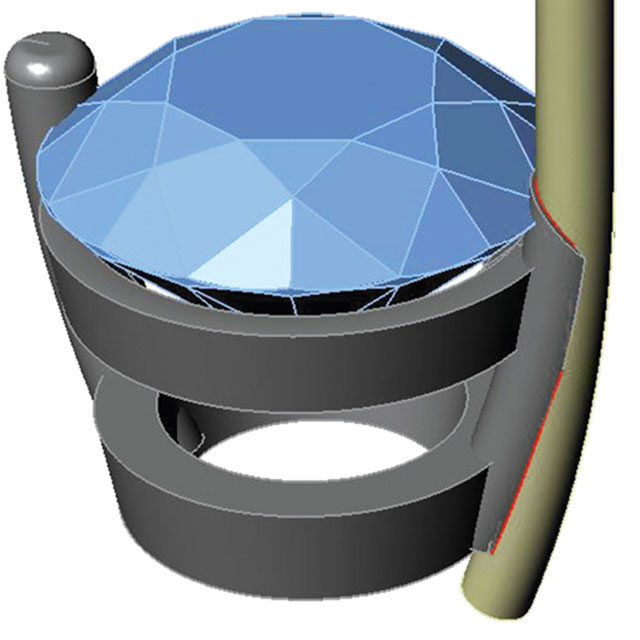
6. Next, place the wire in the notch you created being careful to place the groove or seat properly to hold the stone. Solder the new wire in place using easy or medium solder, depending on the amount of heat that the piece can tolerate. Ideally the solder should flow along the entire piece of the wire.
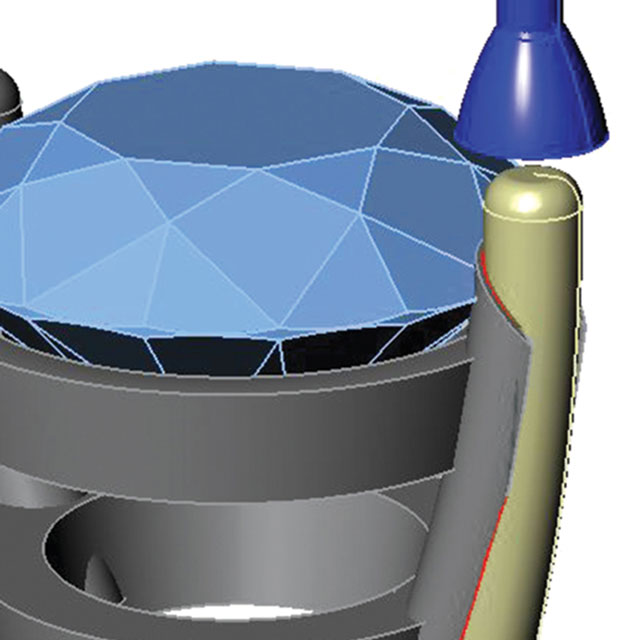
7. Finally, tighten the new prong as you would with any setting and then use a cup bur to clean up the tip.