

Bright Cutting Around a Bead-Set Stone
Looking Sharp
How to make a bright-cut box around a bead-set stone
By Joel McFadden
Bright cutting is accomplished by making sharp, shiny, angled cuts with a graver in metal around set stones to further highlight the stones. This style of setting dates to the 1800s and was common before prongs or bezel settings. In this article, I’ll demonstrate how to make a bright-cut box around a bead-set stone.
For this project, you’ll need a 1.9 mm twist drill bit, a 3 mm cone bur, a 6 mm setting bur, a #0 onglette graver, a #40 flat graver, a 90-degree square graver, a #15 beading tool, and a #6 milgrain tool.

1. We are going to set a 1 carat diamond that is 6 mm in diameter, so our basic block outline for the bright-cut area needs to be about 10 mm. Start by cutting a 1.9 mm pilot hole using a drill bit. Then use the cone bur to open the hole to 3 mm. This same process can be used for larger or smaller stones if you adjust the scale and size of your tools. This process can also be used with other shaped blocks, such as ones with three or five sides.
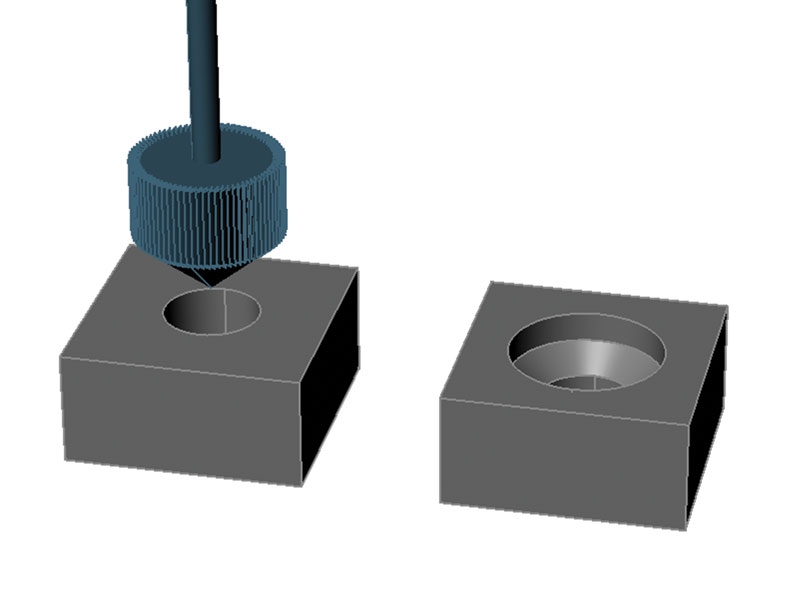
2. Next, cut the seat with a straight wall setting but the same size as the stone.
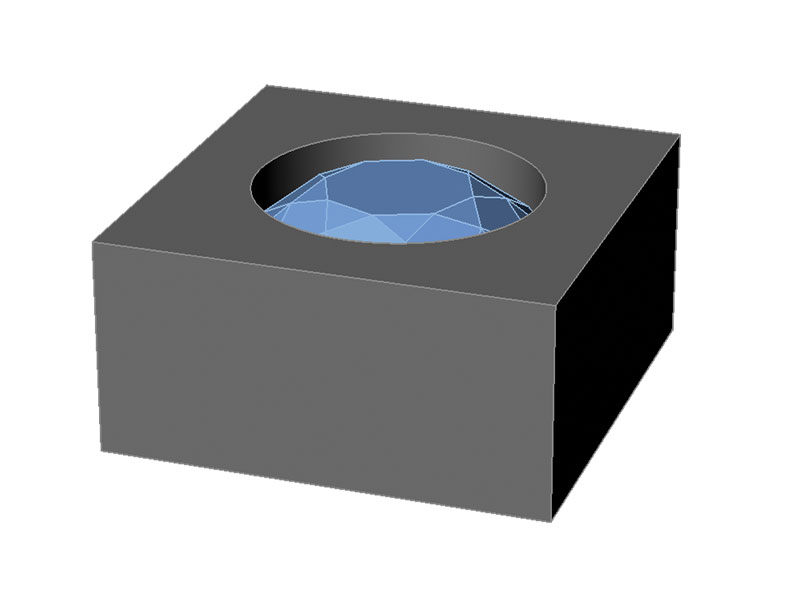
3. Test fit the stone in the seat. Make sure the seat is deep enough that the table of the stone is approximately even with the top of the plate.

4a. Cut two parallel grooves at least 1 mm wide on each corner of the box using an onglette graver.
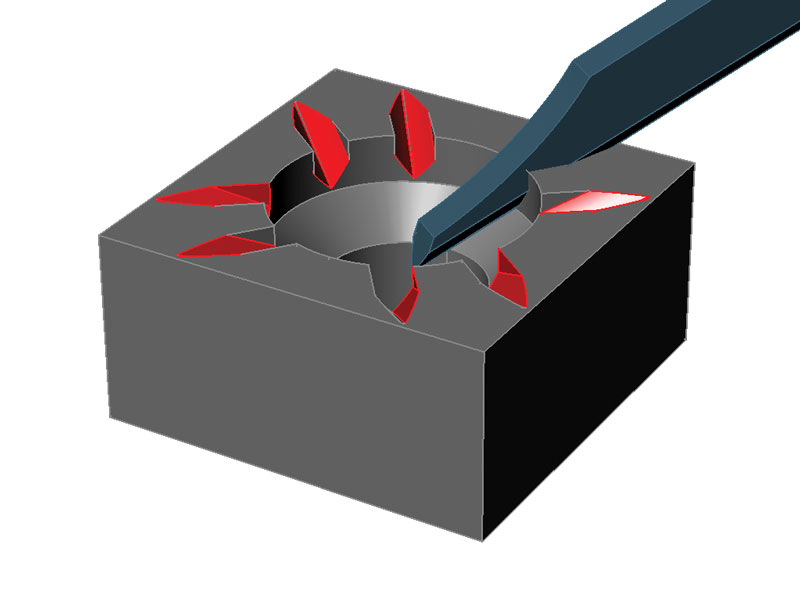
4b. They should cut from the edge of the box down at an angle to the line where the girdle of the stone will sit. This will separate the bead ridges (the metal that will become the beads) from the rest of the block.

5. Using a flat graver, remove the metal between the bead ridges at the same angle that the parallel grooves were cut. The goal is to create the bright cut. This should be even and flat and as much like a mirror as possible. Bright cutting should be done before the stone is set as it’s too easy to hit the girdle while cutting and damage the stone.
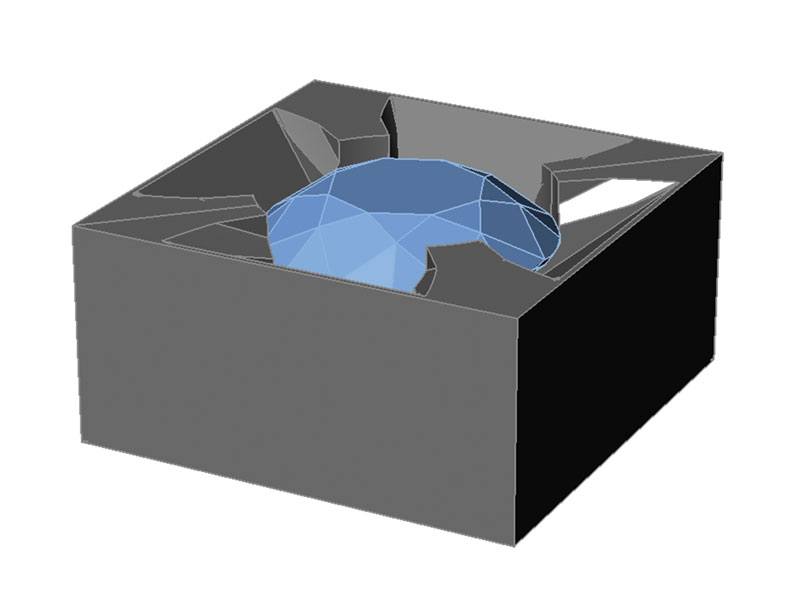
6. Place the stone in the seat. Make sure that it is sitting evenly and that the table is flush and even with the top of the plate. If the stone doesn’t fit properly, you may have to clean out the seat one last time with the bur.
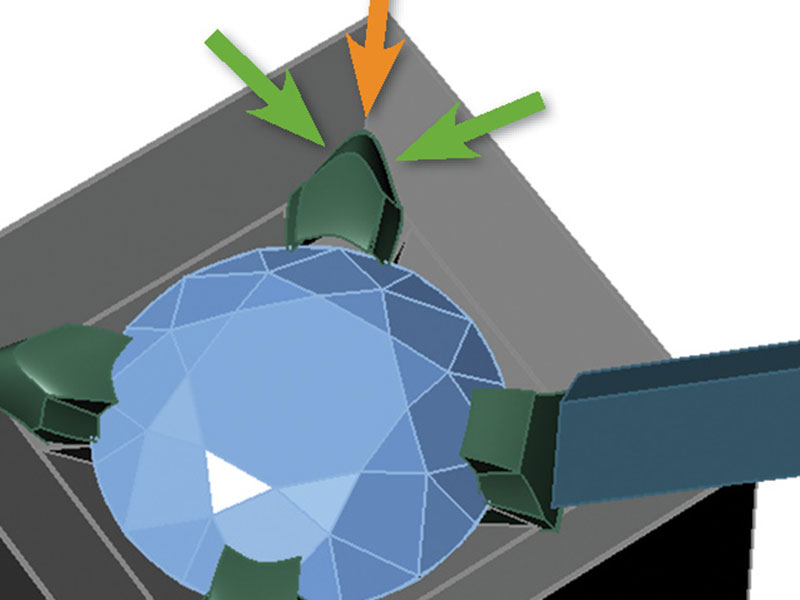
7. Now we’re going to create the beads. Starting at the top of each corner of the plate, use the square graver to push the bead ridges down toward the stone (as shown by the orange arrow) until the metal secures the stone. Next, shape the bead by pushing the bead material inward at an angle (as shown by the green arrows).

8a. Push down and rotate the beading tool over each of the beads to shape the metal into a nice even bead.
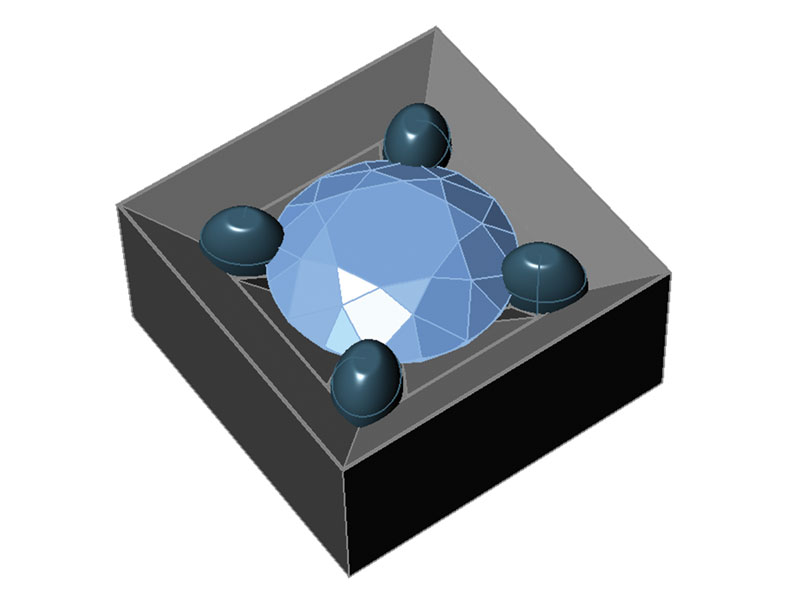
8b. This action will also complete the final tightening of the stone.

9. Finally, run a milgrain tool around the top edge of the setting.
Joel McFadden is a third-generation jeweler with 50 years at the bench.