

Creating a Gemstone Shield for Retipping Prongs
Beat the Heat
How to protect gemstones when retipping prongs with a laser welder
By Fabio Penuela
Being a jeweler is a rewarding profession as we get to create jewels that people will wear and treasure for years to come. However, every piece we make will be exposed to wear and tear over those years, especially rings, which can be bumped against everything the wearer encounters. As a result, the prongs on a ring can erode or be damaged, risking the safety of the set stones. Hopefully, before that happens, the ring makes its way back to your bench to have the compromised prongs repaired.
Rather than rebuild a ring setting from scratch, many jewelers will retip the damaged prong. Before laser welders came along, jewelers had to use a torch to heat up the prong to apply the solder. I only did this with diamond rings, since diamonds can withstand the heat from the torch. For other gem-set rings, I had to unset and then re-set the stones after re-tipping, risking breaking them. Laser welders have made it so that colored gemstones no longer have to be removed from settings in order to re-tip the prongs. However, you still must be careful, as damage can occur due to bad aim or heat. But over the years, I’ve developed a trick to help minimize the risk of damage.
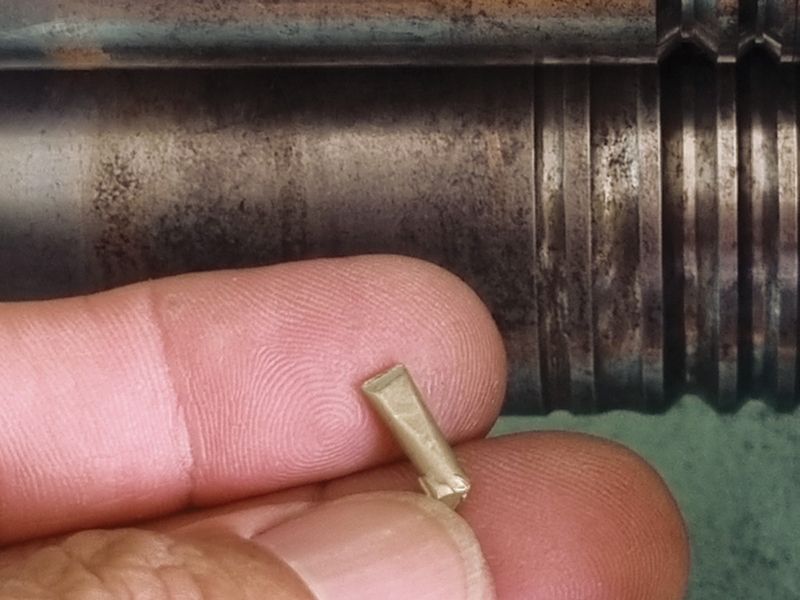
1a. To begin, roll a small piece of silver through a rolling mill to flatten it. Ideally, the piece should be no larger than 15 mm by 15 mm and 0.10 mm thick. The idea is to use this piece of silver as a shield to protect the stone. I use silver for this trick because it is very reflective and can ricochet away an errant laser beam.
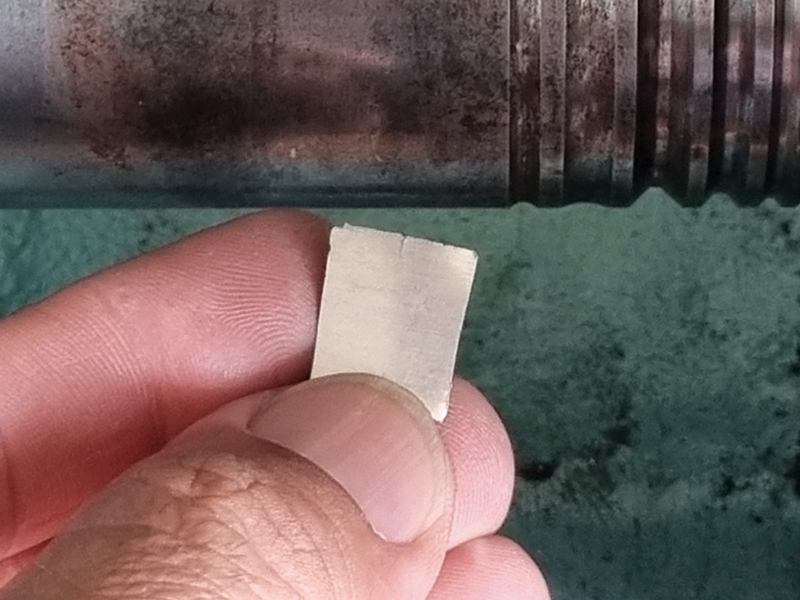
1b. The idea is to use this piece of silver as a shield to protect the stone. I use silver for this trick because it is very reflective and can ricochet away an errant laser beam.
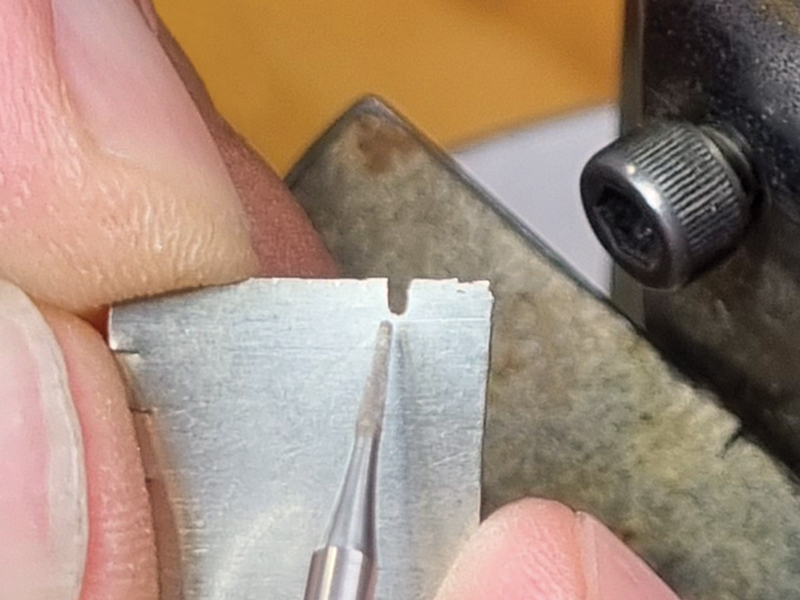
2. With a Krause bur, create a small groove on the silver plate that is approximately the same size as the prong being retipped. This way the shield will cover everything except the prong being repaired.
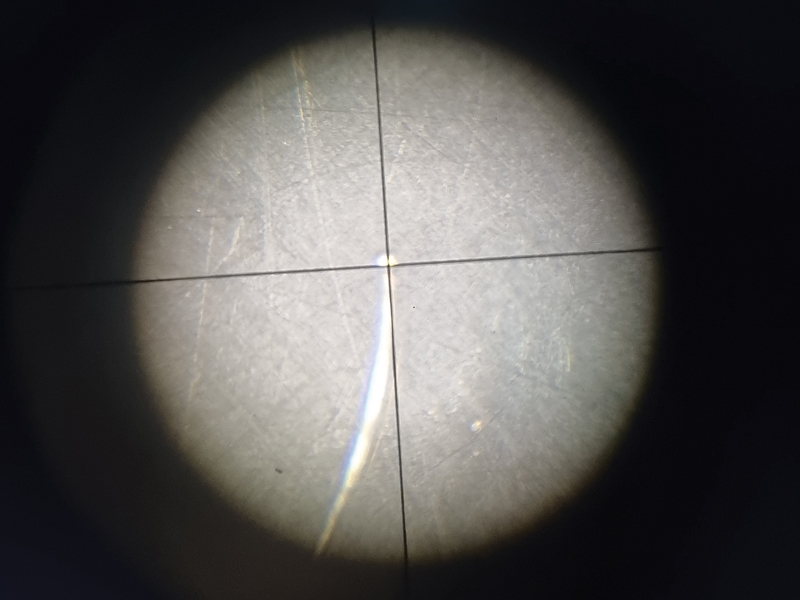
3. Using laser wire appropriate for the job (in this case, we’re using white gold), place the wire in the laser welder chamber and then aim at and shoot the tip of it to form a small ball on the end
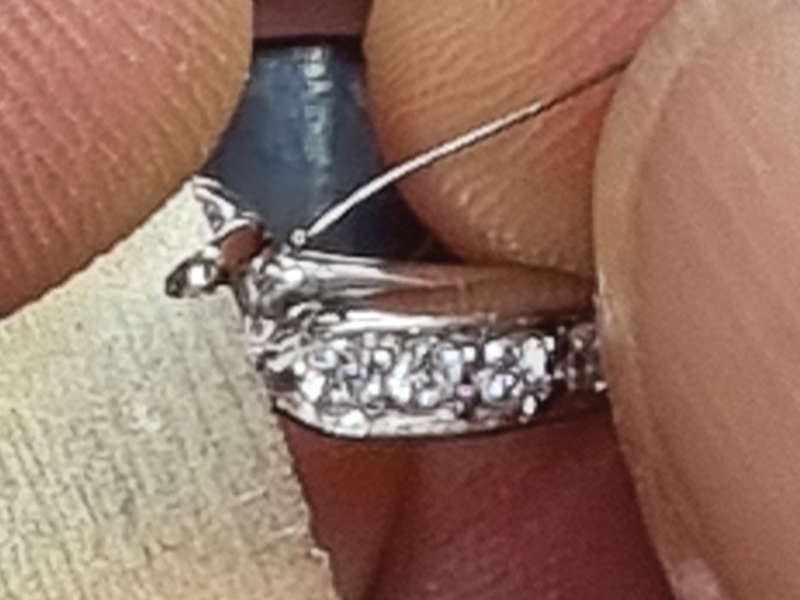
4. Make sure the piece of jewelry is thoroughly clean to prevent any contamination. Next, position the silver plate along the prong so that it covers the stone but leaves the prong exposed.
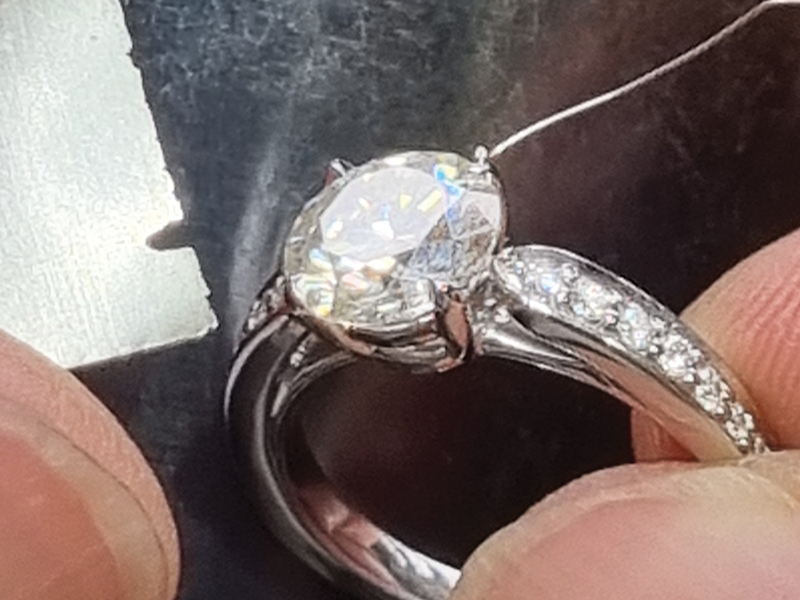
5. Place the laser wire ball on top of the prong. Aim the laser at the ball and begin shooting to melt the laser wire onto the prong, creating a new tip. The shield frees you from worrying about hitting the stone by mistake or damaging it with the heat of the laser beam.
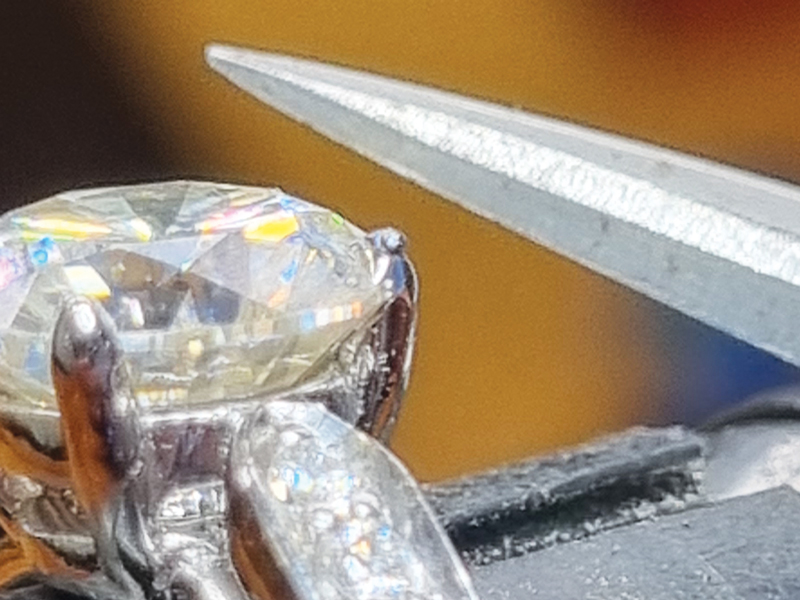
6a. Once the tip of the prong is built up enough, clean the jewelry before filing and polishing the new prong tip.
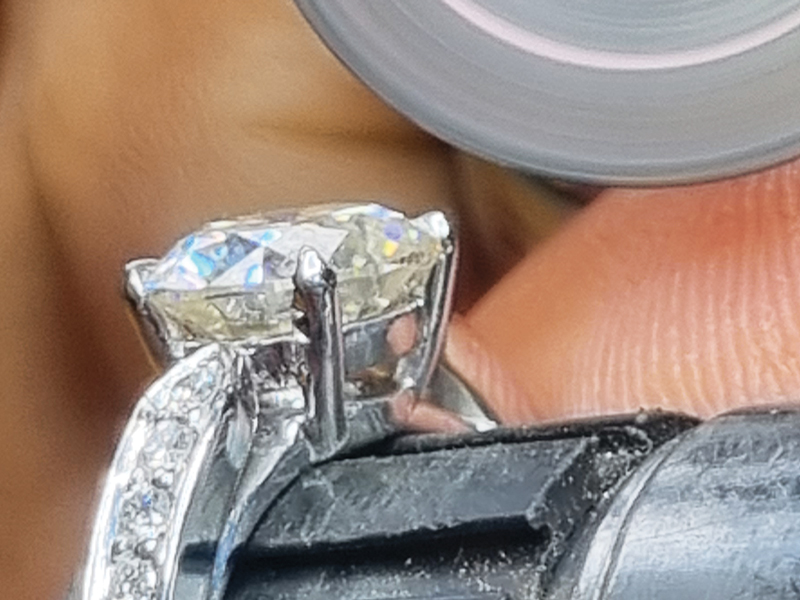
6b. It’ll now be ready for more years and wear and tear.