

DIY Jump Ring Vise
An Open and Shut Case
How to create a jump ring vise for speedy chain making
By Helen I. Driggs
I’ve been making lots of chains of late, and this handy little portable jump ring vise makes opening and closing them a speedy snap, because you don’t have to put your pliers down to do it! To make one, all you need is a squat, single-slotted wood screw; a block of scrap wood; a drill bit; sandpaper; and a straight-edge and pencil to lay out the block.
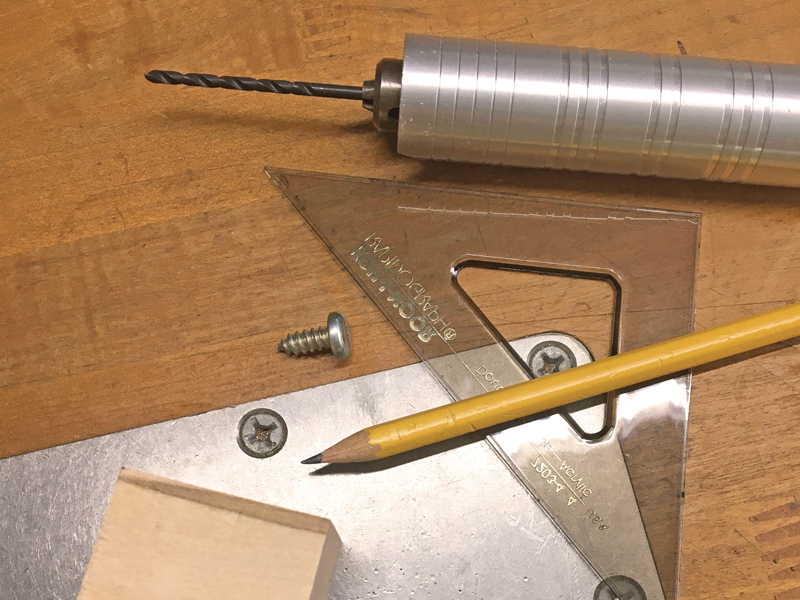
1. For maximum portability, I chose a small hardwood block to drive the wood screw into, but any piece of scrap wood or even a thick dowel will work. You can even drive the screw right into your bench edge if you want to. I used a fat, squat fillister head screw, because that rounded shape is less likely to scratch or dent my jump rings, plus the wide screw slot will allow me to manipulate rings up to about 16 gauge. Run some sandpaper through the slot before you mount the screw to remove any sharp edges.
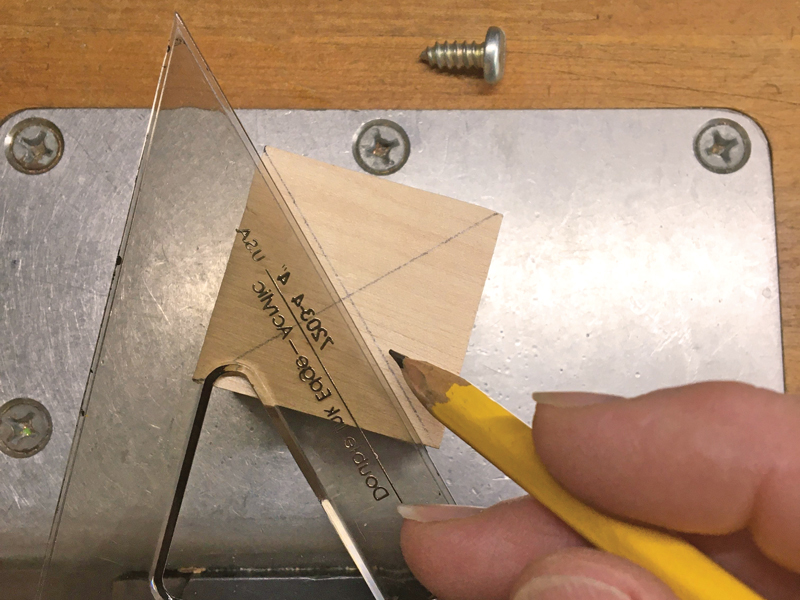
2. Find the center of the block by marking an X from corner to corner.
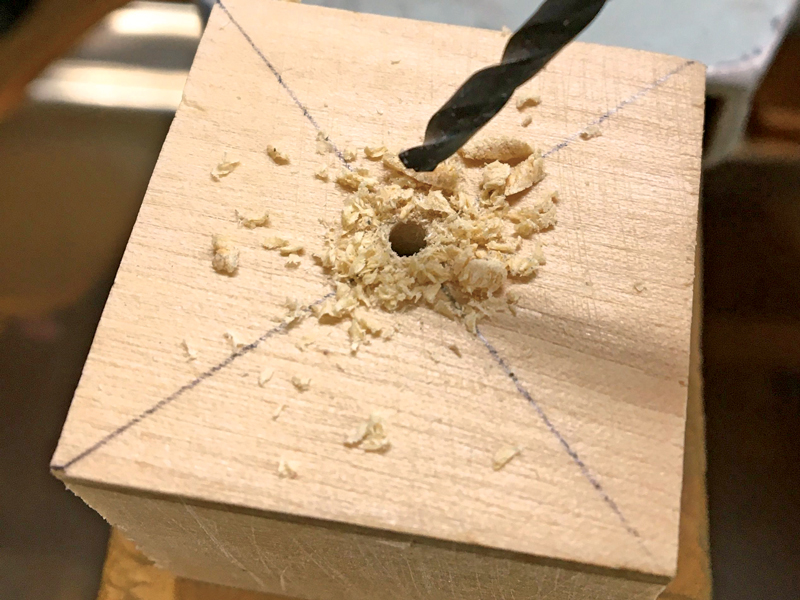
3. Drill a pilot hole at the intersection to prevent splitting the wood block, then drive the screw into the hole.
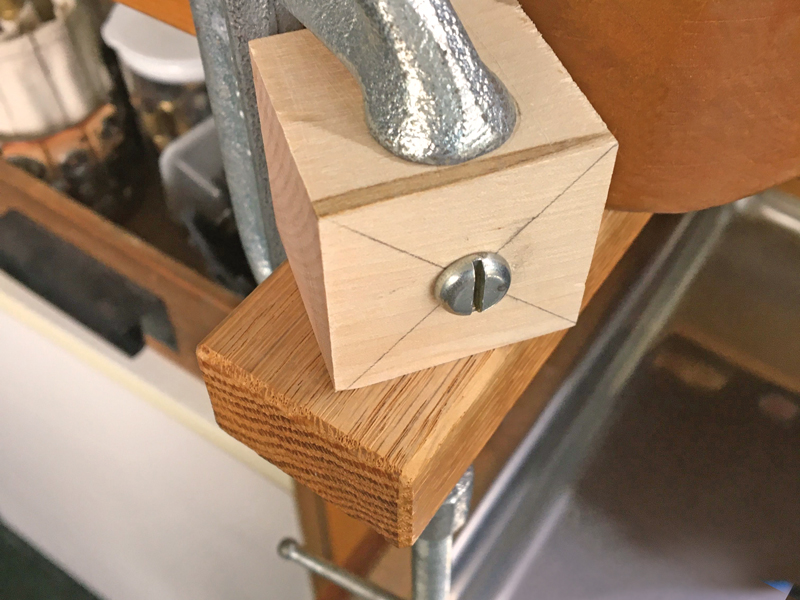
4. I attached my block to the left-side armrest of my bench with a C-clamp. I am right-handed, and reaching across to the left makes it easier for me to see the jump rings as I open and close them while holding pliers in my right hand. I would do the opposite if I were left-handed.
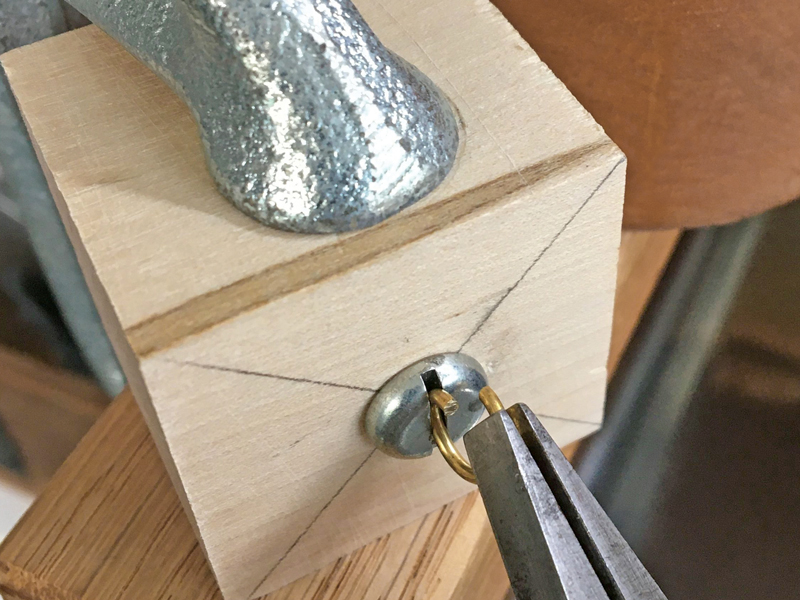
5. To use the vise, insert a closed ring into the slot with the kerf facing up and gently twist to open it. The screw slot supports the ring much like a second set of pliers would, and this allows you to hold the working end of the chain in your other hand (or pliers)—at the ready to drop into the open ring.
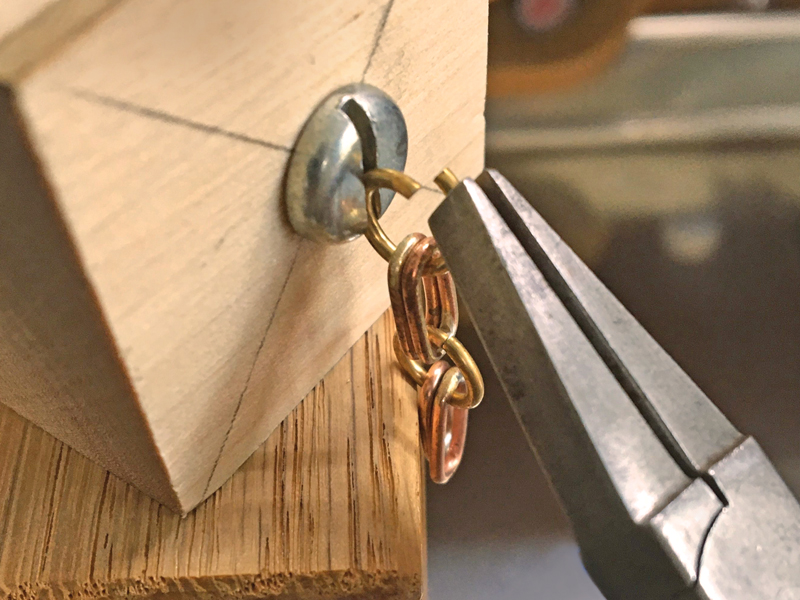
6. Then, close the open ring to continue building the chain. I have found it much easier to keep track of the jump ring orientation as I build a chain this way, because extra steps to open, close, pick up, and put down a working chain can be eliminated. This vise is an especially handy device for adding charms to a linked bracelet, too.