

A Guide to Drawing Pearls
Going Organic
A step-by-step tutorial on drawing white round and drop-shaped Tahitian black pearls
By Rémy Rotenier
In our industry, pearls have always had their own place thanks to their uniqueness. Since they are organic, they can develop completely naturally or be cultured, which is when humans work with nature hand-in-hand to make the miracle happen. Drawing them is not that difficult, you just have to know the “recipe.” Here are some easy steps to follow to render their luster and shine.
For this project, you’ll need a 0.3 mm mechanical pencil with HB lead, a #2 blending paper stump, a 2.3 mm round Tombow Mono eraser, a compass, and colored pencils in peach, light pink, bright green, light gray, and black.
White Round Pearls
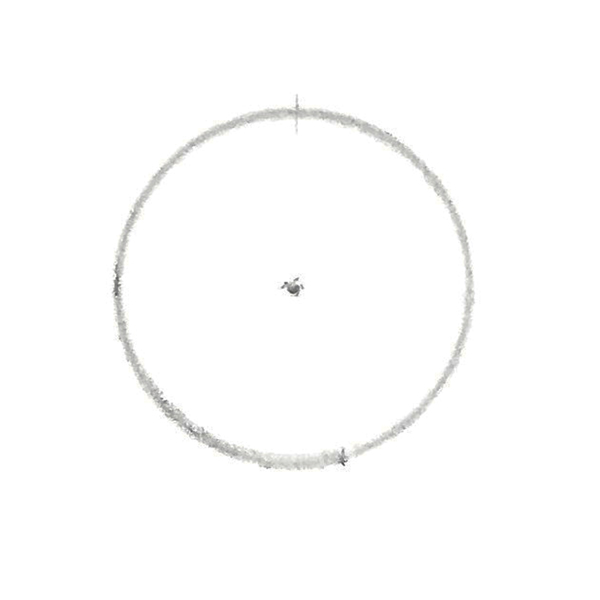
1. Draw a circle, either by hand or using the compass. I am choosing to draw it at 16 mm in diameter in this exercise, but any size will work.
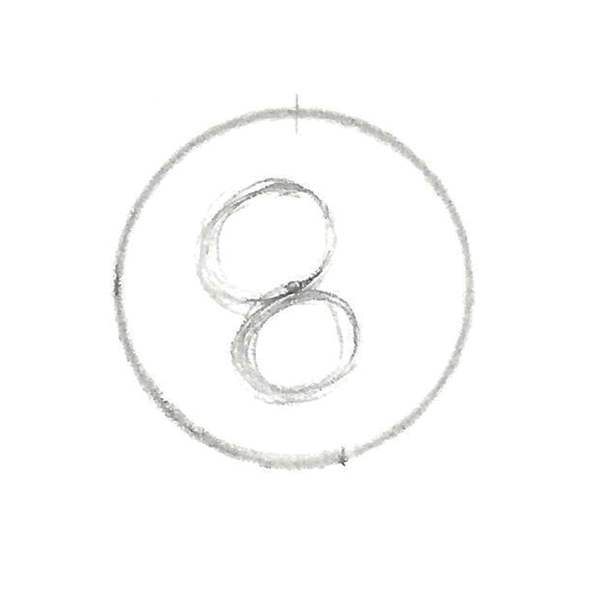
2. Draw two highlights a bit toward the upper left of the circle. They can be circular or oval. The top highlight can be a bit larger. Keep their outline very light.
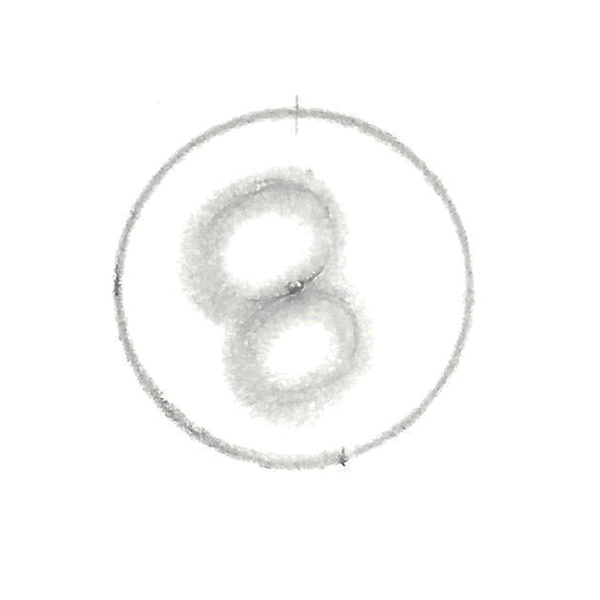
3. Using the paper stump, blend the light circles around each highlight. You are creating the lowlights. Like halos, the lowlights indicate where light is present.
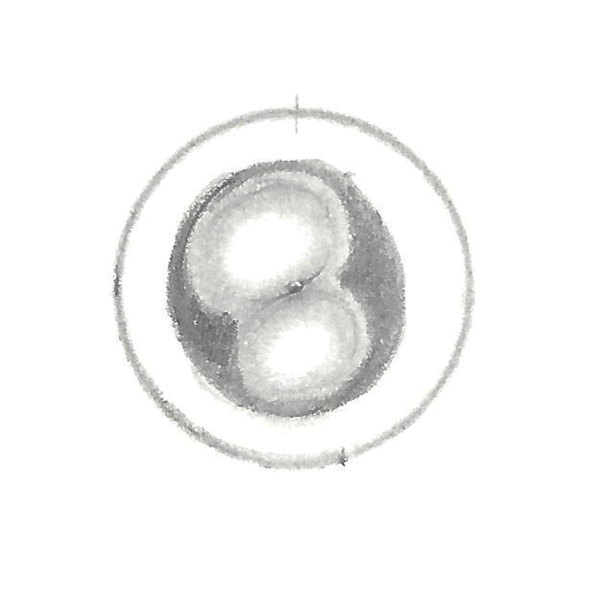
4. With the pencil, create an area of medium-dark values all around the highlights and lowlights.
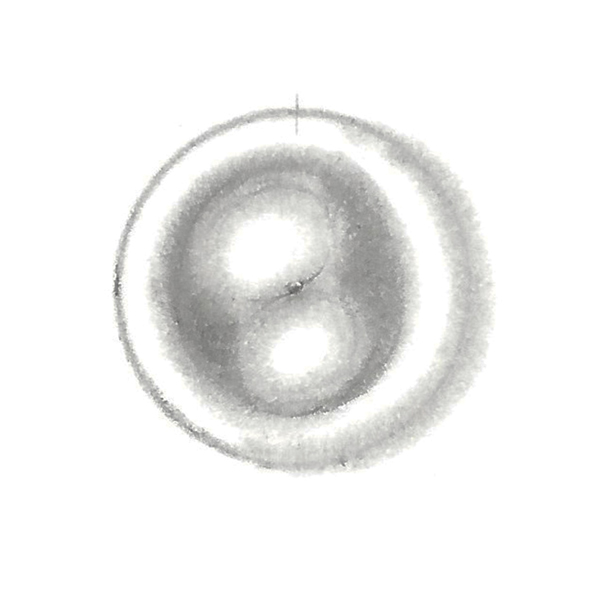
5. Using the paper stump, blend the edges of the darker halo. Also, run the stump on the lower right side of the pearl, along the outline. This will go over the outline, which is fine as we will use it to build our shadow.
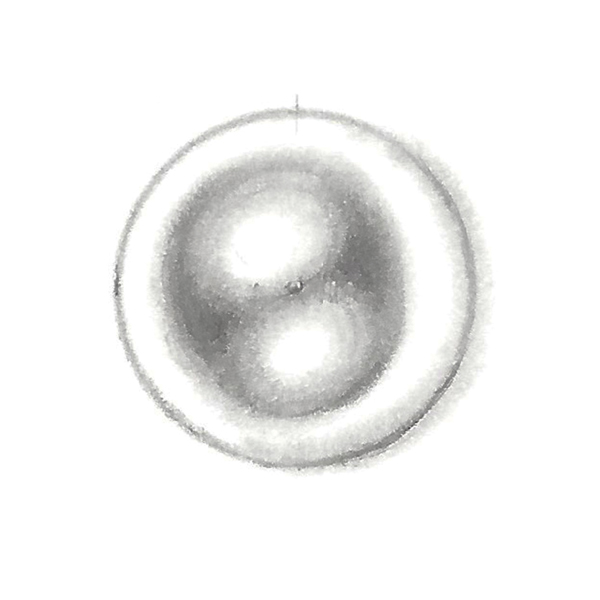
6. Darken around the highlights a little as well as along the right-side edge.
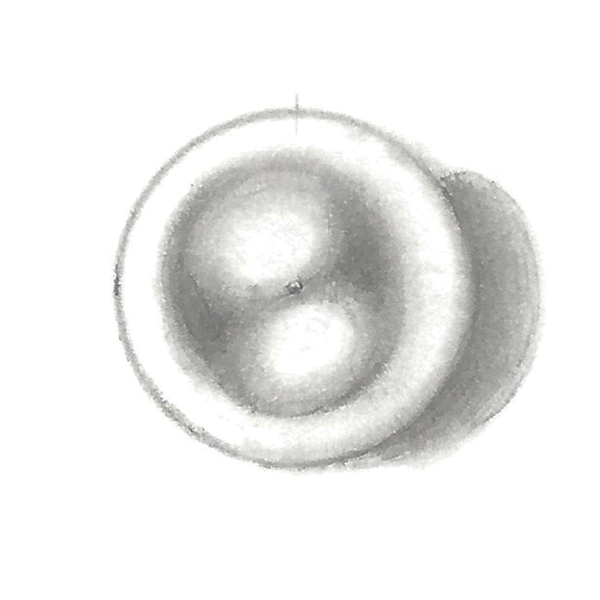
7. Shape the pearl’s shadow using the pencil then the eraser.
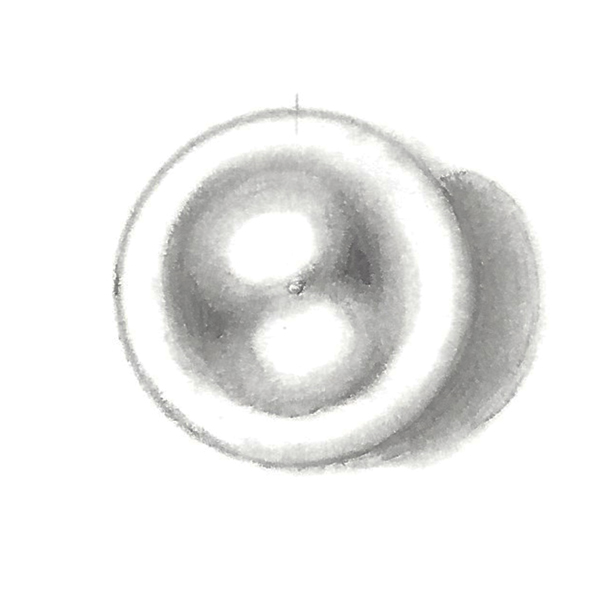
8. Brighten up the pearl’s highlights and all around the circle of light inside the pearl with the small eraser.
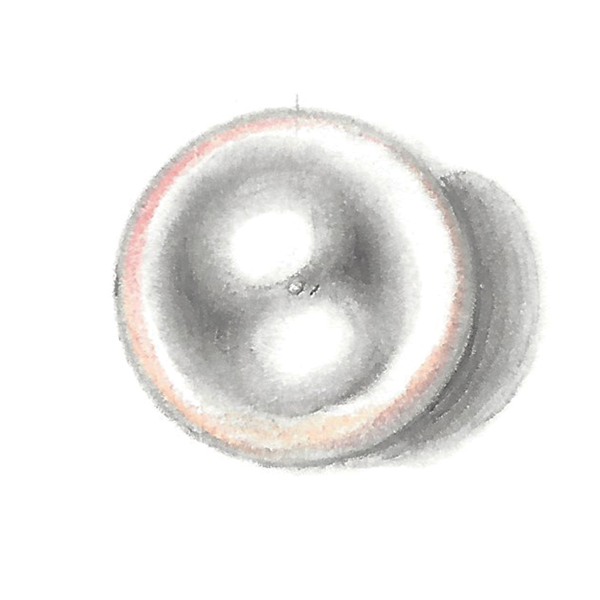
9. Add a touch of peach colored pencil along the edges, favoring the upper left corner of the pearl.
Drop-Shaped Tahitian Black Pearls
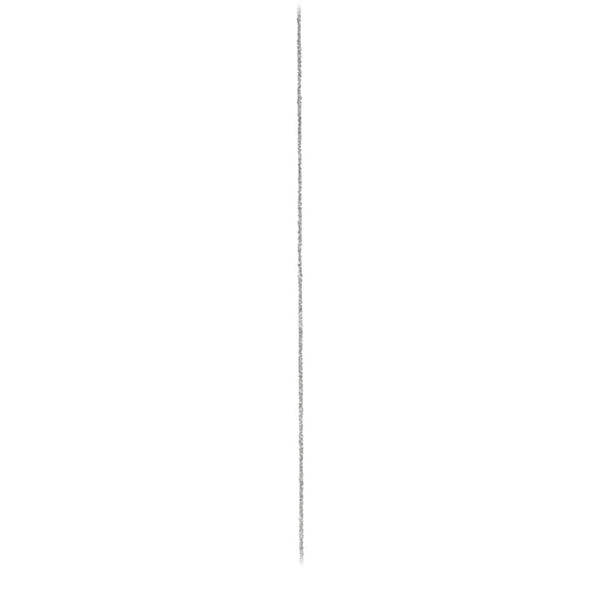
10. Draw a 1.25 inch vertical line very lightly. You can use a ruler but it is not always necessary.
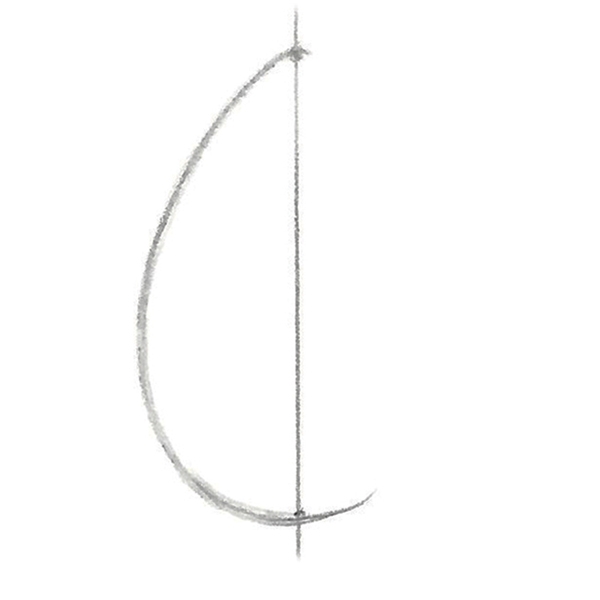
11. Draw half of a pear shape with a soft rounded top. As the pearl is being formed, there are no sharp areas or points. The shape should measure about 20 mm from top to bottom.
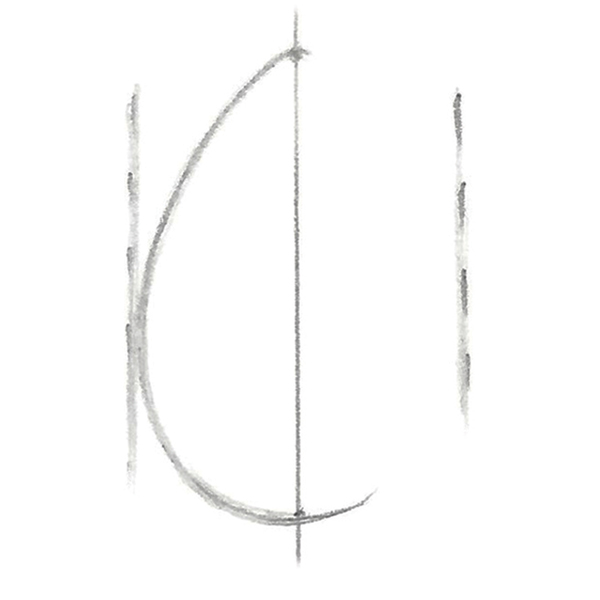
12. Draw very light vertical lines to indicate how wide the drop-shaped pearl is.
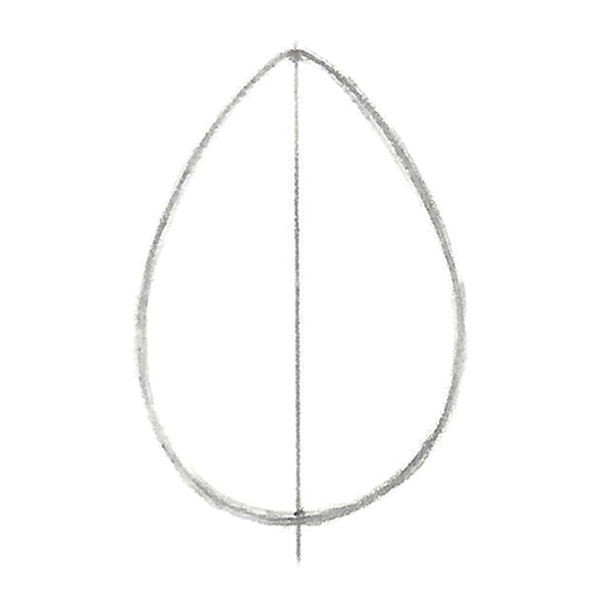
13. Using the vertical center line as a mirror, draw the other half of the pearl. This is one of my favorite exercises for developing your eye. Of course, you could use tracing paper, but the more you do on your own, the stronger and more confident you will become.
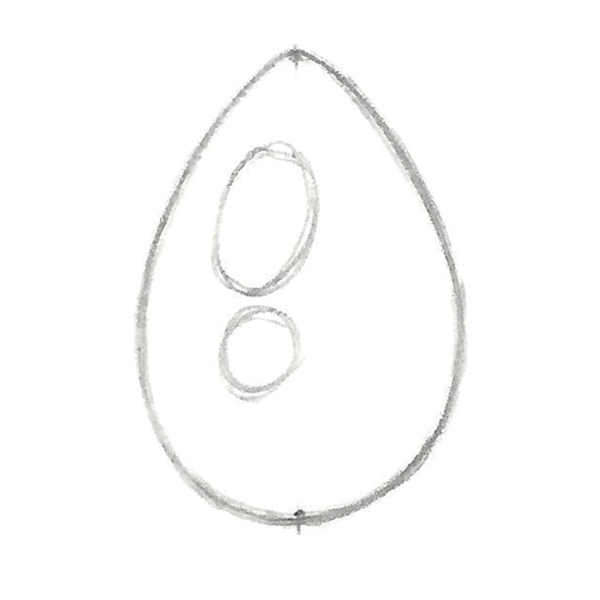
14. To establish the volume and luster of the pearl, we will follow similar steps as for the round pearl. Draw the highlights very lightly. The top one can be larger. You can shape them differently but try making them more oblong.
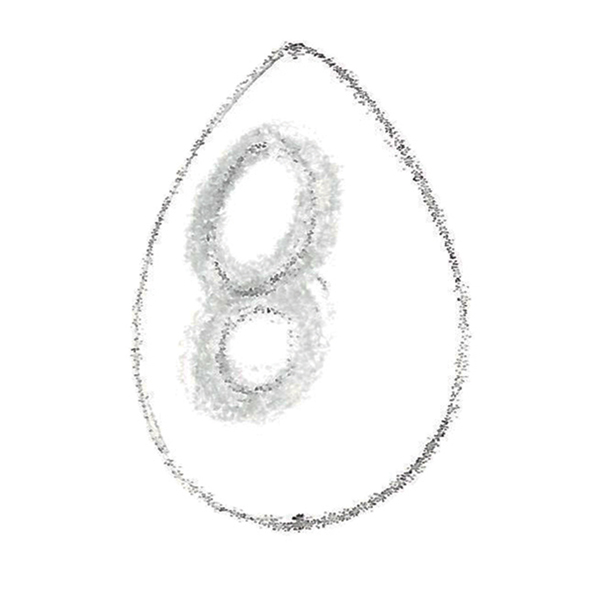
15. With the light gray colored pencil, create a soft halo around the two highlights, creating the lowlights.
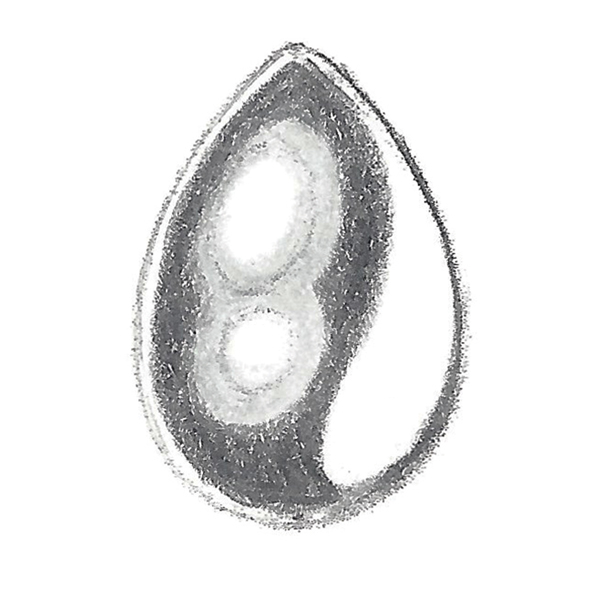
16. Using the black colored pencil, draw the darkest part of the pearl. It should be a bit like a yin-yang, where the left side of the pearl is darker, leaving the right side open.
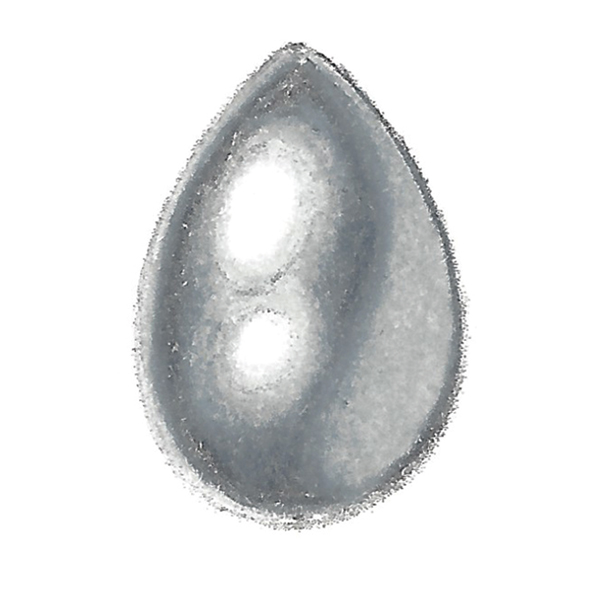
17. Fill in the white areas except around the light gray highlights. Use the gray pencil to blend the darker areas in.
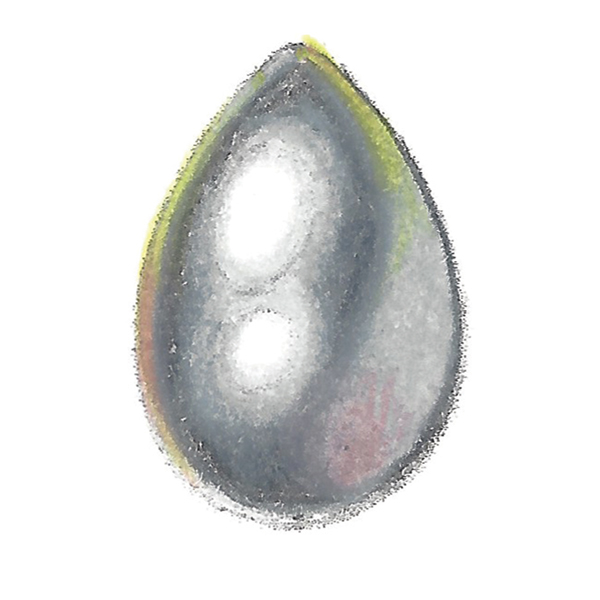
18. Using the colored pencils, add subtle pink and green spots of reflections along the edges as well as randomly throughout. Peacock black pearls have these typical hues mixed in with the grays and black.
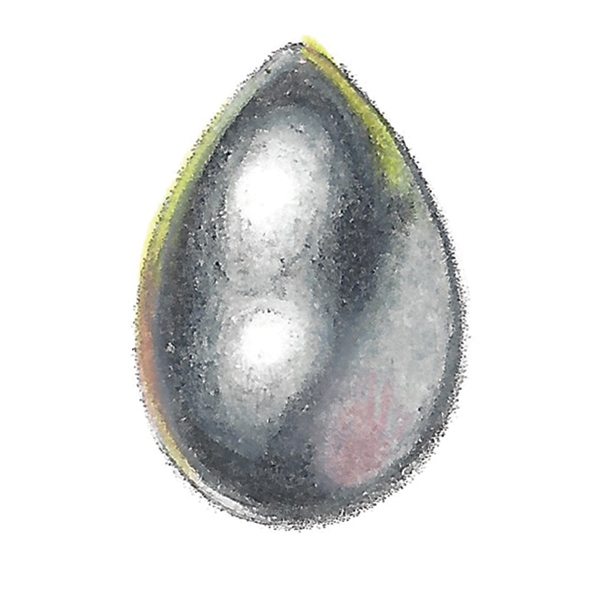
19. With the black pencil, reinforce the darkest values to emphasize the form and rich coloration.
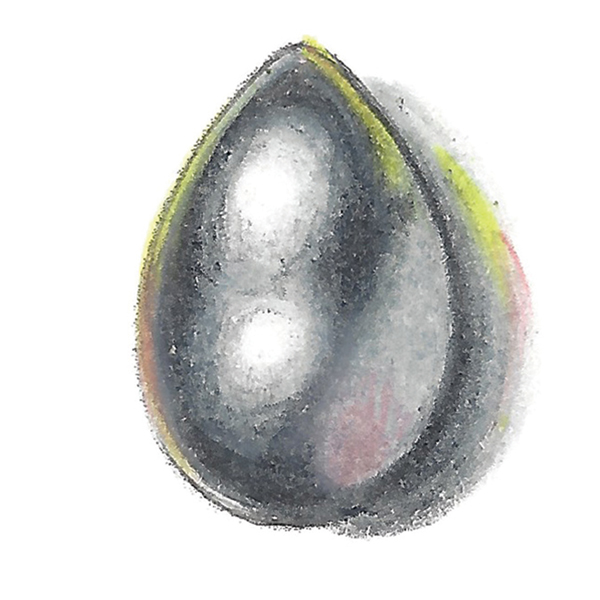
20. Starting with light gray, build a shadow on the right side of the pearl, opposite the light. Finally, add some black pencil just outside the bottom right edge of the pearl.
Rémy Rotenier is a third-generation designer (remyrotenier.com). Since 2006, he has taught design and rendering techniques one-on-one and at jewelry schools worldwide.