

Turn Over a New Leaf
A guide to mastering wheat pattern engraving
By Joel McFadden
With its vintage, handmade look, the running wheat pattern is one of the most common ornamental engraving styles in jewelry, especially on rings. In addition to being popular, the pattern is also a great place to start when you’re learning to do engraving. To practice engraving this pattern, you’ll need a copper plate, #40 flat graver, #3 onglette graver, dividers, and a mechanical pencil.
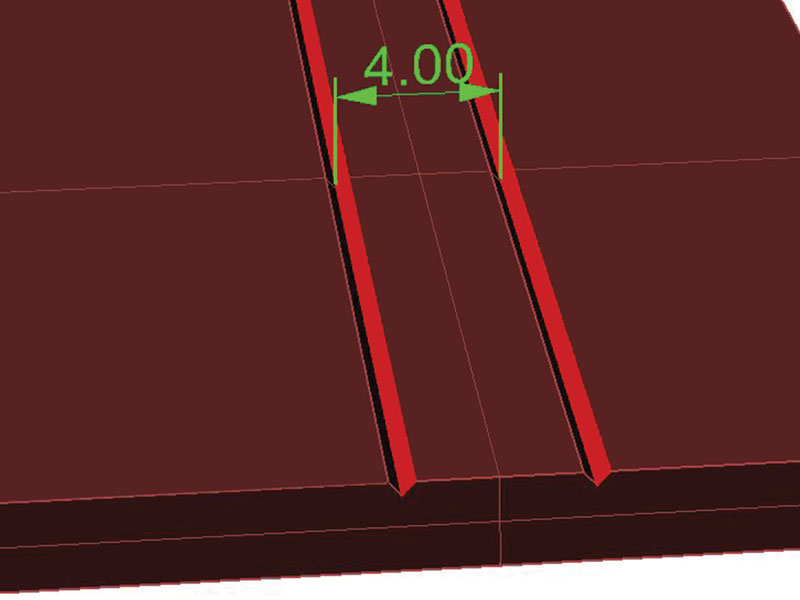
1. I recommend practicing the technique on a copper plate. Begin by sanding the surface of the plate. You can use either fine 3M graded sandpaper or a Scotch-Brite pad to abrade the surface so it’s easier to mark with a pencil. This abrasion will also cut down on reflections, making it easier to work. Using dividers, mark border lines that are 3 or 4 mm apart down the length of the plate. We’re using this measurement because it is the typical width of a ladies band or shank.
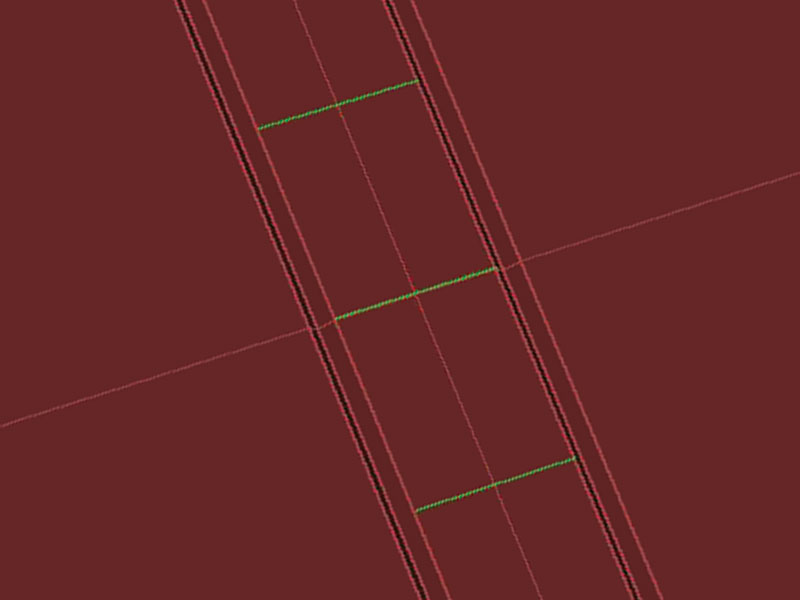
2. With an onglette graver, cut the border lines. Aim to cut each line with one smooth cut; this may require several passes. Next, use a pencil to mark cross lines between the borders. The cross lines should be the same distance apart as the two border lines so that you create a length of squares. These squares will determine the length of the V cuts as well as the size of the pattern.
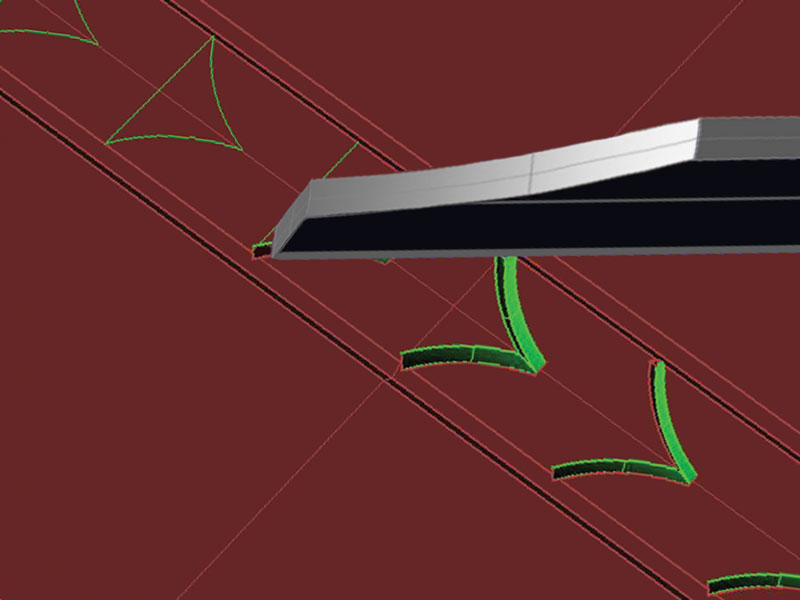
3. Now we’ll create the V cuts. With the pencil, begin at the corner of a square and draw an arc to the center of the box. Draw a corresponding arc from the other corner. Get them as even as possible then try to duplicate those arcs in the remaining squares. Once you’re happy with the pencil markings, cut the lines with an onglette graver. Make as many passes on the cut as needed but it’s best to make one clean cut starting in the middle of each arc. These cuts will define each leaf in the pattern.
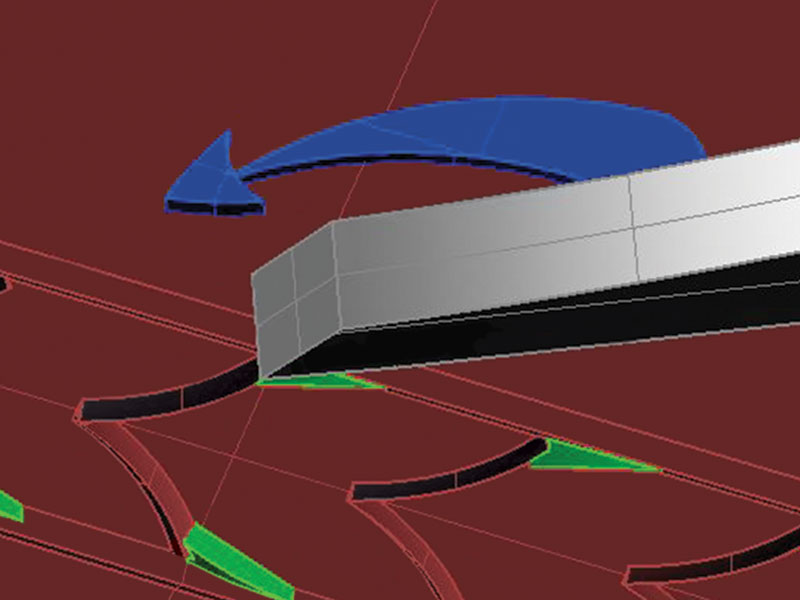
4. Next we’re going to create a narrowing cut at the bottom of the leaf. Tip the edge of a flat graver into the border cut and make a very short cut toward the V. This will narrow the bottom of the leaf and add depth to the pattern. Try to do this in one clean cut. The cut should end at the edge of the V cut of the leaf. Pop the graver up to end the cut cleanly and pop off any metal burrs that may be left behind. Do this on both sides of each leaf.
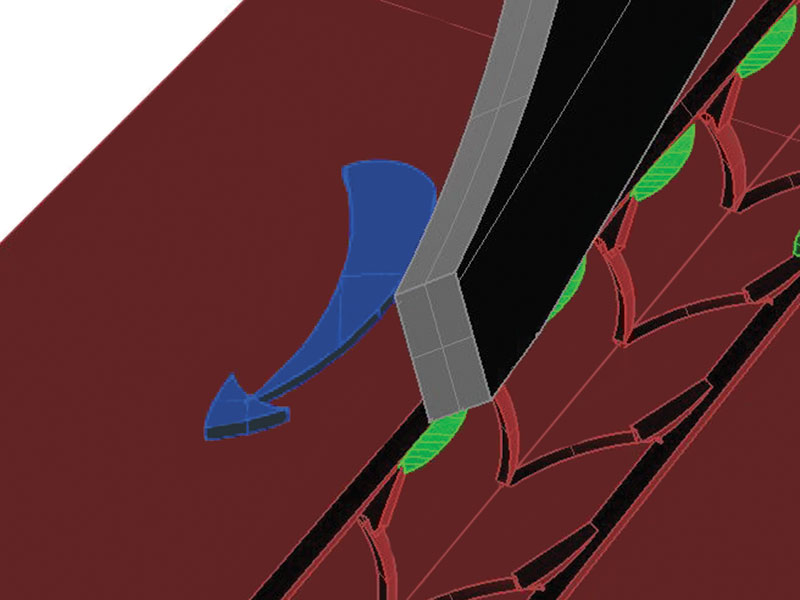
5. Use a flat graver to create scoop cuts, which will add more shape and depth to the leaf. Drop the outside corner of the graver in the border cut near where V intersects it, and then cut a scoop into the leaf that is the same depth as the border. To cut a scoop, dive the graver in and then pop it out as if you were scooping ice cream. The cut should end about where the narrowing cut begins. Do this on both sides of each leaf.
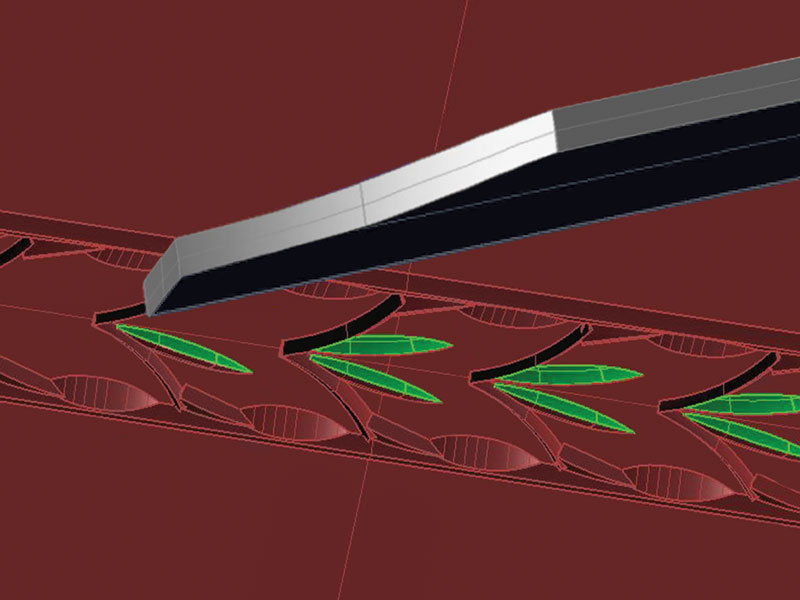
6. The last step is to create a shading line. I like to use one line of each side of the leaf, but you may use two or three. Use an onglette graver to make light, fading cuts that start halfway up the leaf and end at the V point.
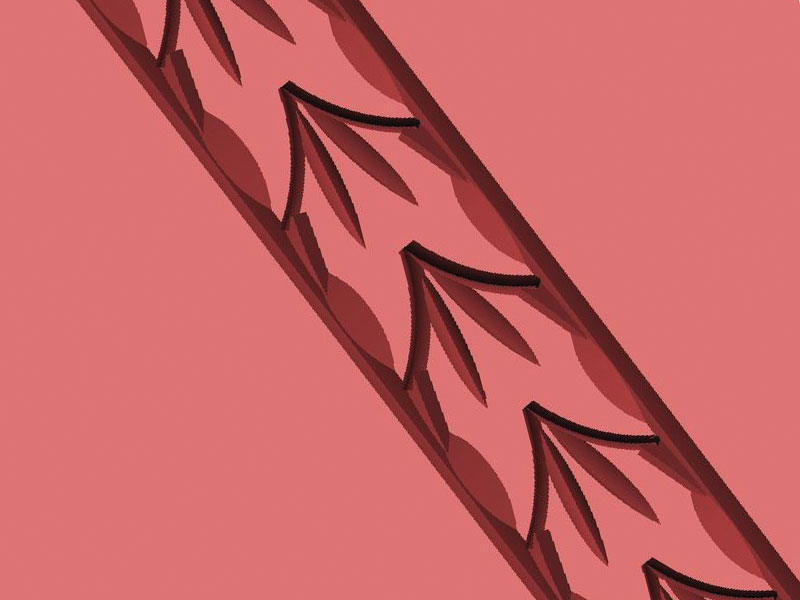
7. Continue practicing on the copper plate until you’ve perfected the technique and are ready to try it on a jewelry piece.