

That’s a Wrap
Using Tesa tape and a laser to resize eternity rings
By Roland Auer
When reworking or resizing a piece of jewelry, you must often bend delicate parts and surfaces. In the case of the two rings above, I had to remove one of the diamond settings to size it down, bending the entire ring to close the gap. Using ordinary jeweler’s tools, such as pliers, to accomplish this task would prove disastrous, as you wouldn’t be able to get a nice round shape without breaking a diamond or loosening the setting. It’s also easy to break the ring when applying pressure
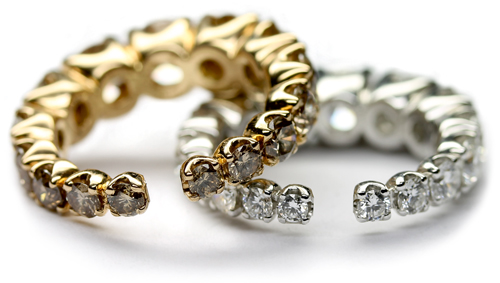
Here’s a little trick for tasks like this one, which can also be used for bending hollow and thin-walled parts: Use tape to apply soft, uniform pressure. You must use this method in combination with a laser, as you cannot solder with tape in place.
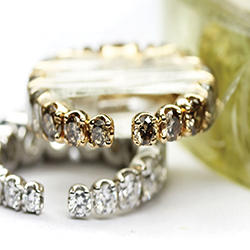
1. Find some tape that isn’t too wide for the jewelry piece and is strong and stretchy enough that it doesn’t tear off easily. The best tape I have found for this application is made by Tesa. Don’t use insulating tape used by electricians, as it is too soft and doesn’t provide enough pressure.
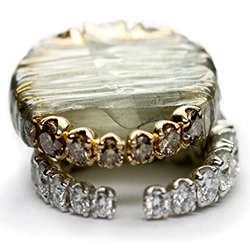
2. Wrap the tape around the piece you need to bend, stretching it layer after layer to add pressure. With each layer you add, the pressure gets stronger. In this image, you can see that the gap is already closed, although the ring is fairly thick on the top. You can also see that the first layer of tape is loose because of the deformation the pressure of the other layers applied to the ring.
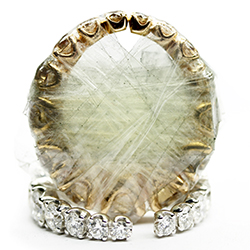
3. It is important to wrap the ring in different directions to divide the pressure. You can see here that one setting is a little higher than the other. By taking out one of the settings, the geometry of the ring changed a little. Using a laser welder, you can easily compensate for this by adding material of the same alloy where needed.
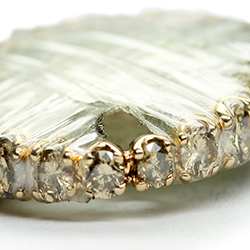
4. When you are happy with the shape, weld the parts together and fill the gap. Be careful to make a solid connection so that the junction does not break when you remove the tape. Begin with the ends touching on a small point and weld. Then fill the gap by adding 0.2 mm wire of the same alloy.
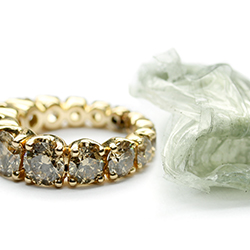
5. When the connection is strong enough, remove the tape.
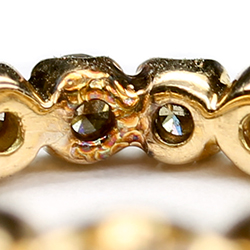
6. This image shows the welded joint. By adding material, you make the two settings equal in height.
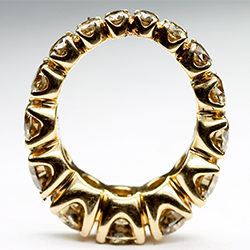
7. The exterior shape is fine, but the ring no longer has a nice circle on the inside. Back to the tape! Just wrap the tape in the direction you want the ring to bend. Over-bend it a hair, as it will give slightly when you remove the tape.
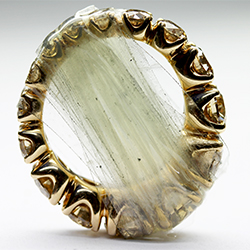
8. When the ring is bent back into shape, be sure to check all the settings for security. Make any needed adjustments to ensure the stones are securely in place before returning the ring to the customer.
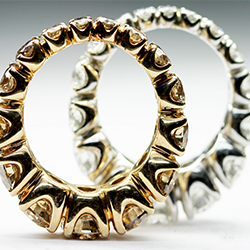
9. The resized rings are ready for presentation to the client.