

Step Up to the Plate
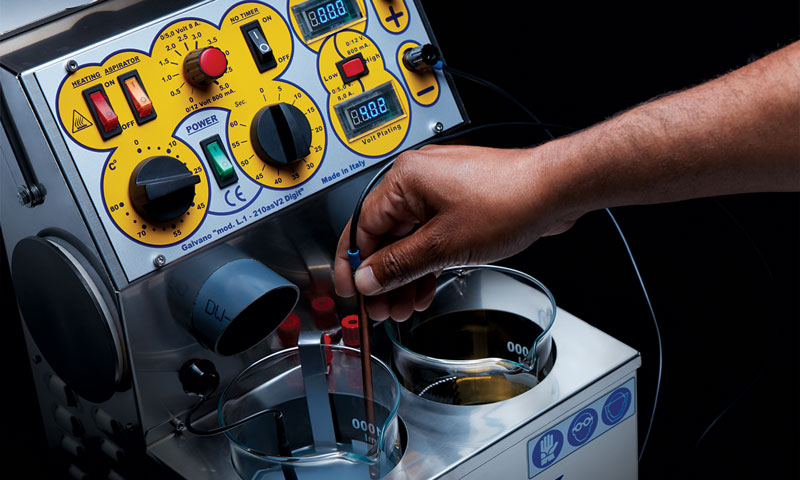
A beginner’s guide to plating
By Sharon Elaine Thompson
When most consumers think of plating, they associate it with costume or fashion jewelry. Yet many fine jewelers and manufacturers use plating daily—from chain manufacturers looking to match the color of the findings they buy in bulk to their chains to bench jewelers wanting to even out the color of a rose gold piece brought in for repair. And then there’s the most common type of plating in the industry—rhodium plating used to cover the yellowish cast of white gold jewelry.
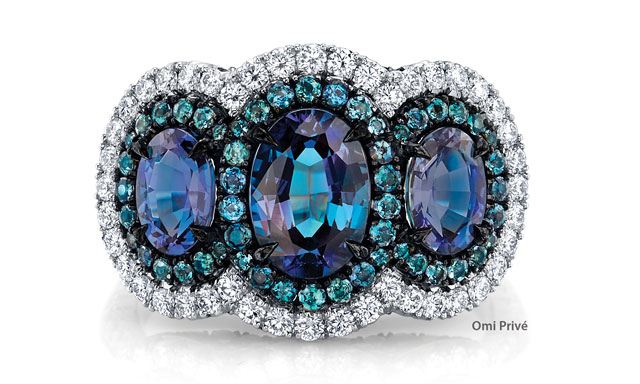
While manufacturers who do large-scale plating on a regular basis have refined their techniques to produce consistent results, many small jewelers who plate infrequently may find that their plating efforts are sometimes less successful than they’d like. That’s because plating is as much a science as it is an art form, which makes following proper procedures critical for plating success. To help in that effort, we spoke with plating experts to understand the process and why successful plating largely depends on two things: getting the jewelry really clean before plating, and carefully and consistently following the correct procedure.
Safety
When it comes to plating, safety is critical. Before beginning any plating process, read the Safety Data Sheet (SDS) that should have come with the plating solution from the manufacturer. It will outline the specific hazards involved with using the solution along with the procedures to follow in case of a spill or emergency. Always follow the manufacturers’ recommendations on procedure, handling, and storage. Make sure all of your employees also read the SDSs, are familiar with the proper procedures, and know what to do in an emergency.
There are four ways for plating chemicals to enter your body, says Neil Bell, president of Red Sky Plating in Albuquerque, New Mexico: skin, eyes, ingestion, and inhalation. Protect those pathways, and you can significantly reduce the risks of working with the chemicals.
Be aware that all plating solutions are dangerous. Most of the solutions commonly used are composed of acids, such as sulfuric, phosphoric, or nitric acids, that can splash and damage eyes or skin. If you’ll be working with an acidic solution, wear eye protection, disposable gloves, an apron, safety glasses, and closed-toe shoes.
Some gold- and silver-plating solutions contain cyanide, which is potentially fatal if handled improperly. “The industry is trying to move away from cyanide-based solutions because of the cyanide/acid hazard you have to worry about,” says Thomas Flores of Rio Grande in Albuquerque, New Mexico. Even with the risks involved, some people still prefer cyanide-based solutions. “Cyanide solutions suspend gold really well,” says Flores. “They have a better ‘throw’ of metal on the surface, which enables the plating of more objects before the solution plates out.”
Keep any cyanide-containing solutions away from acids, including pickle. If cyanide and sulfuric acids come into contact, they create hydrogen cyanide gas, which is lethal. Keep all solutions in plastic containers that can’t break, and make sure that all containers are clearly labeled with the solutions in them.
Electro-cleaners, which must be used to get jewelry completely clean for plating, are alkali-based. “An alkali burn on skin or in the eyes is far more serious than an acid burn,” Alberta, Canada-based jewelry artist and educator Charles Lewton-Brain writes in his The Jewelry Workshop Safety Report.
Regardless of the type of solution you’ll be working with, always work with adequate ventilation. Use a fume hood to extract any hazardous fumes away from the work area and out of the workshop.
“Taking [the process] for granted is the most dangerous thing, forgetting that you’re dealing with chemicals and incompatible solutions.” —Charles Lewton-Brain
In addition to involving hazardous chemicals, the plating process also combines electricity and water at voltages high enough to injure you. Always use care when handling the plating equipment and setting up your plating environment. Do not have your plating setup arranged on a metal surface. For an extra layer of protection, use a heavy rubber mat on the floor in front of the plating setup.
“There have been plating shops that use metal beakers and a metal work surface, and they run current through the set-up not realizing they’ve electrified the entire work surface,” says Flores.
Finally, don’t get complacent. There are too many horror stories in the industry about accidents that could have easily been avoided. “Taking [the process] for granted is the most dangerous thing, forgetting that you’re dealing with chemicals and incompatible solutions. Complacency is the biggest enemy,” warns Lewton-Brain.
The Plating Process
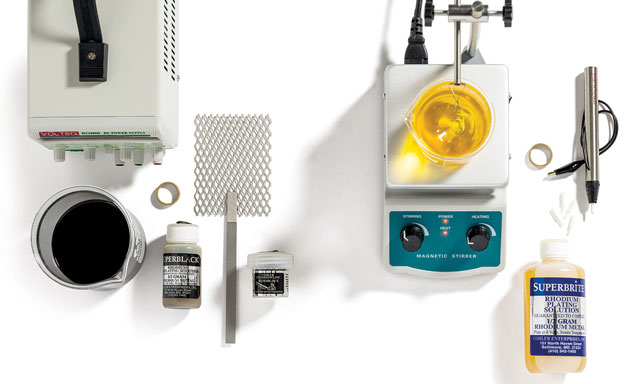
Plating is a process that uses electric current (provided by a rectifier) to move positively charged precious metal ions through an electrolytic solution containing a metallic salt of the same metal to deposit them onto jewelry, which is negatively charged. Although the exact plating process will depend on the solution being used and the item being plated, we’re going to focus on rhodium plating basics since it’s the most common type of plating work done in the jewelry industry today. A platinum group metal, rhodium is commonly used to cover the slightly yellowish tint of white gold jewelry. It’s also used to prevent sterling silver jewelry from tarnishing. It’s a durable coating and is considered hypoallergenic. Here are a few basic guidelines for rhodium plating.
Step 1: Prepare the Pieces
All jewelry processes must be finished, including soldering, bending, sawing, and so on, and the piece polished to a bright, smooth finish. “Plating won’t fill in scratches, pits, or porosity,” says Bell. “Plating…will exaggerate any imperfections in the surface of the base metal.” This doesn’t mean you can’t plate over matte or textured surfaces. “Bead blasted, sanded, and other textured surfaces produce interesting results when plated. Some jewelry makers combine highly polished and textured surfaces on the same item with striking results.” Just be aware that plating will not conceal poor-quality finishing.
If you’re plating hollow pieces with holes in them, the holes must be large enough to allow the plating solution to drain out completely and quickly. If the holes are too small, you risk incomplete rinsing. You could carry electro-cleaning solution into the plating solution, or acids could remain inside the hollow pieces after plating. All gemstones should be set into place prior to plating. The exceptions, says Bell, are peridot, coral, shell, pearl, hematite, lapis, malachite, turquoise, and other porous stones, such as opal, apatite, iolite, kunzite, and tanzanite.
Thermal shock can also create damage in certain stones, such as quartz, especially if they’re large. Any stone containing fractures, cleavages, or large crystals may already be under stress. If you aren’t sure, run a test on a similar stone. There are also numerous resources available in print and online.
Step 2: Clean Things Thoroughly
Jewelry needs to be thoroughly cleaned before plating. Start by cleaning it in an ultrasonic filled with a solution designed specifically to remove polishing compounds. Then rinse the piece in distilled or deionized water. You can also steam clean it at this point to boil off any surface water.
Once the piece has been cleaned, it should only be handled using rubber-tipped tweezers (to avoid scratching). Do not touch the cleaned jewelry with your fingers. “Hand oil is acidic and can actually etch into the metal so that an almost invisible fingerprint becomes very noticeable after plating,” says Bell. If you need to touch the piece, wear cotton gloves.
Next, electro-clean the jewelry. Electro-cleaning is not a replacement for a thorough ultrasonic cleaning. It simply removes the last traces of contaminants from the jewelry. The solution should be between 100°F and 150°F (38°C to 65°C). The voltage used should be between 1 and 6 volts. Insert a stainless steel anode (positively charged) into the electro-cleaning solution, or use a stainless steel container to act as the positive anode. (Be aware that the container will become electrified.)
Attach the jewelry to the negative pole and immerse it into the solution for “a minute,” says Mike Melvin, R&D associate process engineer at Stuller Inc. in Lafayette, Louisiana. “Not 15 seconds, not 30, not 45.” The solution will bubble, which is what removes the last traces of soil from the jewelry. From this point on, keep the jewelry moving from bath to rinse to bath. It must stay wet. If it dries out, you’ll have to begin the process again. (The surface must be wet or it is not “active,” explains Bell.)
Step 3: Rinse Well in Water
Rinse for one minute in distilled water, without voltage or heat. The electro-cleaner is alkali-based, explains Melvin, which, if brought into the acid-based rhodium solution, “will kill the pH of the rhodium solution. If the pH is out of whack, you don’t get good adhesion.” If you’re doing a lot of plating, keep the rinse water fresh by replacing it after every four or five pieces.
Step 4: Rinse in Acid Dip
You can make your own acid dip with 10 percent sulfuric acid and 90 percent water, or use a proprietary activation solution. Rinse the piece for one minute, with no heat and no voltage. Do not skip this step. The acid helps activate the surface of the jewelry, but also strips away any remaining alkali-based electro-cleaner—which doesn’t rinse away easily with water—that could contaminate the plating bath and cause the rhodium to precipitate out of the solution.
Bell recommends a “water break” test at this point. After the rinse, water should wet the entire surface of the piece—it should not bead up or “break.” If it does break, it indicates the surface is not clean and active, and the process should be started over from the electro-cleaning step. If the entire surface is wet, it’s ready for plating.
If you’re rhodium-plating silver, there are some extra precautions you need to take since silver can quickly contaminate a rhodium bath. You can first plate the silver surface with another metal. Nickel will create a harder surface, keeping the surface shinier and scratch-free longer, says Bell. However, as the rhodium wears away, the nickel layer will be exposed, which can cause an allergic reaction in some wearers.
You can also flash-plate the silver with gold, which is what Red Sky Plating does. “[The layer is] so thin that if you wear the rhodium off, you won’t even see the gold,” says Bell.
Alternatively, you can start the electric current running through the silver jewelry before placing it into the rhodium bath, which reduces the risk of contamination. “When it goes into the electroplating bath, the jewelry is getting the metal plated onto it faster than the silver can dissolve into the solution,” explains Bell.
Step 5: Rinse Again in Water
Rinse the piece in distilled water, with no voltage or heat, for 30 seconds to one minute. This prevents carrying acid to the plating bath, which can change the proportions of water/acid/rhodium.
Step 6: It’s Time to Electroplate
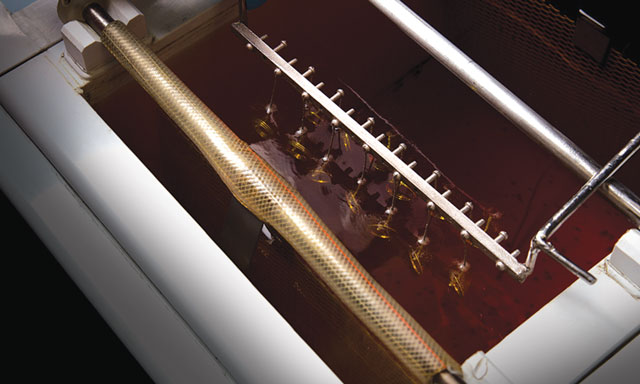
Most rhodium plating solutions are comprised of sulfuric or phosphoric acid (or a combination of both), water, and rhodium salts (usually 2 grams per liter). They may also contain proprietary or wetting agents. The proportions of the elements in the solution are important: Any changes in them will affect the plating quality. For example, because the solution must be heated, the water in it evaporates and must be replaced. That’s why it’s helpful to use glass plating solution beakers that come marked so that you can easily monitor the solution level.
With a thermometer, check to see that the plating solution temperature is between 90°F and 115°F (32°C to 46°C). (Do not use the same thermometer you use to check the electro-cleaner or you can cross-contaminate your solutions.) The voltage should be set between 2 and 5 volts.
Immerse the platinized titanium anode, which should be attached to the positive pole on the rectifier, in the solution. Attach the jewelry to the negative lead and immerse it in the solution for 30 to 60 seconds.
The thickness of the plating depends on the relationship between time, voltage, and amperage per square inch. “Using plating time alone as a guide to thickness is not going to be reliable,” says Bell. (In tests Bell previously conducted, he found that plating for 1 minute at 90°F and 2.5 volts yielded an average plating thickness of 0.2 microns.)
Step 7: Rinse One More Time
Rinse with distilled water for one minute. Steam and rinse again.
Once you’ve completed the plating process, cover the beaker containing the plating solution to prevent airborne pollutants from contaminating it. Any water that has evaporated from the solution must be replaced with distilled water, not tap water, as the impurities in it will contaminate the solution.
Do not place used plating solution back into the original container if it contains any unused solution, as you will alter the water/acid/rhodium proportions, which will result in unsatisfactory plating results. Over time and with use, the rhodium will be plated out of the solution. Eventually, the plating process will take longer and you’ll see a decrease in quality or no plating at all, says Bell. When the solution is no longer effective, dispose of it by following the guidelines on the SDS.
“Plating won’t fill in scratches, pits, or porosity. Plating…will exaggerate any imperfections in the surface of the base metal.” —Neil Bell
Where Things Go Wrong
Problems sometimes arise during the plating process, and they can usually be traced back to one of several issues:
The jewelry is not completely clean. This is usually the biggest cause of poor plating quality and is often the result when not all of the polishing compound has been removed, there are fingerprints on the piece, or the piece was not electro-cleaned or acid dipped prior to plating. “If it’s not clean,” says Melvin, “you’ll get a blotchy-looking job, with streaks or dark spots. Or it won’t plate at all.” You must use an electro-cleaner before plating.
Proportions of acid/water/rhodium change. This can happen in a number of ways:
- Evaporated water is not replaced. To correct, carefully top off with distilled water. Because the plating solution is a weak acid, there are not the risks associated with pouring water into concentrated acids.
- Using only half of the liter of plating solution and “topping off” with that when the solution gets low. “This throws off the proportions in the mix and the chemistry. That really affects the results,” says Melvin.
- Not rinsing after electro-cleaning or acid-dipping steps. If electro-cleaner contaminates the plating solution, it can cause the rhodium to precipitate out of solution, making the solution useless. Adding additional solution from the original bottle, or contaminating it with the acid-dipping solution, will throw the solution out of whack and result in unsatisfactory plating. In both cases, you’ll have to dispose of the solution properly and start over with fresh solution.
Using tap water to rinse. Tap water contains numerous impurities that will contaminate your solutions. This will result in poor plating results. Use only distilled water for rinses.
Not following the manufacturer’s recommended procedures. Altering temperatures, voltages, and time can lead to a rough or poor-quality surface, hazing, or burning. It will also affect the thickness of the plating. Every year at Stuller workshops, Melvin talks to jewelers about plating problems they’re having. “The biggest pitfalls I hear about are in the process,” he says. Follow the procedures and don’t cut corners.
Plating has become standard practice in the industry. Whether you use your plating equipment every day or just a few times a year, becoming knowledgeable about the process and carefully following the recommended procedures will help to ensure plating success every time.