

Split Lapping
Tips for split lapping your way to a fast and effective finish
By Brett Gober
Since revealing that the split lap is my Secret Shop Weapon in the July 2011 issue of MJSA Journal, several people have told me they tried using a split lap but gave up in frustration. Split lapping does require more practice than other finishing operations to become proficient, but it’s worth learning for the labor savings and quality improvement it affords.
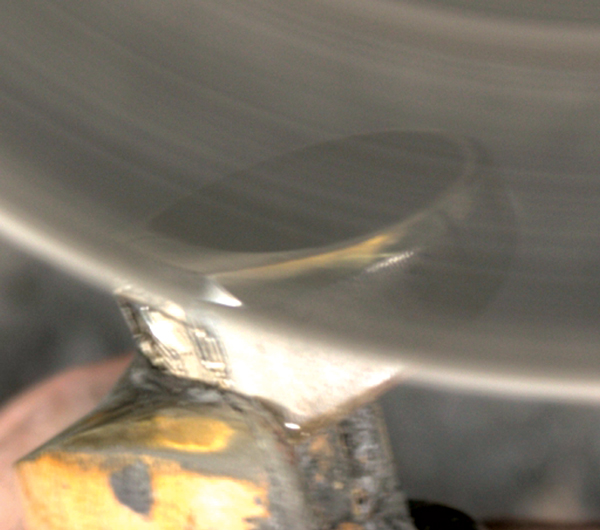
Split laps are commonly offered in sizes ranging from 6 to 8 inches in diameter and in hardnesses ranging from medium to diamond. Felt is the most common material for most applications, but for hard metals such as stainless steel, laps made of MX grinding material are available. Flint or rock hard split laps provide fast cutting action and crisp definition.
When starting out, stay away from the 8 inch split laps. While they cut fast, they are more difficult to true and dress than 6 inch split laps, and they cost significantly more. For gold and silver pieces, I use Graystar polishing compound paired with a flint hard split lap. This combination gives me sharp lines and a surface ready for final polishing.
The following are a few basic pointers for getting started with split lapping.
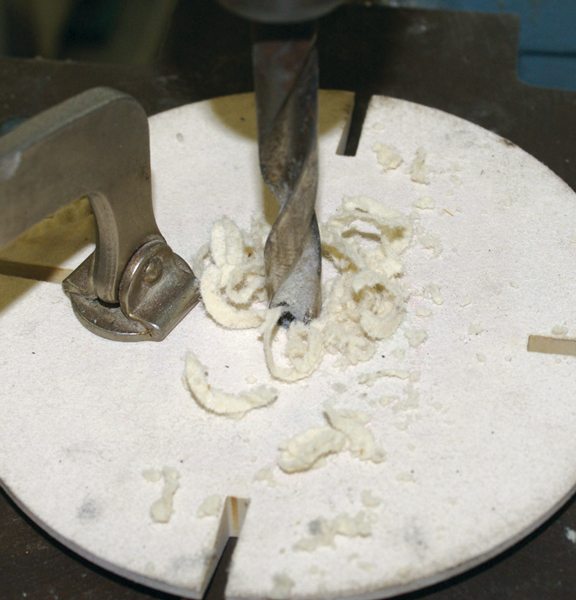
1. Although I use a tapered spindle, I still drill the mounting hole on my split laps to 1/2 inch. Use a drill press to ensure that the hole is square. The larger hole allows the lap to be mounted at a more comfortable height and reduces wobble, making the split lap easier to true and dress.
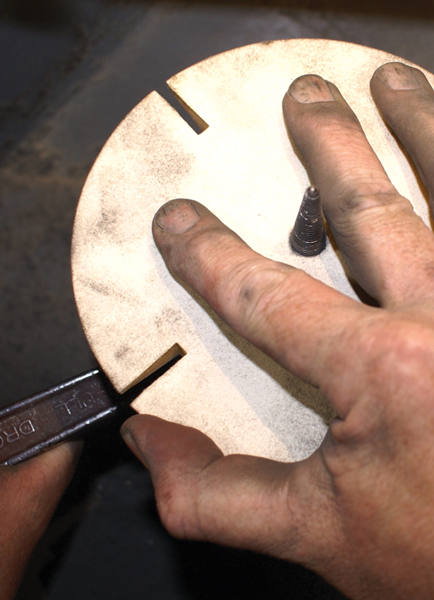
2. Put the split lap on the spindle and flick the switch on and off so that the threads catch the split lap and draw it down onto the spindle. Put a wrench on the spindle and screw the lap down a turn or two until it’s held firmly in place. Spin the spindle by hand and make sure one side isn’t higher than the other. If it is, push down on that side while turning the spindle a quarter turn with the wrench. When the split lap seems to be fairly level, turn on the motor and be prepared to turn it off if there is excessive vibration. Expect some vibration, but if it looks like you turned on a paint mixer, recheck the mounting of the split lap on the spindle. Also make sure that the mounting hole is square and centered.
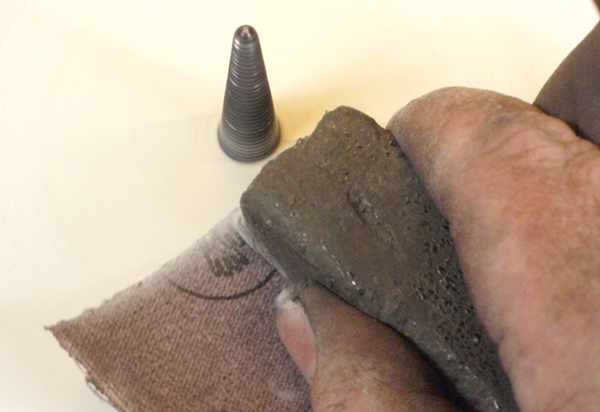
3. Before use, split laps must be properly shaped to a knife edge. Any remaining lip will cause deep lines to be cut into the piece being lapped. To rapidly true and shape the split lap, use 50-grit belt sanding cloth backed by a solid block that measures about 1 inch square by 3 inches long. Work from the center out, alternating between the top and bottom and making sure to maintain the beveled angle. Use a firm hand, but don’t use so much pressure that the split lap is deflected from the axis of rotation. Once the split lap is running true you can concentrate on bringing the bevel up to make the knife edge. Keep the sandpaper moving so you don’t wear grooves into the split lap.
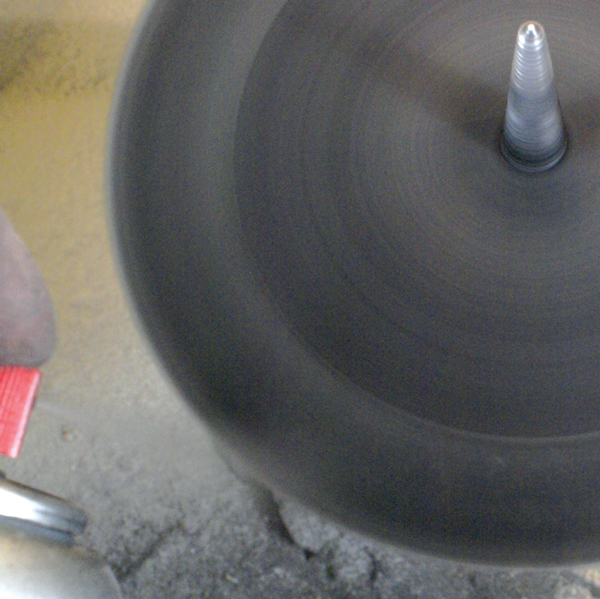
4. Paint the top of the split lap black for maximum contrast.
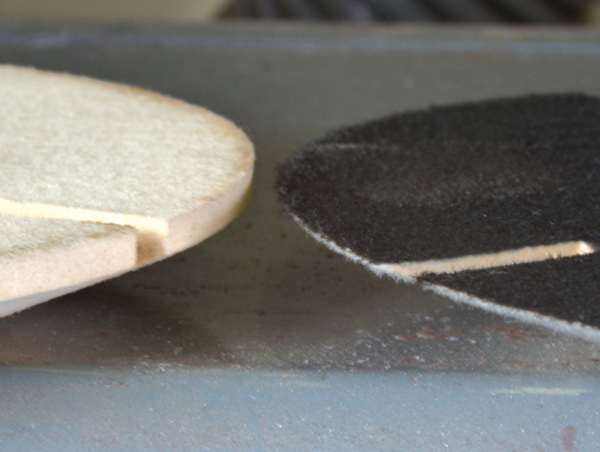
5. Now that your split lap has a knife edge, be very careful. Any contact with a spinning split lap will cause a very nasty cut.
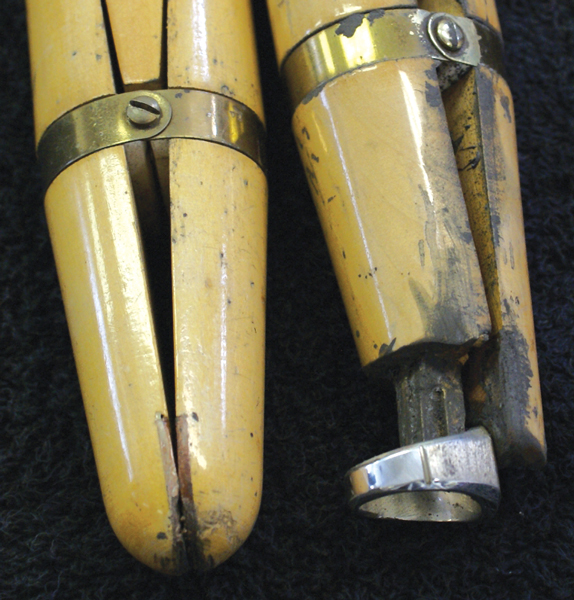
6. Split lapping is usually a relatively fast process, so the piece being split lapped should be firmly held for maximum control and to protect the operator from the considerable heat generated. Wooden ring clamps can be shaped to accommodate particular pieces. For smaller pieces, clothespins, soft-jawed pliers, thick pieces of leather, and paper clips work well. Whatever work-holding method you choose, make sure the piece cannot move while in contact with the split lap. And wear leather finger cots, which offer heat protection.
7. When split lapping a flat planar surface, start the cut at the point closest to you and pull the piece toward you. Observe and adjust the position of the piece as needed. For best results, keep firm contact with the split lap and keep moving. Anchor your dominant hand’s forearm to the polishing bench and use your weak hand to steady the piece while in contact with the split lap. Avoid starting and stopping, which causes multiple facets instead of a flat surface.
Split lapping uses compound at a high rate, so pay attention to the cutting rate and apply more compound when you detect a drop in cutting speed. A good practice is to apply compound whenever you reposition the piece for another cut.
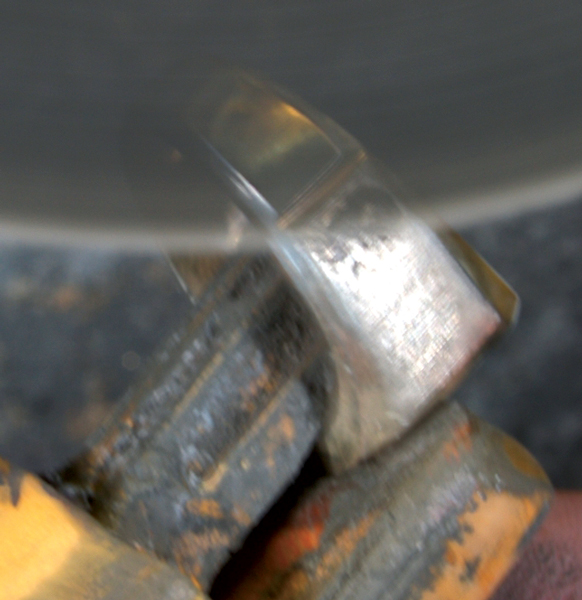
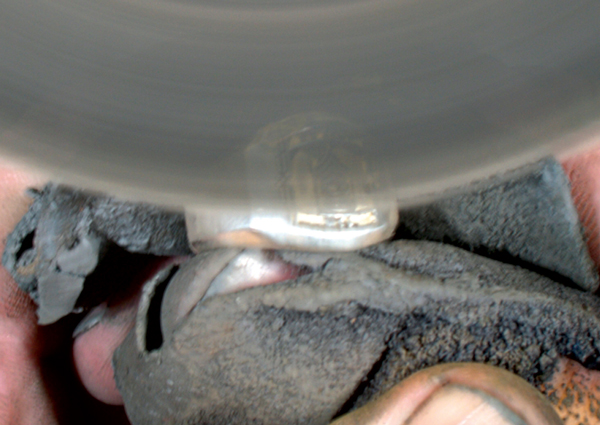
8. When split lapping a convex surface, such as a ring shank, it is particularly important to have a steady hand and use even pressure while rotating the ring. Here, I’m using my left hand to rotate the clamp counterclockwise while my right hand applies upward pressure. When possible, rotate into the spin of the split lap. Watch your progress as you rotate the piece to keep the cut even. I like to cut across the shank at an angle for maximum contact with the split lap. A second lighter pass at a different angle may be necessary to further refine the surface finish. When cutting a narrow shank, I position the ring so that I cut along the shank and not across it. Otherwise one of the splits will grab the shank and probably severely bend the ring.
9. Seeing what’s happening as you’re split lapping is one of the main advantages of using this method. You can clearly see when surfaces meet where you want them to and have the surface finish required for subsequent finishing steps. Here I’ve started my edge bevel cut by cutting into the shoulder of the ring until I have an angle that meets the top of the ring where I want it. My right wrist is now locked and I continue the cut down the shank by rotating my hand clockwise while maintaining even pressure up into the split lap.

10. The right side bevel cut continues in a fluid motion until the cut reaches the bottom of the shank where it’s feathered out. The left side bevel is then cut until it blends into the right side bevel at the bottom of the shank.
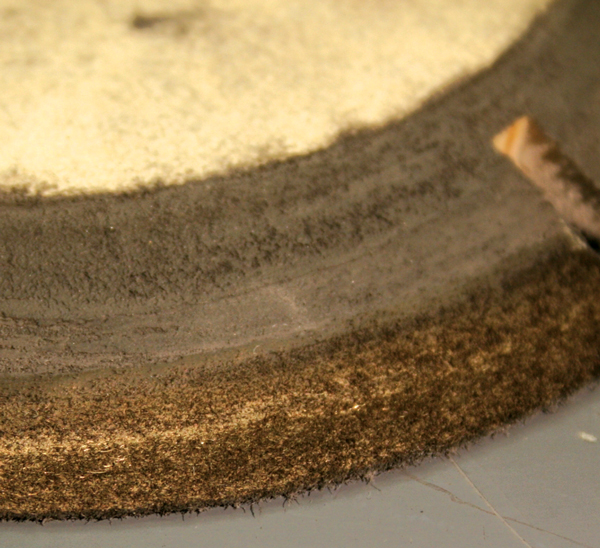
11. Fresh compound carries away the metal being removed, but as the compound runs out metal will be deposited on the lap. Re-dress the split lap periodically to maintain its shape and remove any buildup of metal and compound from the split lap. I re-dress after each ring with 80 grit 3M Metalite sanding cloth. Don’t overdo it or you’ll wear down the split lap unnecessarily. Use a high quality sanding cloth with a good bond of the grit to the backing or grit may become embedded in the split lap.
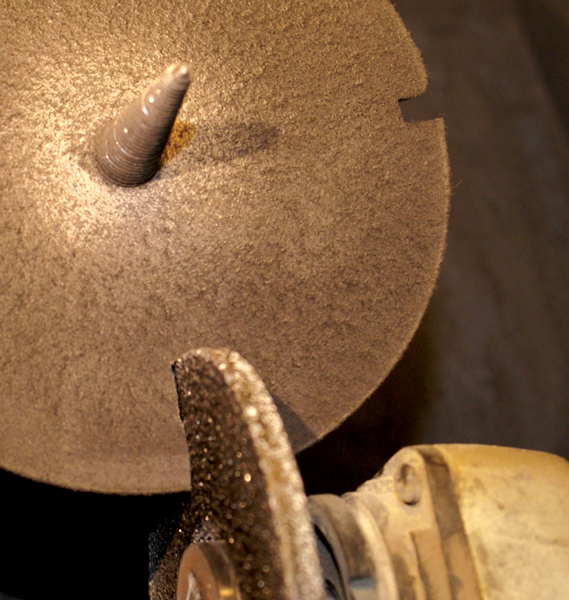
12. The split lap will eventually wear past where the original splits were located. When this happens, you can extend the splits. I use a small angle grinder with a 1/4 inch grinding disk to cut into the split lap to an equal depth for all four splits.