

Practice Makes Perfect
Tips for creating your own gold alloys
By Shawna Kulpa
(Originally published July 2016)
It doesn’t take a PhD in metallurgy when it comes to making a jewelry metal alloy, but it does take practice—lots and lots of practice.
Whether it’s your desire to create the perfect shade of buttery yellow gold or just to tell your customers that you created the metal used in your work yourself, making your own alloys is something most jewelers can manage in their own shops. There are limits—don’t expect to come up with a new shade of violet gold anytime soon—and sometimes it may not make financial sense. But if you want something custom and you’re up for it, creating your own homemade gold alloy may be the way to go. However, as you’ll see on the following pages, there are a few dos and don’ts that you should be aware of before you fire up your torch to do a little mixing.
Gold Alloys 101: Yellow, Red, Green
Making your own gold alloy is a great way to create a particular shade of the metal. However, it’s important to note that you shouldn’t harbor fantasies of creating a never-before-seen color of gold.
“If there’s a color that you don’t see in common use, there’s a reason for that,” explains Daniel Ballard of Precious Metals West/Fine Gold in Ontario, California. “We get a lot of calls for exotic color alloys, and the answer is usually no.
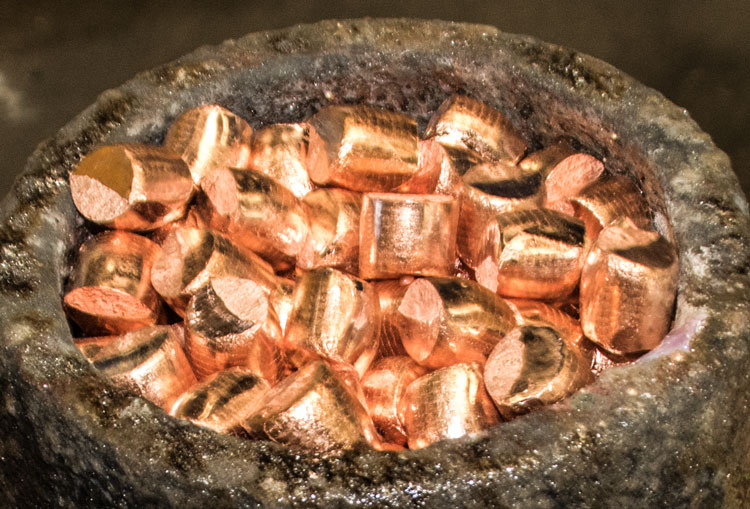
Instead, Ballard recommends focusing your efforts on yellow and rose gold. Rose gold, he says, is among the easiest to make: “On a difficulty scale of 1 to 5, with 5 being difficult, rose gold is a 1 or a 2. It’s just gold, silver, and copper, which work well together and won’t require any fancy equipment.” For what you should have on hand, Ballard recommends a hydrogen torch, a carbon graphite crucible for its oxygen consuming properties, a scale to accurately weigh your metals, and a calculator to check your math.
But even if simple, rose gold does have its challenges. Copper, of course, gives the gold its red tones, but that’s not all it does. “When you go to an 18k binary system with just copper and gold in the alloy, the crystal structure can become very rigid if allowed to cool too slowly,” says James Binnion of James Binnion Metal Arts in Bellingham, Washington. “The alloy will be hard and brittle. The solution is to add silver to the alloy, as much as your color sense can stand. Two percent silver is typically enough to keep the alloy from being brittle.”
If you really want to experiment, start with yellow, Ballard recommends. “It’s a sensible starting point because there’s nothing weird to deal with (unlike with white gold), and you don’t need extraordinary amounts of any metals (like with rose gold),” he says.
A basic 14k gold alloy would comprise 58.3 percent gold (the minimum standard for 14k in the U.S.), 29.2 percent copper, and 12.5 percent silver. Ballard notes that when making 14k yellow gold, it is worthwhile to include zinc in the mix, adding 6.25 percent zinc and decreasing the silver to 6.25 percent. “You can make it without zinc, but I think it makes sense with 10k and 14k alloys,” he says. “It gets the melting temperature down and helps with the color and viscosity.”
In addition to being easy to experiment with, yellow gold can also result in the largest range of color variations. “With yellow, you have lots of opportunities to experiment and get a color not easily commercially available,” says Ballard. “Yellow comes in many shades. Between the karat, the copper-to-silver ratio, and even the inclusion of zinc for 14k, one can go lighter, darker, or in the direction of greenish on the light side to peach or rosy on the dark.”
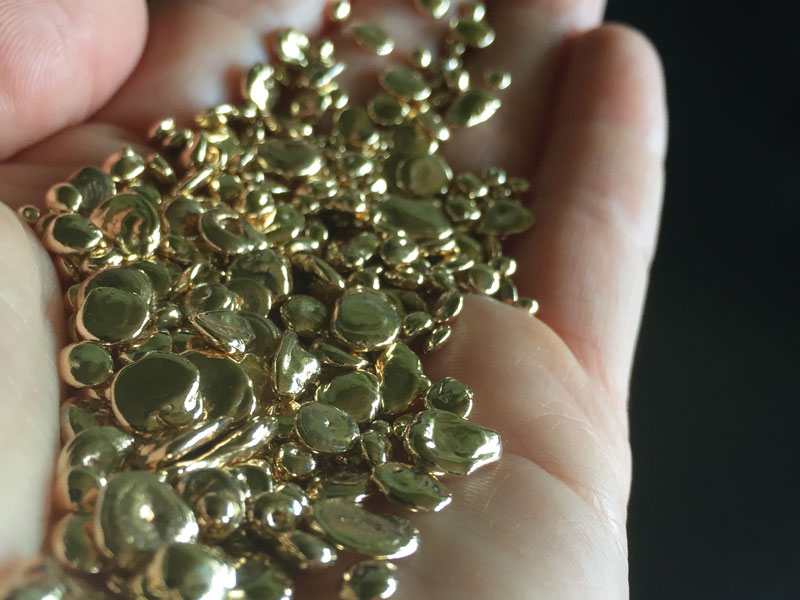
Green gold is another alloy that’s relatively easy to make, but experts cite the achievable colors as rather lackluster. “We can’t make green the way we can make rose—it’s a greenish yellow so some jewelers will be disappointed with the resulting color,” says Ballard. “Plus, silver is the main ingredient so it tends to be terribly soft.”
Regardless of the color of gold you’re making, remember that it’s easier and cheaper to alloy down than it is up. “If someone has an ounce of 18k yellow gold and wants to turn it into 14k yellow gold, they want to add in some silver and copper to reduce the percentage of gold,” explains Stewart Grice of Hoover & Strong in North Chesterfield, Virginia. “That’s a lot easier than having to go from 14k to 18k. The weight of the other metals besides gold present remains the same, and you’ll have to add a lot more gold to get it right. It’s the law of diminishing returns.”
Gold Alloys 201: White
With white gold, you’re better off just saying no, says Ballard. “When it comes to white, it gets tricky. There are only two ways to make white gold: nickel or palladium.
“To make the most common white gold, you would need nickel powder because when nickel is in solid form, it takes a boatload of heat to melt it,” says Ballard, citing nickel’s melting point of about 2,600°F. “In fact, at the temperatures needed to melt nickel, you would boil off some of the other metals, such as zinc, that would need to be in the alloy. The easiest way to make it would be with nickel powder, but that has a problem of exposure. The stuff is like talcum powder and it could be easily blown out of the mix, which throws off your measurements and will affect the karatage of your alloy. Plus, you don’t want to inhale it or have it on your skin, which could increase your chance of developing an allergy.”
If you are willing to experiment with nickel whites, Binnion stresses how critical the balance of elements is in how the alloy will perform, as white gold alloys aren’t as forgiving about the formula as other colors of gold. “Unless you’re willing to do a lot of experimenting, follow someone else’s recipe or buy a commercial master alloy,” he says. “Nickel white gold has a tendency to fire crack. It’s very hard, and it can be difficult to roll or draw.” While he admits that lower-nickel alloys are more amenable to cold working, they also turn out more yellow. “You’ll wind up having to rhodium plate. Why do this?”
White gold with palladium carries its own baggage.
In addition to requiring higher temperatures to melt it, palladium sucks up hydrogen and oxygen like a sponge, making it challenging to try to torch melt.
“You’d want to melt it in an atmosphere-controlled environment,” confirms Ballard. “You might be able to get away with torch melting it, but it’s far more likely to have porosity than if you were creating it in a machine.”
According to Binnion, palladium white golds are also very finicky. “They have a tendency to crack when rolling,” he says. “Trying to get a good crystal structure in a small ingot is a challenge. Sometimes you have to re-melt it to get it.” However, when re-melting and recasting ingots, you risk picking up more gas every time, making the alloy more likely to crack.
“This is where good melting practices to limit the amount of gas absorbed by the molten metal become critical.”
In the end, while making your own white gold alloy is not impossible, it can be impractical. “Unlike with yellow gold, you’re probably not after nuanced shades,” says Ballard. “There’s no artistic reason to go astray from what’s commercially available.”
Quick Tips & Best Practices
No matter what metal alloy you’re trying to mix up in your shop, there are some best practices that will help ensure success.
• Practice, practice, practice. The easiest way to find success in making your own alloys is through practice, says James Binnion of James Binnion Metal Arts in Bellingham, Washington. “It’s not always easy to pour an alloy into an ingot mold and get a good workable piece out of it,” he says. “So practice and get set up to make good ingots. Practice with silver because if you can pour a good workable ingot in sterling, you’re well on your way to doing good ingots in gold. Get comfortable doing it, so when you’re working with thousands of dollars worth of gold, you can focus on getting the best ingot you can.”
• Start with quality ingredients. “Get the best materials you can,” advises Stewart Grice of Hoover & Strong in North Chesterfield, Virginia. “Always use a minimum of 99.9 percent pure gold or silver. Don’t use cheaper materials, otherwise you’ll have to account for that in your calculations.”
• Check your math. “There’s some pretty significant math involved in putting together alloy formulas,” says Daniel Ballard of Precious Metals West/Fine Gold in Ontario, California. “Double-check your numbers to make sure you’ll get the karat or color you want.”
• Keep it together. “Don’t try and make the alloy separate,” advises Ballard. “Decide what your metal is going to be (in terms of color and karat), and compound all of the metals together. Don’t just mix silver and copper together and then mix it with gold.”
• Stay safe. Ballard advises would-be metallurgists to always practice shop safety when mixing alloys. “Don’t breathe metal fumes. Protect your eyes and wear gloves to protect your hands. And make sure you have a good handle on the tools you’ll be using before lighting your torch.”
• Always pre-heat. Binnion recommends pre-heating your crucible before adding metal. “It speeds up the melting process,” he explains. “The less time you stay in a liquid state, the less time there is to pick up gasses in the mix.”
• And while you’re pre-heating… When creating your alloys, Binnion recommends pouring them into ingot molds carved in graphite. “It’s easier to cast good sheet from a shallow ingot mold rather than pouring it vertically in metal ingot molds,” he says. In either case, he says that it’s important to pre-heat your mold. “You want to make sure that there’s no water vapor or water on the mold. If there is, you could have a steam explosion that throws your metal all over the place. Pre-heat the mold to 300°F to 400°F so there’s no chance of liquid water or water vapor sticking to the mold.”
• Don’t get stuck. “Soot or oil can stop a melt from sticking to the mold,” says Grice. “A sooty flame on the mold will put a layer of carbon on the mold. Some people also slightly oil the mold, and that turns into a carbon film. It’s not necessary, and won’t cause any harm, but some people say they get better results.”
• Watch your heat. Don’t overcook your metals, warns Grice. “It predominantly happens with smaller melts. If you start seeing stuff smoking off, turn the heat down a bit. Unless you have a thermocouple-controlled machine to cast the ingot, over-cooking is possible.” The best way to avoid overcooking? “Practice,” says Grice. “Get to know what you can do.”
• Perfection isn’t necessary… Don’t worry if your ingot isn’t perfect. “It’s often possible to save the ingot by cutting out areas with cracks or other imperfections,” says Binnion. “If not, re-melt it and try to do a better job of covering it with the torch flame.”
• …but cleanliness is. “Grind out any sharp edges, cracks, or impurities,” says Grice. “The cleaner the surface, the better whatever you’re going to roll out will come out.”
• Take time to enjoy. “Don’t be afraid,” says Ballard. “You’re going to make mistakes, but you may wind up with a product you love as much as the designs you make. When an experiment goes wrong, you learn and your refiner makes it all good again. Enjoy yourself and have fun!”