

Get Into the Groove
Giving a new purpose to old cross-lock tweezers
By Helen I. Driggs
At the end of every semester of my jewelry classes, I always thoroughly clean the student soldering station and often discover a supply of cross-lock tweezers that have become warped, annealed, rusted, bent, deformed, or otherwise ready to recycle. This is one of my favorite ways to repurpose a tool while creating a useful modification that is a big help during precision soldering, specifically when joining thin wires and earring posts vertically.
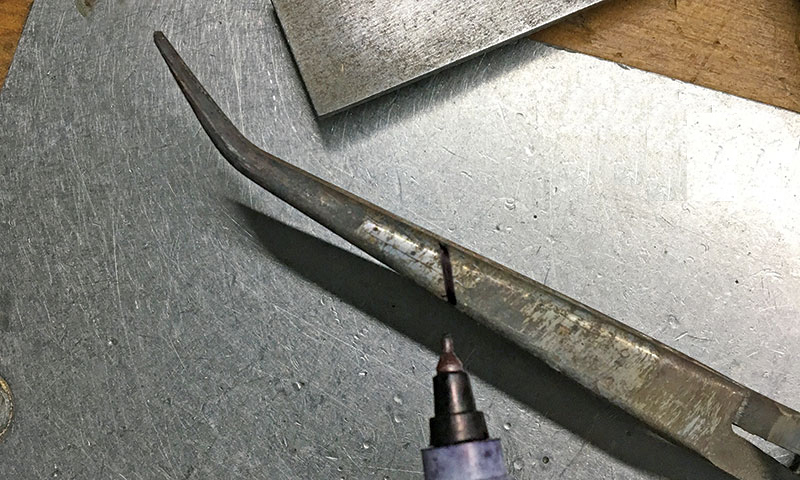
For this project, you’ll need a flex-shaft with a separating disc, a steel brush attachment, and an assortment of sanding tips; a hacksaw or jeweler’s saw with a coarse blade; a 2-inch C-clamp; and an old set of cross-lock tweezers.
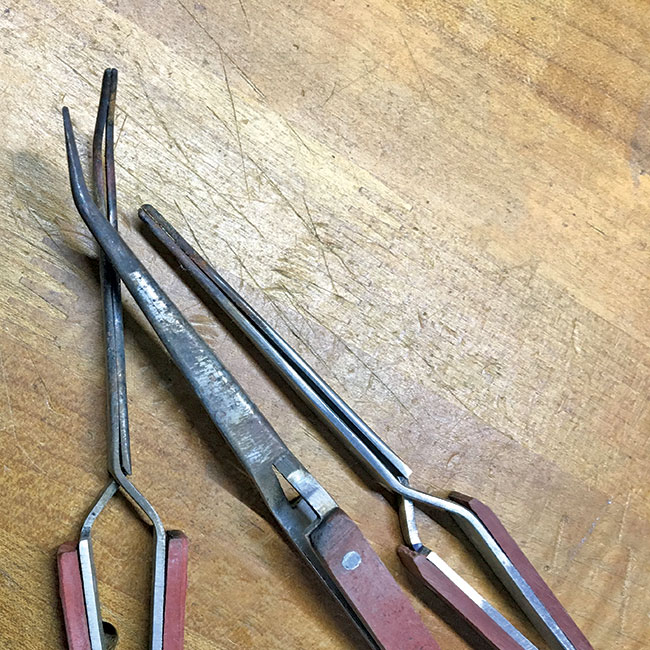
1. Since we’ll be sawing off the tips and sanding the surfaces smooth, any cross-lock tweezers will work for this simple modification.

2. First, mark a sawing line pointing to-ward the tip of the tweezers at about a 30-degree angle. Saw off the tweezer tips with a hacksaw, separating disc, or jeweler’s saw and a coarse blade.
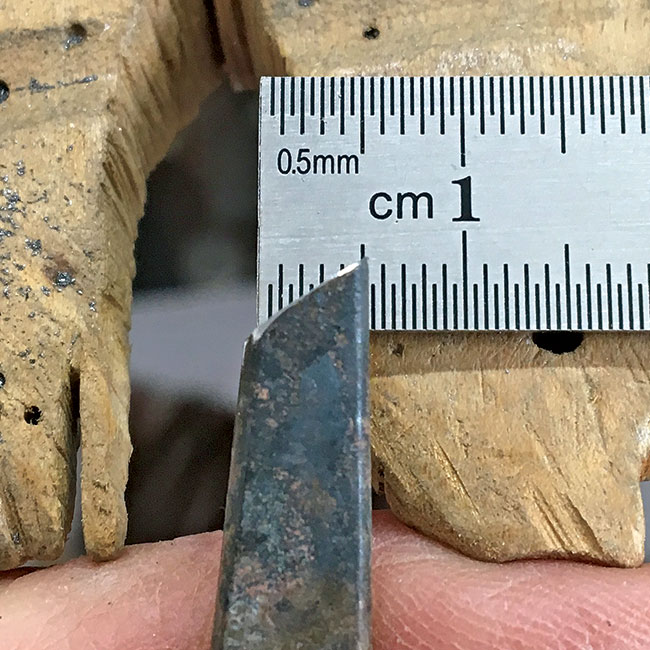
3. Ensure the tweezer jaws measure a maximum of 5 mm wide at the cut. (Five millimeters is the average length of most earring posts.)
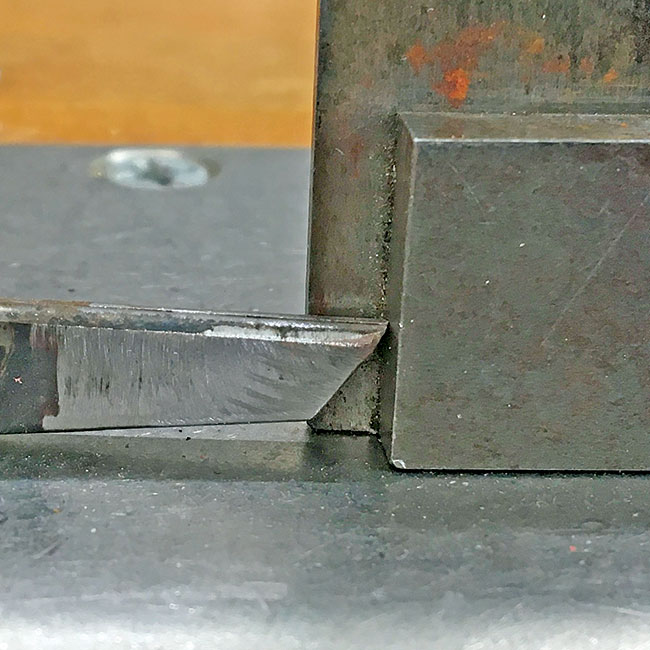
4. Mark the position for a groove at 90 degrees to the worktop. An easy way to do this is using an L-square and a permanent marker to transfer marks to the inside surface of the tweezer jaw.
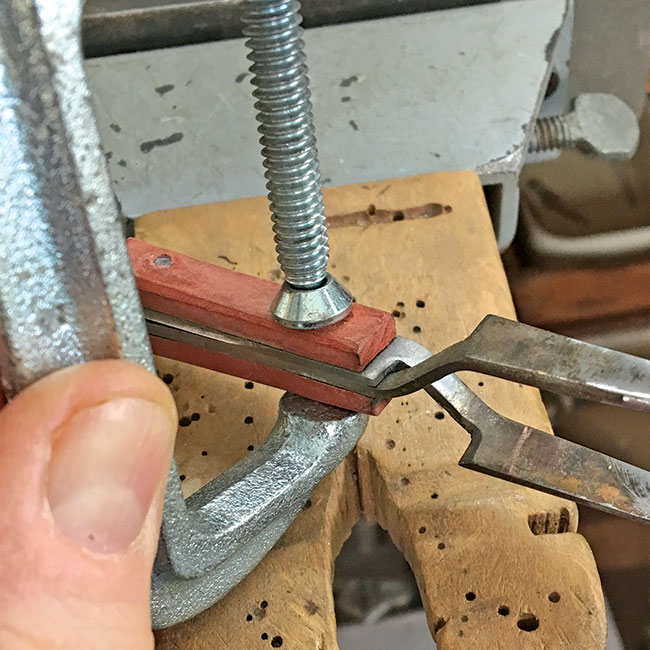
5. Use a small C-clamp to compress the tweezers wide open and allow access for the separating disc. Carefully grind a groove at the mark. You need to grind a groove onto only one side of the tweezers, since many earring post wires are about 22 gauge and one groove will hold the wire firmly.
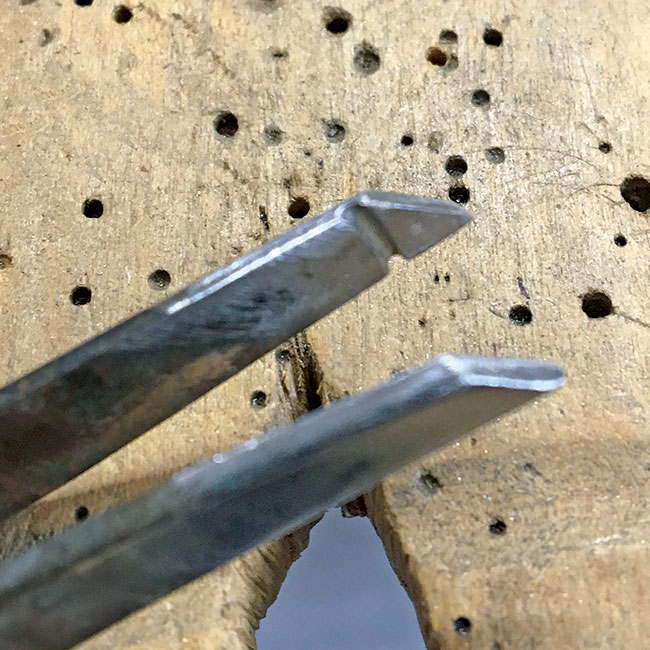
6. Sand the jaw surfaces and along the edges of the groove to remove any imperfections in the metal. Burnish the tweezer jaws with a steel wheel brush in the flex-shaft.

7. Inspect the jaws and ensure the depth of the groove is consistent, scratch-free, and burnished smooth.
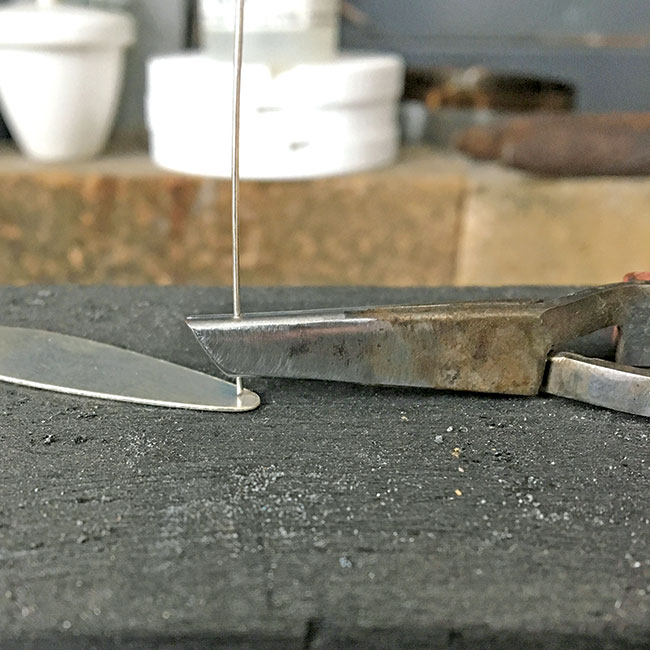
8. To use the tweezers, position them on the soldering block with the longer point up and insert the wire into the groove. You should hear a satisfying click, and the wire should not wobble or tilt. The angled tweezer tip provides ample clearance and easy access to the wire where it meets the back plate. You can also use the sawn-off tweezer tips to raise the modified tweezers above the block when soldering thicker materials.