

At The Bench: Hammer It Out
Hammer It Out
Making A Romero fold brooch
By Charles Lewton-Brain
Foldforming is a system of working sheet metal using simple tools. It lets you make complex shapes, textures, and surfaces rapidly. There are 10 main types of foldforming techniques, each of which offers dozens to hundreds of variations. Here, I will demonstrate one particular T-fold technique that was developed by and named after Dave Romero of Colorado. This Romero fold brooch features a leafy shape and a pearl accent.
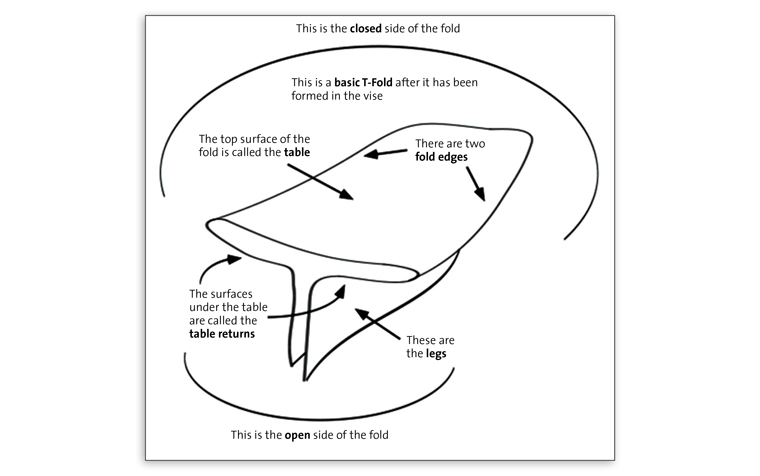
1. To create a Romero fold brooch, we first need to shape the metal into a basic T-fold. The top surface of the fold is called the table, and it will be hammered into a flat surface with two folded edges. The underside surfaces of the table are called the table returns, and the two sides of the metal sheet that hang down from the table returns are called the legs.
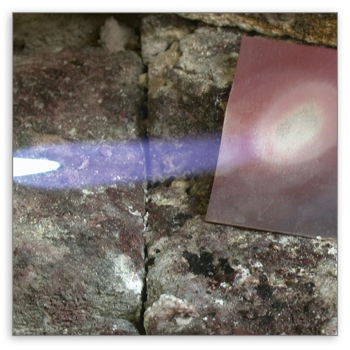
2. Anneal a rectangular sheet of sterling silver. In this example, I am using an 8 cm long piece of 24-gauge sterling silver.
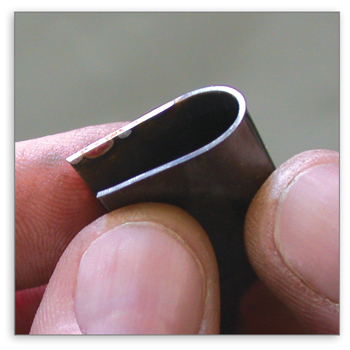
3. Bend the sheet in half the long way to form a rectangular loop. Keep the fold in the sheet fairly tight so it will form a small table.
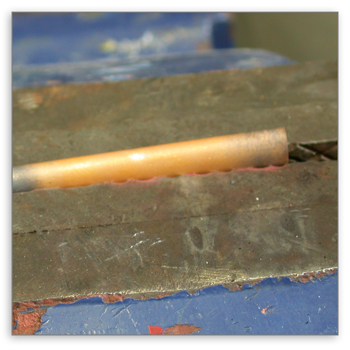
4. Place the metal in a vise so the folded edge creates a wedge above the vise. The fold should be tipped slightly when it is clamped so that one end will have more metal above the vise. If you’re concerned about damaging the metal, use soft vise jaws to hold it in place.
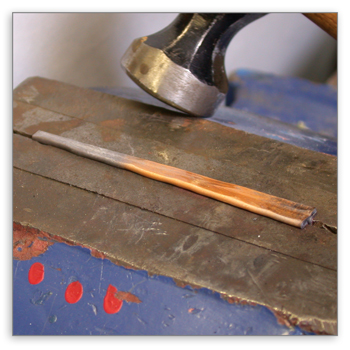
5. Use a mallet to flatten the loop so that no unwanted marks result. This creates the table.

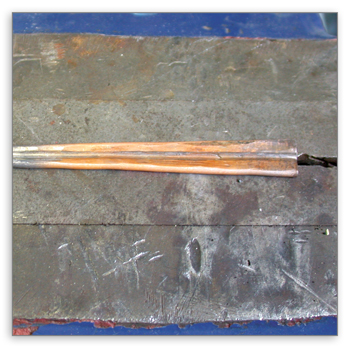
6. Hammer a piece of 16-gauge (1.5 mm) iron binding wire down the middle of the table. This creates a groove or score line. Drag the wire along as you hammer it in.
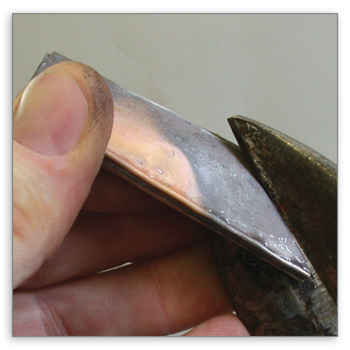
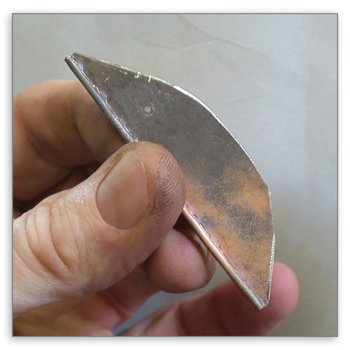
7. Use a pair of shears to trim the legs on the metal into a long, blunt shape. (I like to use aviation snips.) For this project, I’m cutting the legs into a half-round shape. You can file and sand the open edge of the fold now or wait until it is unfolded at the end to finish it.


8. Forge the legs using a slightly curved cross peen hammer. The curve of the hammer is important: If it is more rounded, then the mark of blow will be ineffective, and forging will not happen. The hammer blows can overlap but end before they reach the edge so as not to create a razor blade on the edge. Ideally, the length of each mark should be about half the distance from the outside to the inside to create maximum curvature.
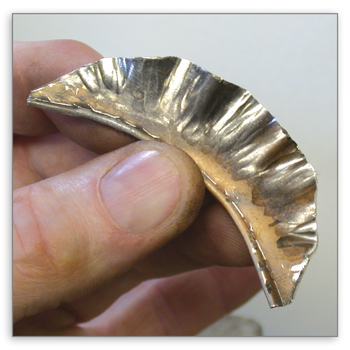
9. Stop forging when you think it looks pretty. Practicing the technique in copper first will help you decide what looks best as well as learn how to control your results. Here is the piece after the first forging. Notice how the table curves as the legs are stretched.
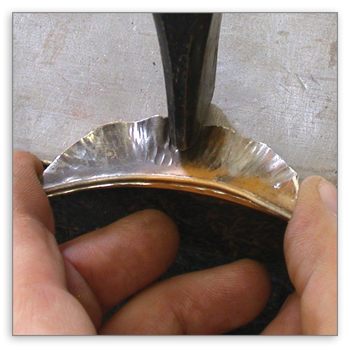
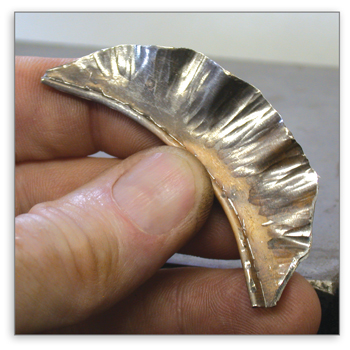
10. To add a ruffle effect on the legs, use a Sharpie and make a series of lines about 5 mm apart. Then hit those lines repeatedly with the hammer.
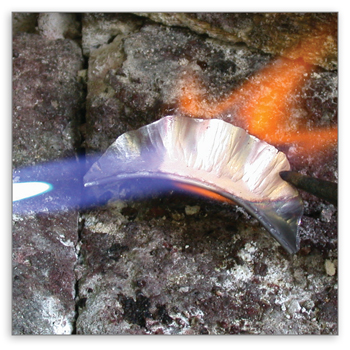
11. Once you’re happy with the ruffle effect, anneal the fold on all sides.

12. Next, use a hammer to pinch together the sides of the table. This makes the tightness uniform across the folded up table.

13. Grip the sides of the table with flat-nose pliers to lever the fold open. A burnisher can also be used on the open side as a lever. As one area begins to open, move up the table and repeat. It is important to do this evenly and repeatedly.


14. The ruffled legs can be further opened with tools or your fingers. The legs can also be spread by tapping the table with a mallet.

15. To make the ruffles deeper and more pronounced, hammer them against a wooden bench pin.
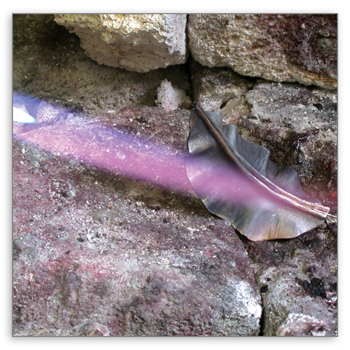
16. Next, solder a wire in the groove formed by the folded-up table.
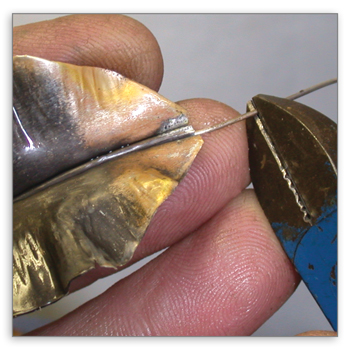
17. Snip off the excess wire, leaving a little extra to become a peg for a pearl.
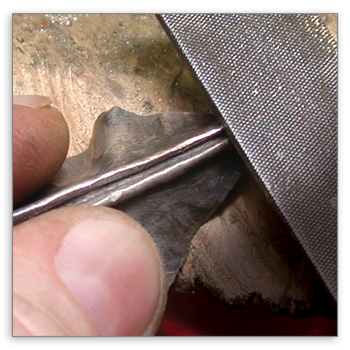
18. Since we’re creating a brooch, use a file to flatten areas on the fold to attach the pinbacks.
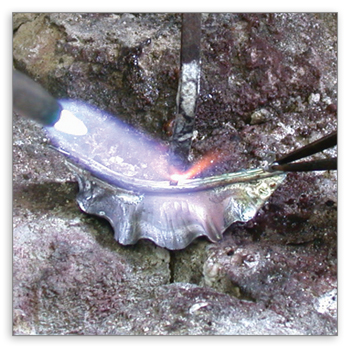
19. Solder the joint and catch to the fold.
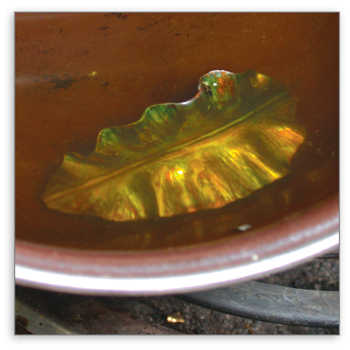
20. After pickling it, place the piece in liver of sulfur to darken it.
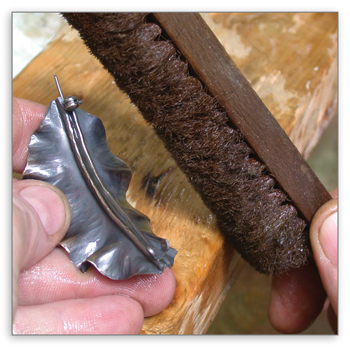
21. Use a brass brush and soapy water to give the brooch a uniform satin finish. The soapy water prevents the brass from rubbing off and transferring to the piece.
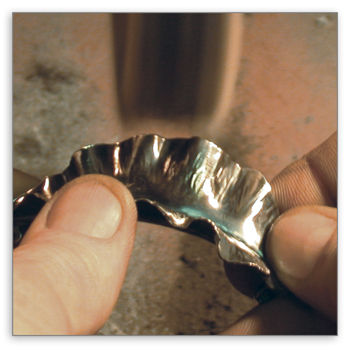
22. With a little rouge, lightly buff the surfaces. The whole brooch should get a light touch with the buff, but the edges should get extra attention. I think that high-polished edges help to increase the visual contrast and appeal of the piece.
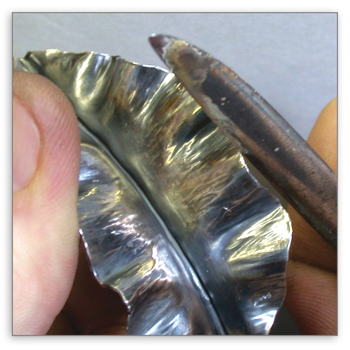
23. Install the pinstem and then burnish the edges of the leaves to make them shine.
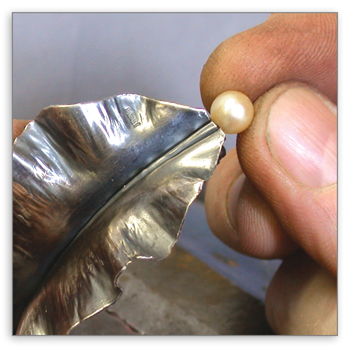
24. Glue a half-drilled pearl onto the remaining bit of wire.
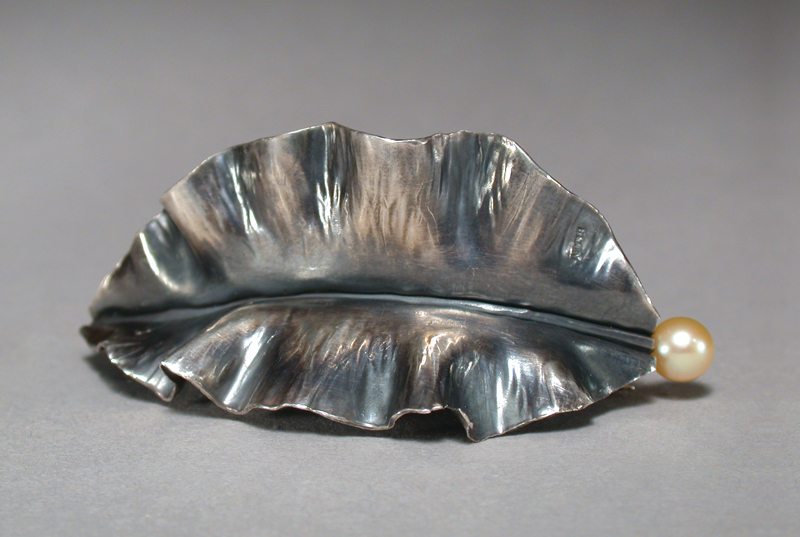
25. The finished piece.
More:
Click here to read Lewton-Brain’s Above the Fold on the art of foldforming.
Click here to read Lewton-Brain’s The Looks of Foldforming and see the ten techniques.